Showing posts with label Sculpture. Show all posts
Thursday, June 9, 2011
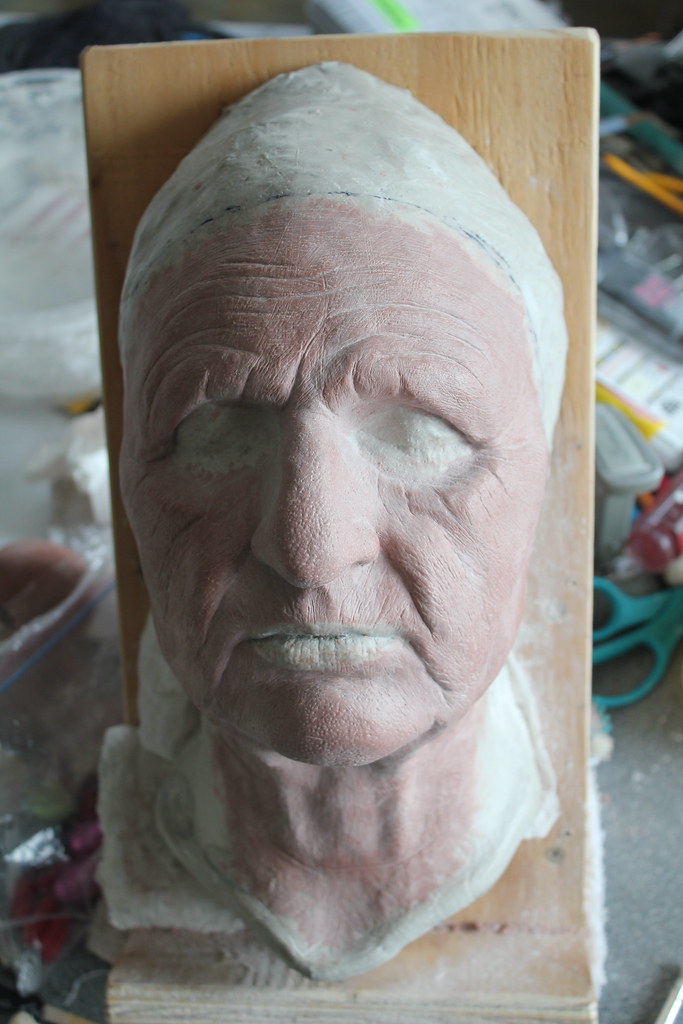
Wee Little Old Age Prosthetic Update
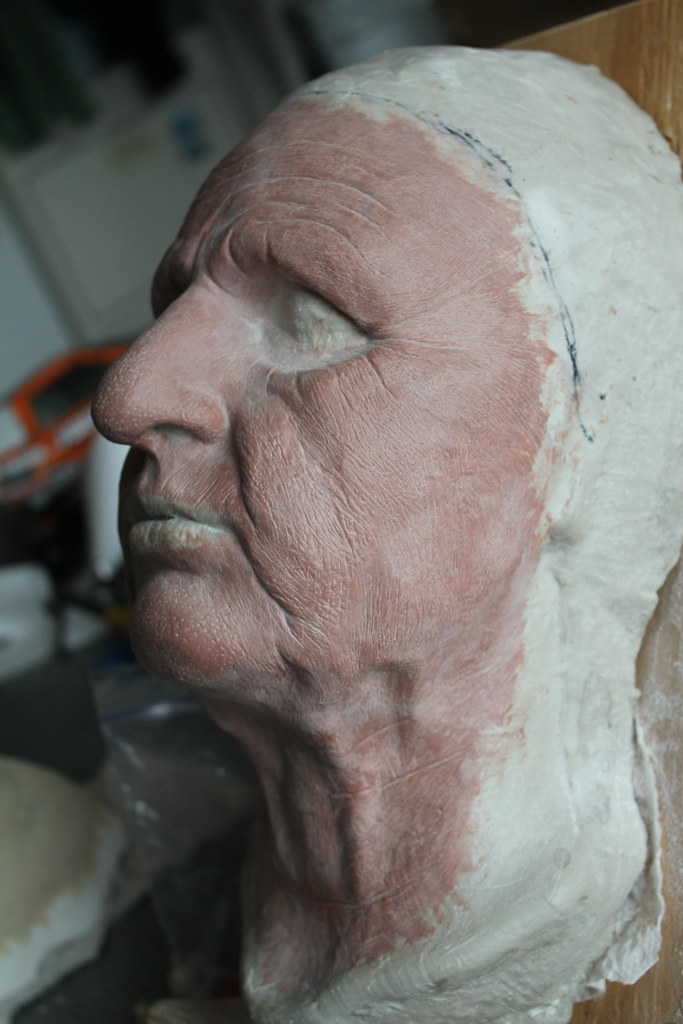
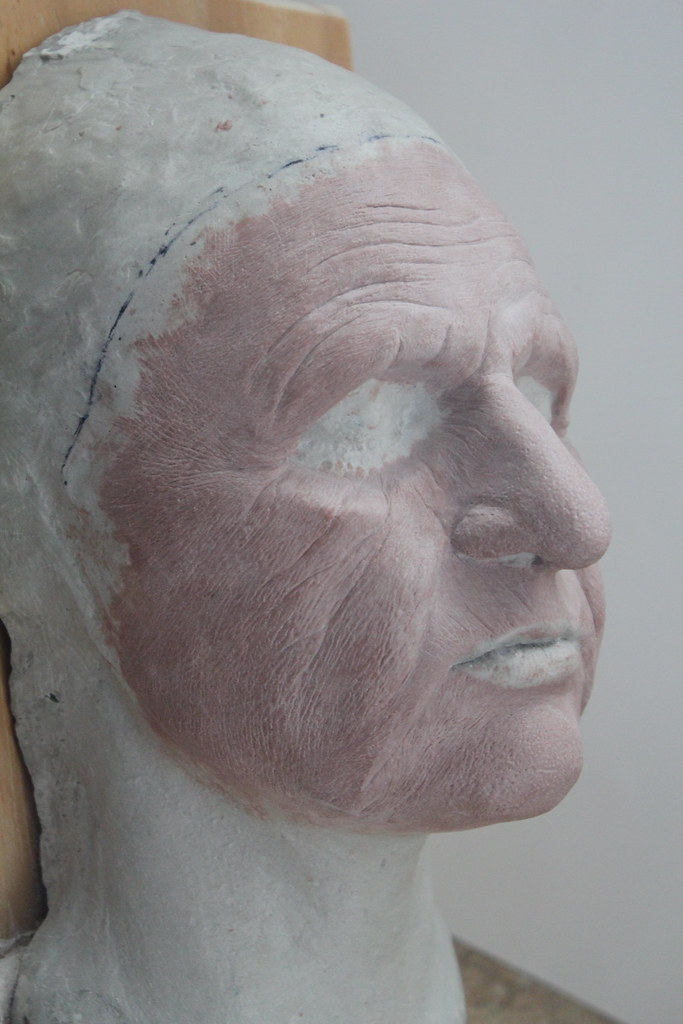
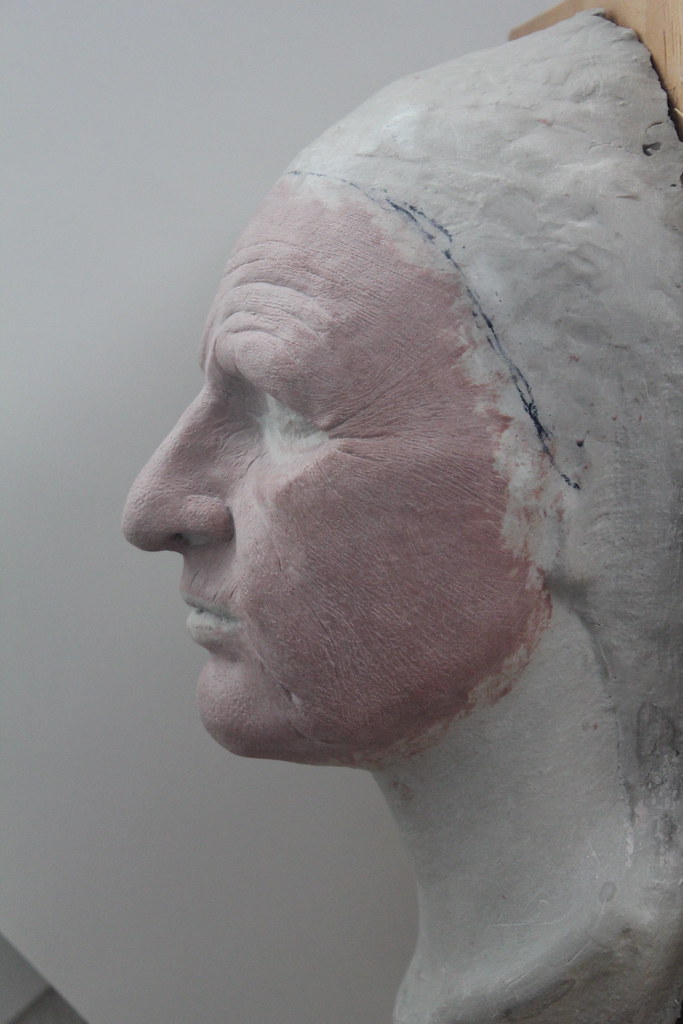
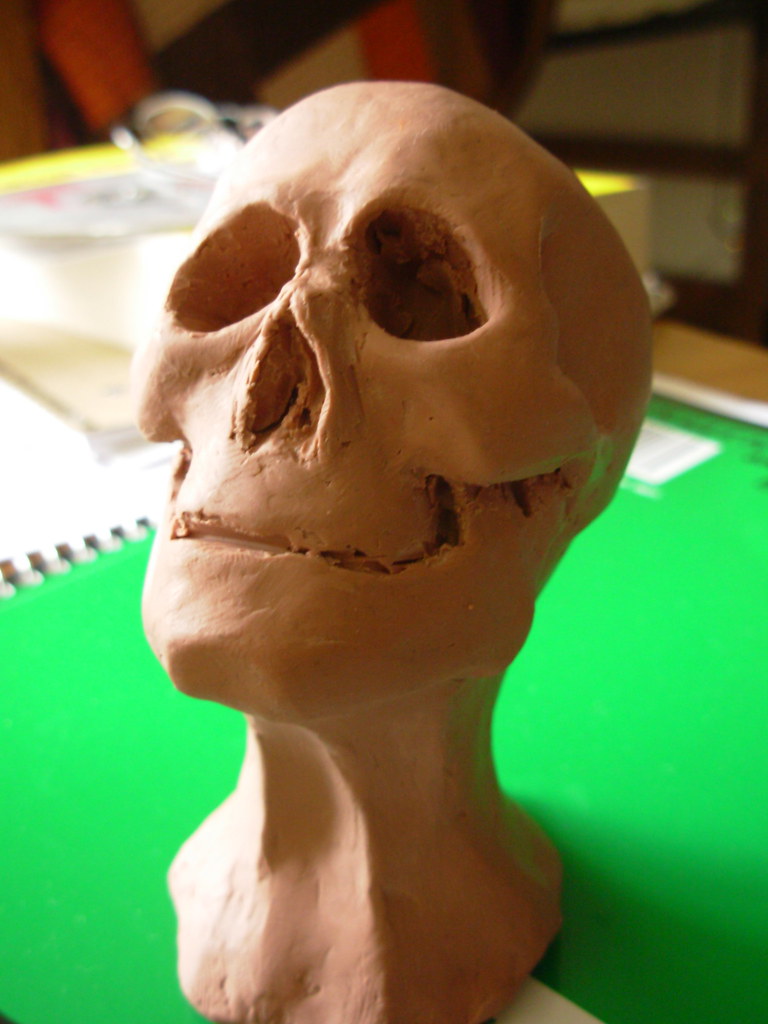
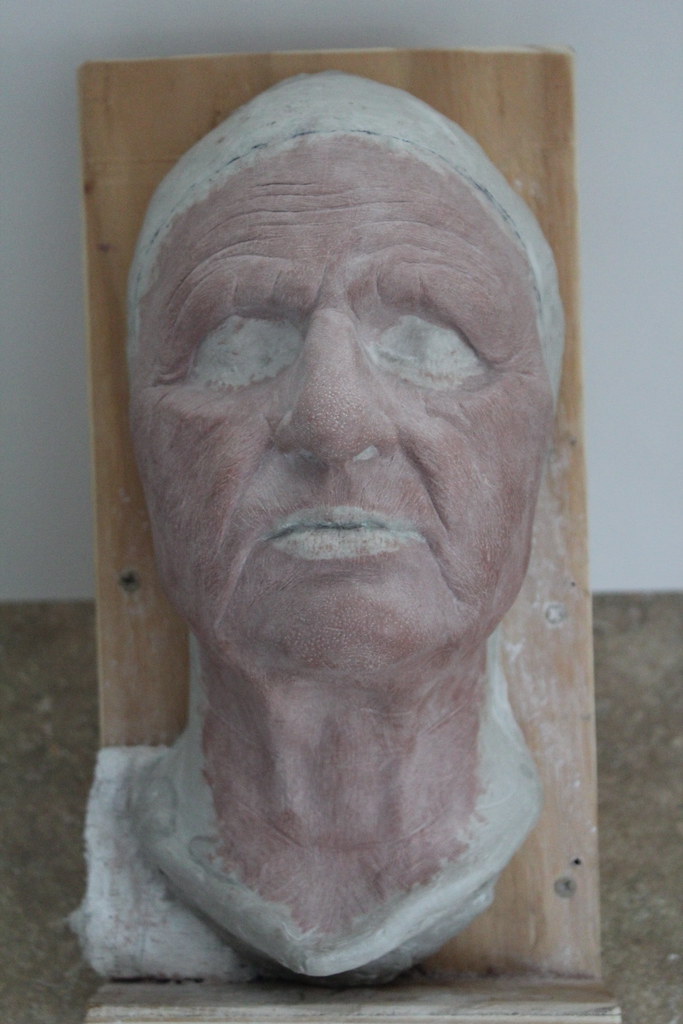
Stuart over at http://learnprostheticmakeup.com/ talked me into adding a neck to the sculpture, so here's where it stands now.
Labels:
Makeup Effects,
Sculpture
Thursday, June 2, 2011
Old Age Prosthetic Sculpt
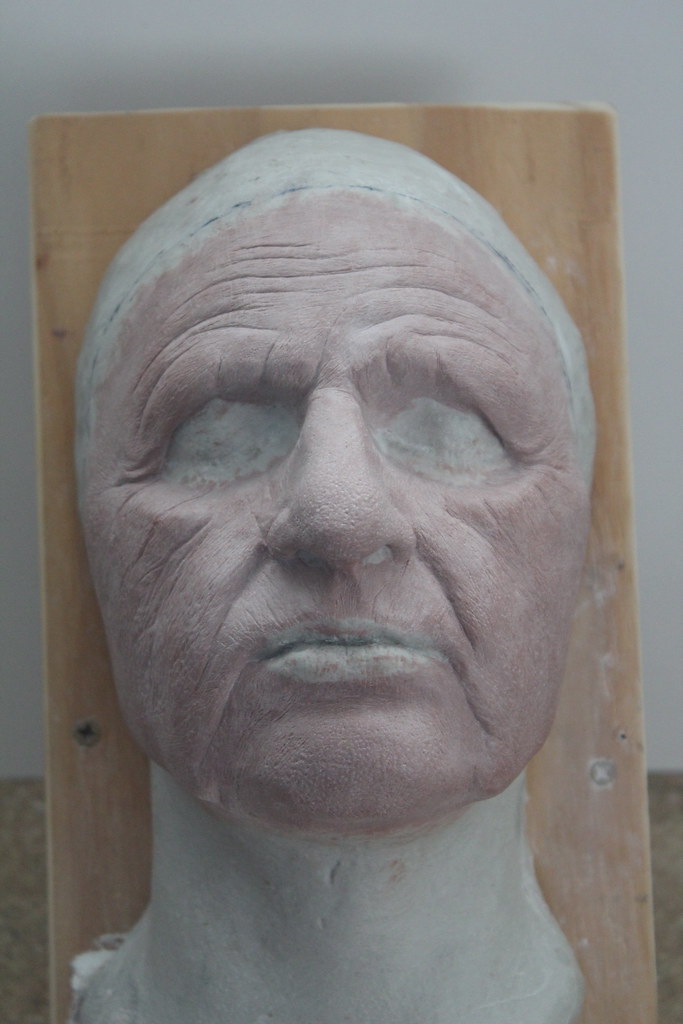
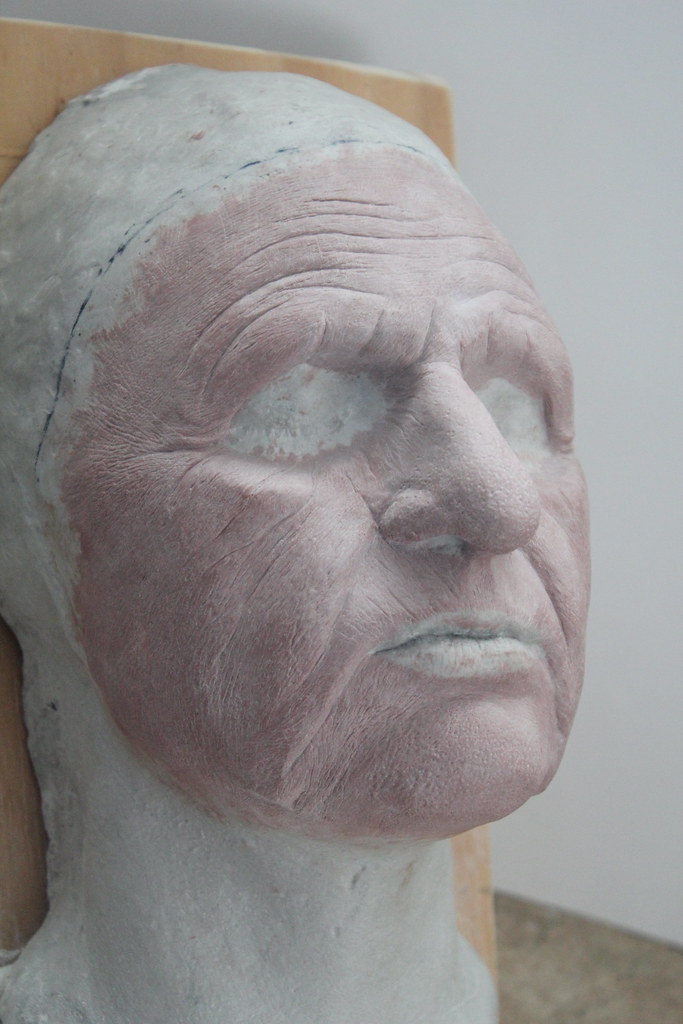
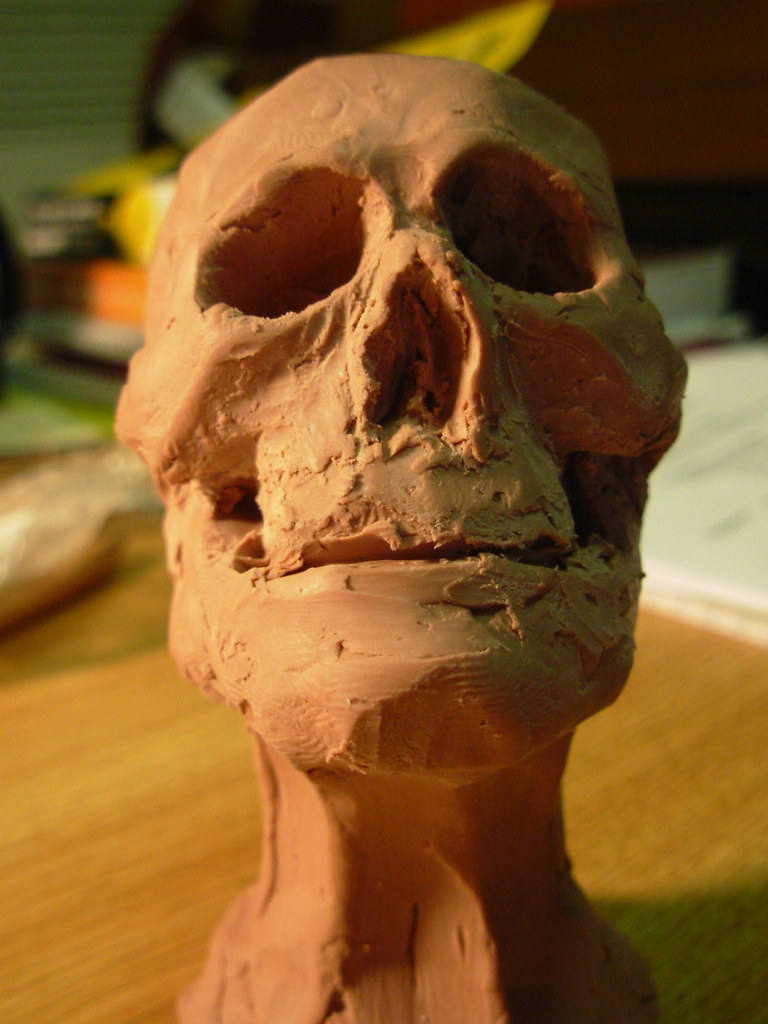
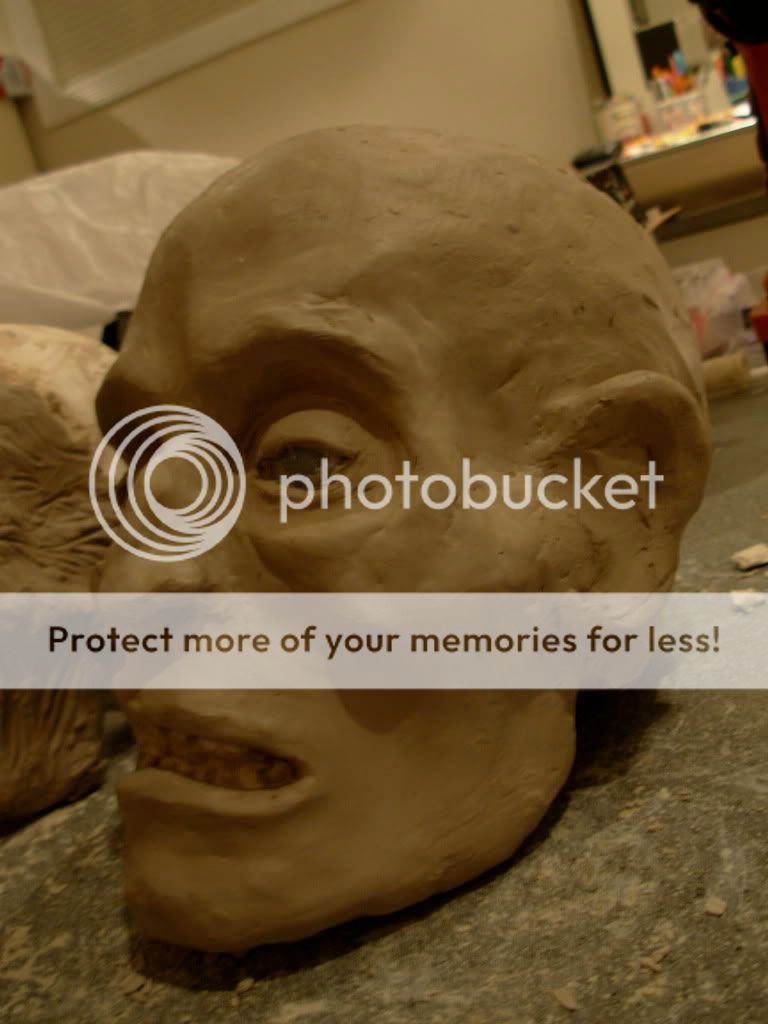
I've been working on a sculpt for an old woman prosthetic that I'll apply on a very kind and forgiving friend of mine later this summer.
I'm not totally sold on the texture, but maybe y'all have some suggestions. I'm always up for a good critique. Click the pictures so you can see the textures up close.
It's Chavant NSP Medium over an Ultracal-30 lifecast, for those curious.
I'm not totally sold on the texture, but maybe y'all have some suggestions. I'm always up for a good critique. Click the pictures so you can see the textures up close.
It's Chavant NSP Medium over an Ultracal-30 lifecast, for those curious.
Labels:
Makeup Effects,
Sculpture
Wednesday, April 6, 2011
A Nose for Lincoln
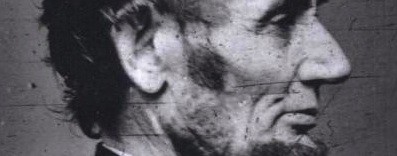
I'm doing an Abraham Lincoln makeup, and I decided I wanted to play with gelatin for it, mainly because I'm doing all of the molding and casting in a dorm room, so de-ammoniating foam latex was out of the question. Also, it's cheap and reusable-- pretty hard to beat.
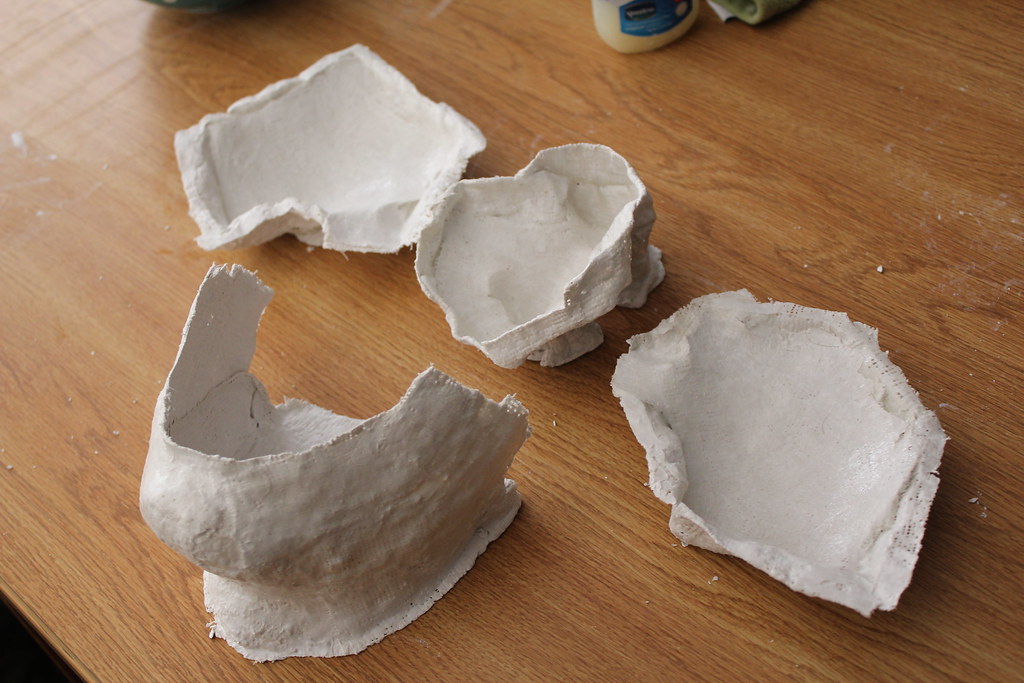
Plaster bandages used for some quick and dirty lifecasting. nose, chin, and cheeks. The chin is a form on which I will build a beard that will fit my face. I was going to use the cheek casts to make some enlarged cheekbones, but due to time constraints and the fact that this is for theatre, those will simply be drawn on with highlight and shadow.
Casting the plaster positives
Plaster positives.
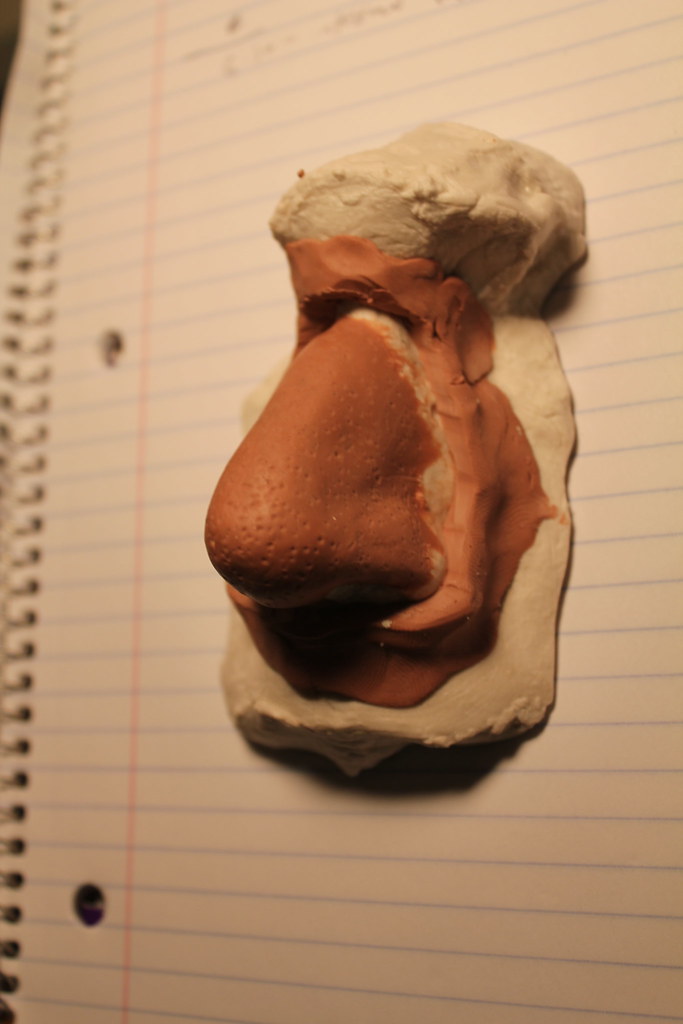
The sculpt. Chavant NSP soft.
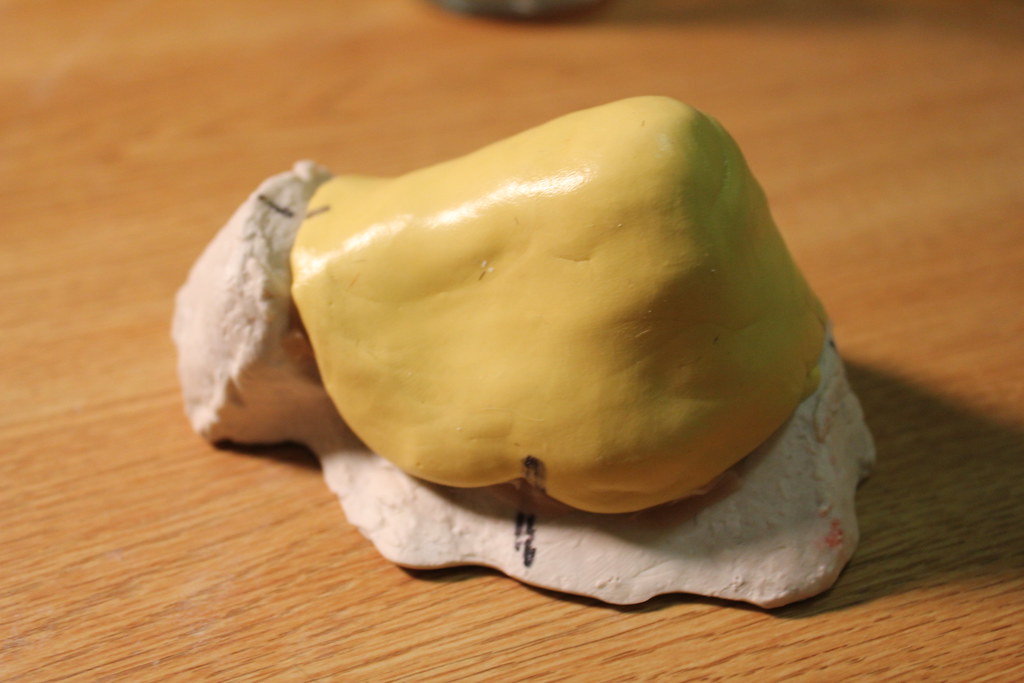
Silicone mold. Because I had the putty left over from the werewolf makeup in the Fall, and I figured it would reduce the risk of undercut problems, I went ahead and used it for this. Cool stuff, but it took a while to get the hang of the casting process in a flexible mold.
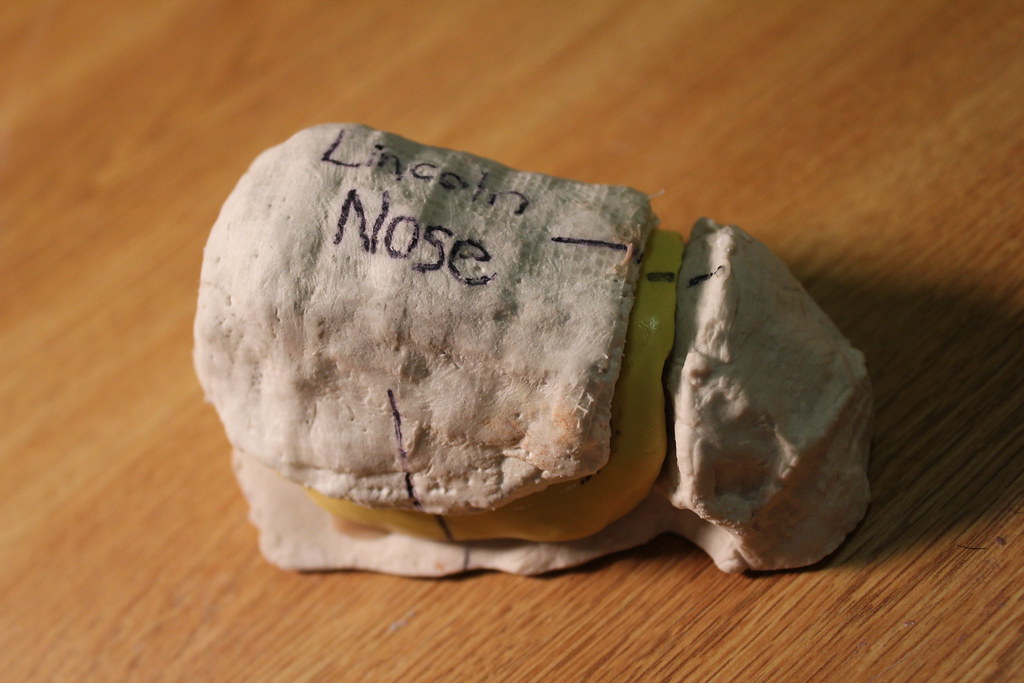
Plaster bandages as a mother mold.
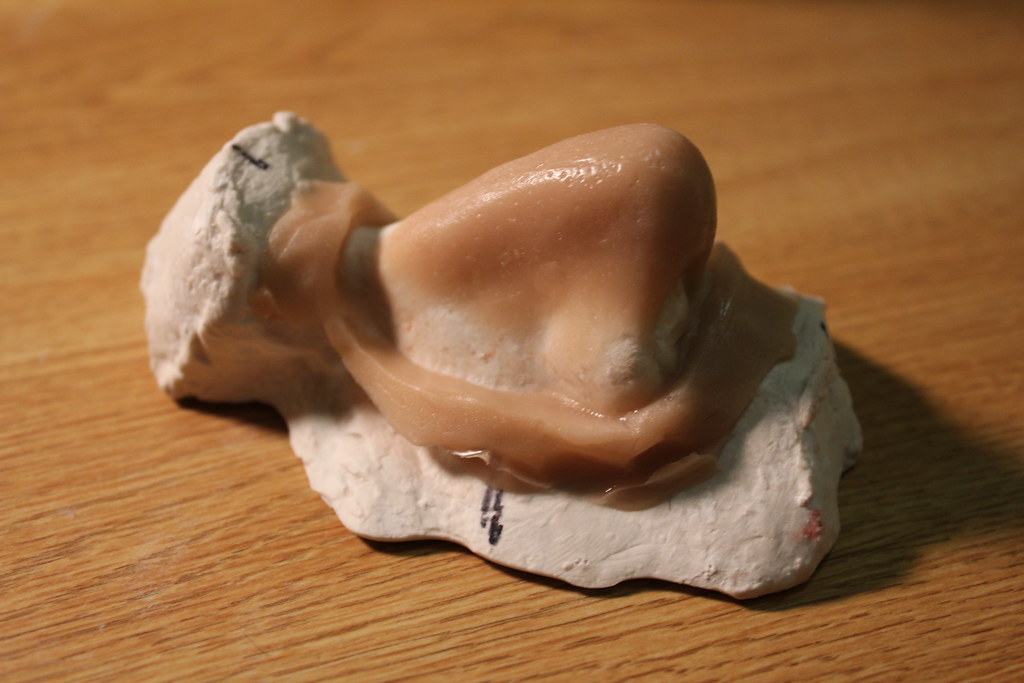
The gelatin nose. I'm using a one part Knox gelatin, two parts glycerin, two parts water formula with some creme makeup mixed in. Lots of trial and error to get the color right. This is about as close as its going to get for this project, but I'd like to increase the translucency in the future. It'll get some final coloring when it goes on my face. Stay tuned.
Labels:
Makeup Effects,
Sculpture
Wednesday, December 22, 2010
Tuesday, October 26, 2010
Pumpkin Sculpting
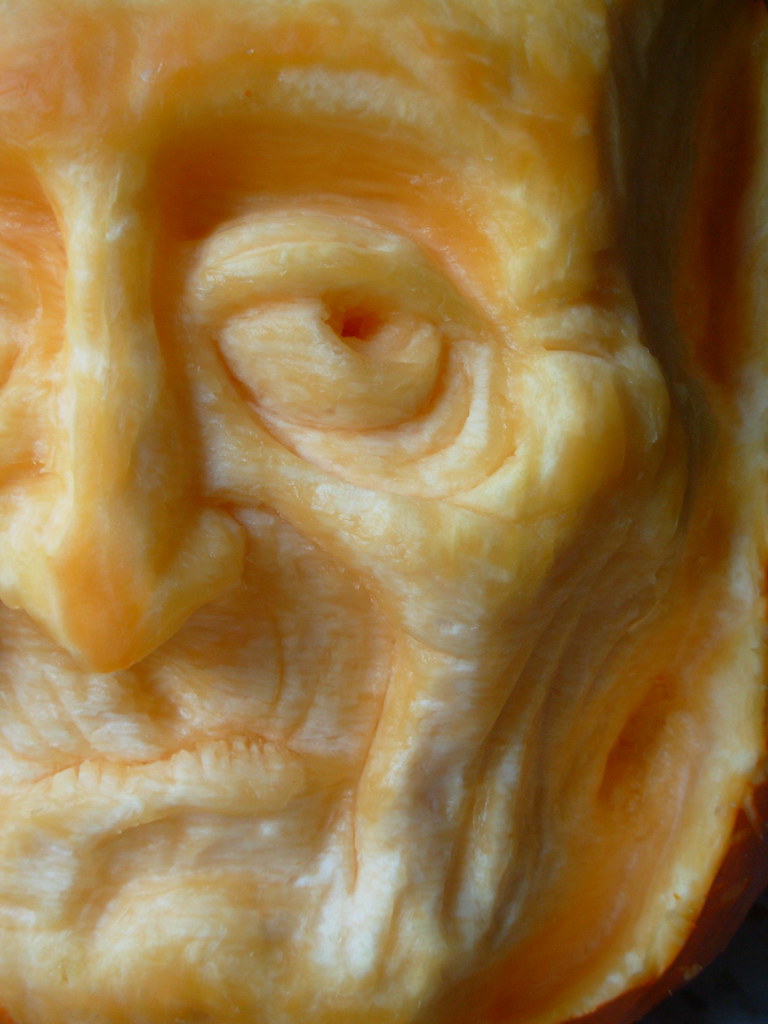
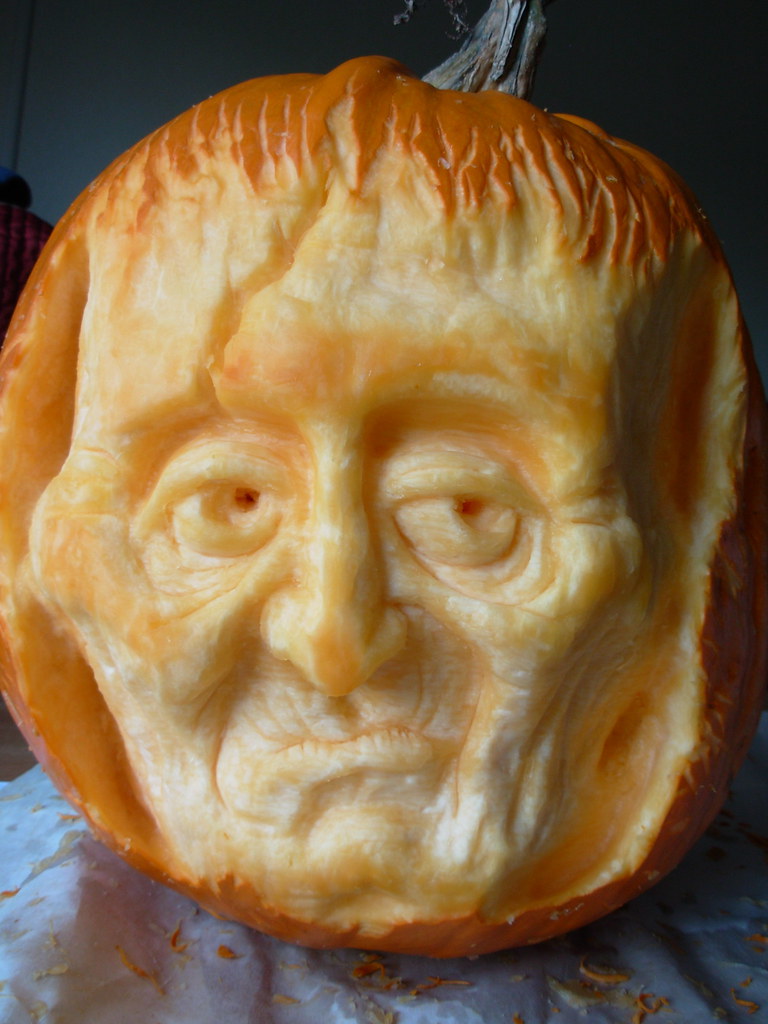
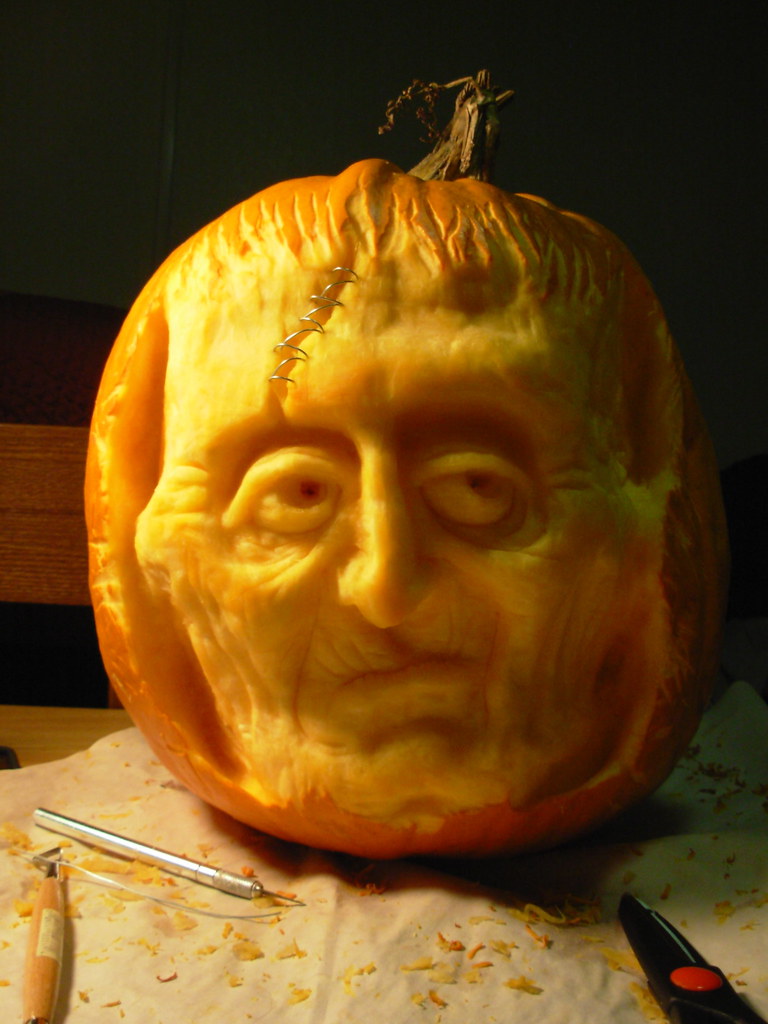
There's a pumpkin carving contest this week, and the pumpkins are free, so I figured I'd give pumpkin sculpting a whirl. This is the result of about 3 hours with an exacto knife and a medium sized loop tool. 
For a first attempt, I'm pleased. I may add some wire stitches to the forehead laceration if I can acquire them by Thursday morning.
Subtractive sculpting is hard, especially when you're used to pushing clay and you're working on a round object with only about two inches of workable material before it becomes a dark, seeded void, but it's still quite fun.
EDIT:
added stitches
Labels:
Sculpture
Wednesday, September 8, 2010
Practice Sculpting, Episode 2
A little refining. I'm starting to like this guy. I might try to mold it after texturing and before moving on to the muscles.
Labels:
Sculpture
Saturday, September 4, 2010
Practice Sculpting, Episode 1
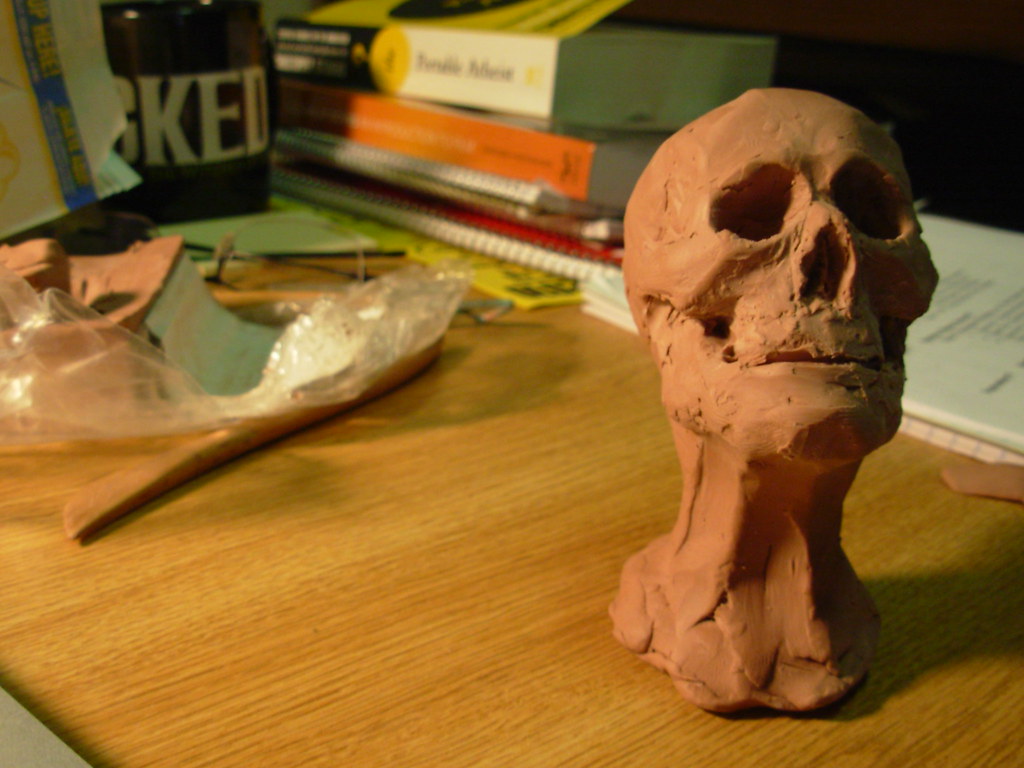
I've started a small sculpt that I will add to a little at a time. It's not going to be used for anything other than practice. The plan is to start with the skull and build out from there. Right now I'm blocking out the forms. This is about an hour or two in.
The whole thing's about 4 inches tall, Chavant NSP Soft clay
Labels:
Sculpture
Monday, May 10, 2010
Sculpt Complete: Joker Makeup
What are you laughin' at?
Texturing is more or less complete at this point. It looks a little over the top, but I figure the whole thing's going to be painted bleachy white, with only a little grey shadowing, so the more the better. I plan to mold this sucker tomorrow.
Labels:
Makeup Effects,
Makeup Effects Portfolio,
Sculpture
Sunday, May 2, 2010
Something New
You ever dance with the Devil by the pale moon light?
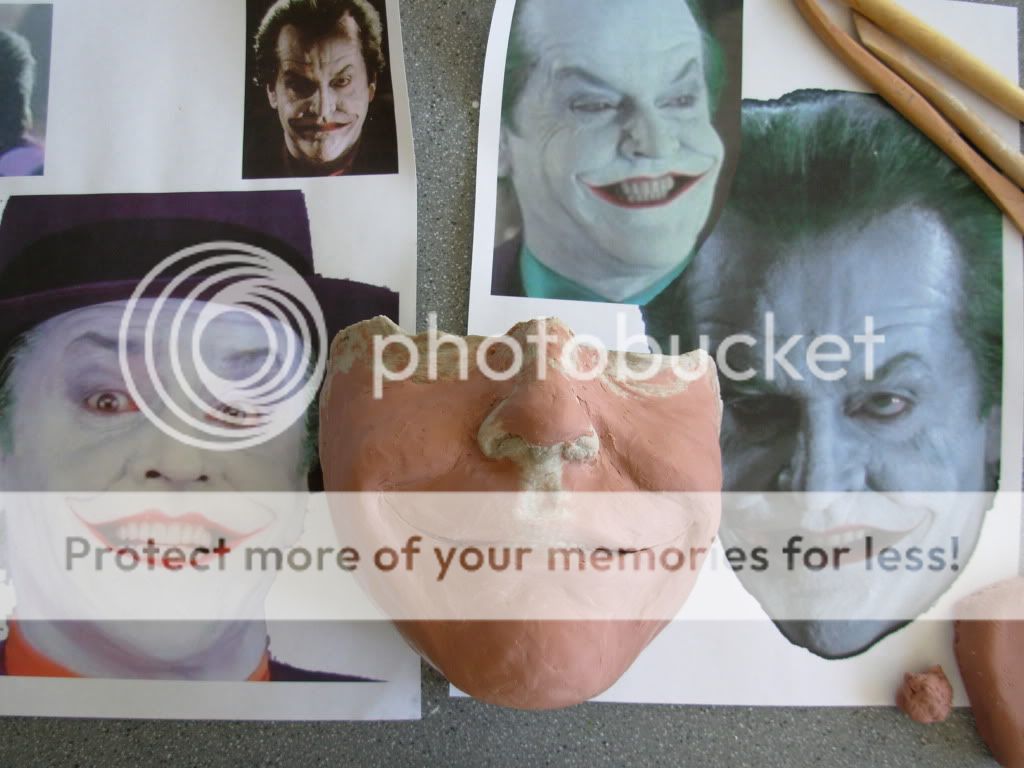
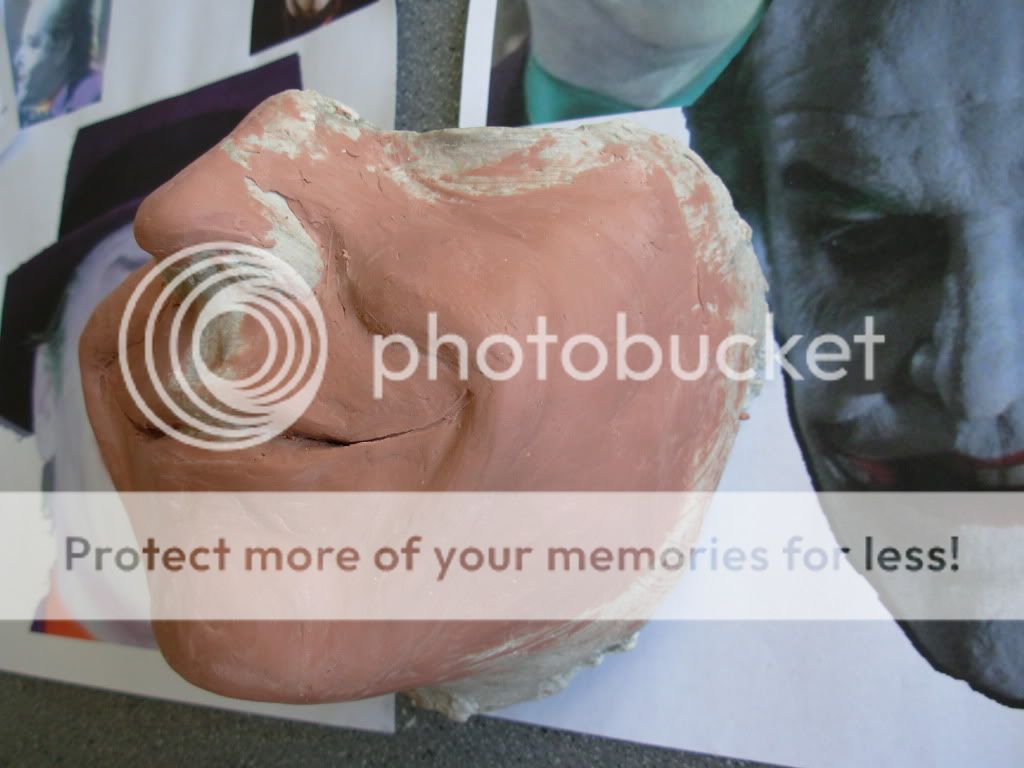
Having made a few foam latex creature skins for last year's haunt, I'm trying my hand at foam latex prosthetics. Above (and below) is the start of a Jack Nicholson Joker (from Burton's Batman) sculpted over a cast of my lower face.
At this point, I'm still roughing in the forms. Once the sculpt is done, I'll mold it, cast it, paint it, and apply it.
Not only is this my first venture into prosthetic makeup, but it's also my first time using Chavant NSP clay. It's very nice stuff.
Labels:
Makeup Effects,
Sculpture
Sunday, September 27, 2009
Saturday, September 26, 2009
Saturday, September 19, 2009
Coming Soon: 3-Axis Zombie Skin!
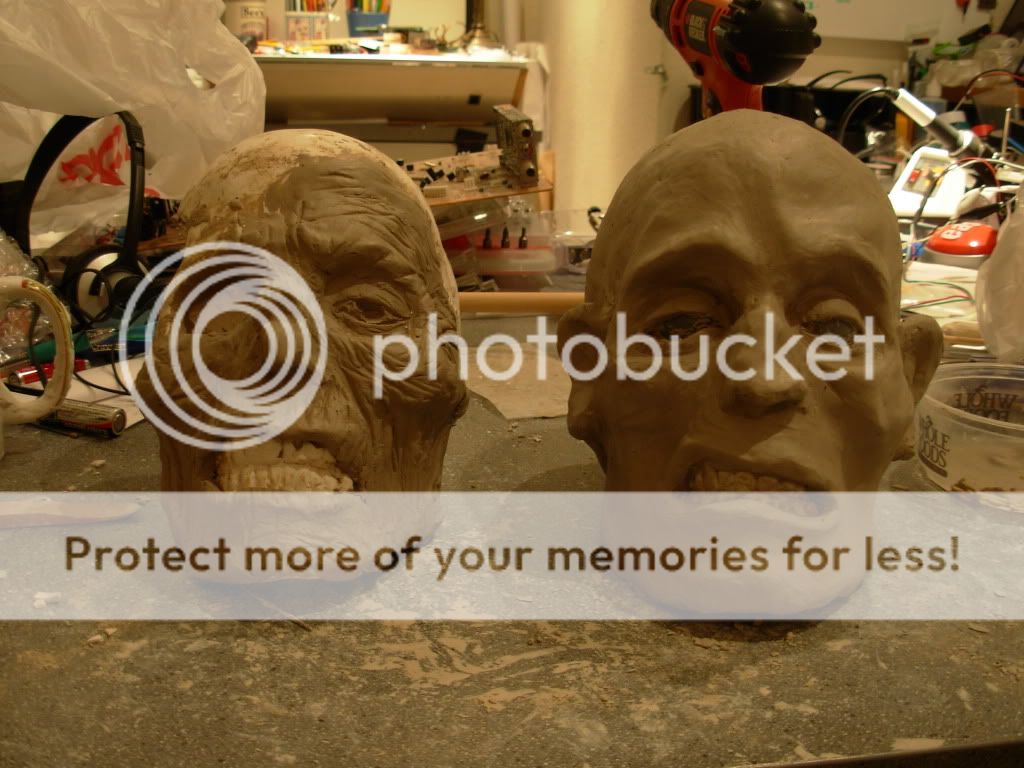
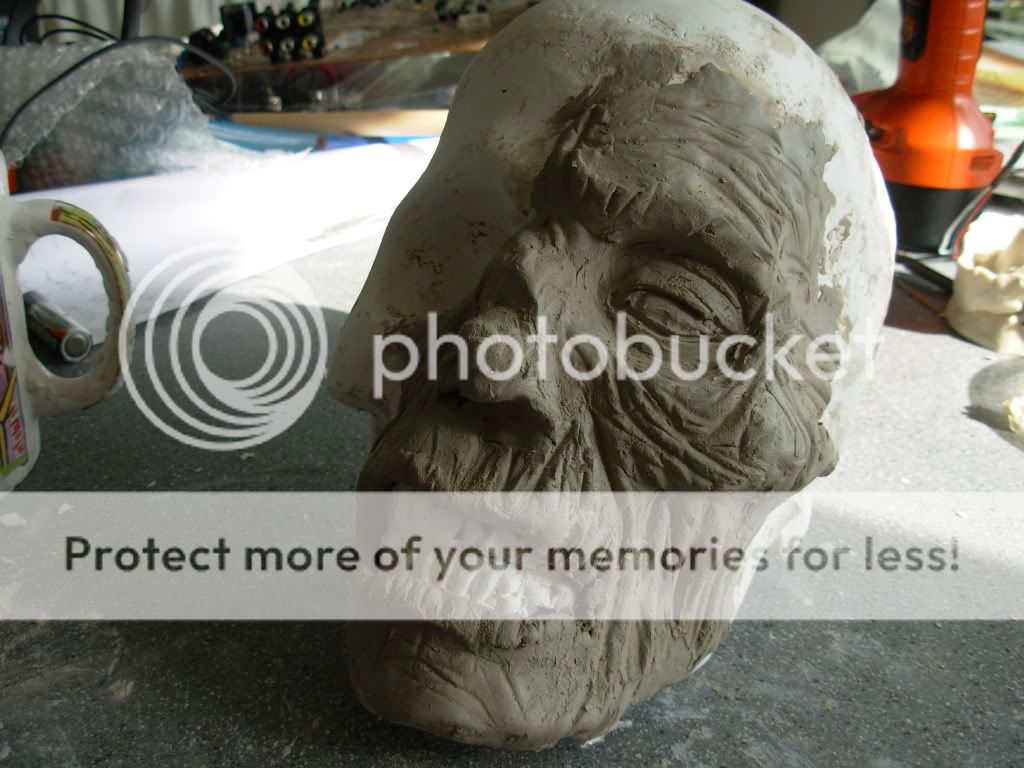
Yup. Even though Frankie's not done, I've begun work on another foam latex creature skin for my 3-axis skulls.
It's still in the roughing out the basic forms stage, but it will resemble that half-sculpt I did last week. Here's a side by side:

It's still in the roughing out the basic forms stage, but it will resemble that half-sculpt I did last week. Here's a side by side:
Labels:
Sculpture,
Zombie Skin
Sunday, September 13, 2009
Wednesday, June 10, 2009
3-Axis Frankenstein Sculpted and Molded!
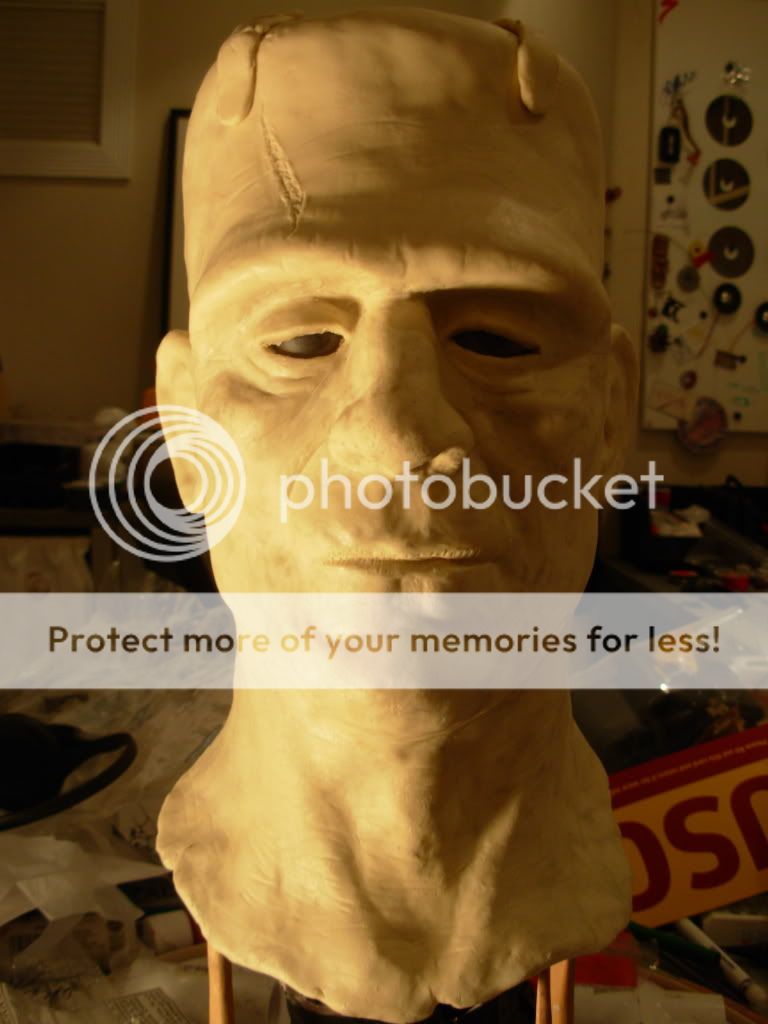
Here's where he's at now.


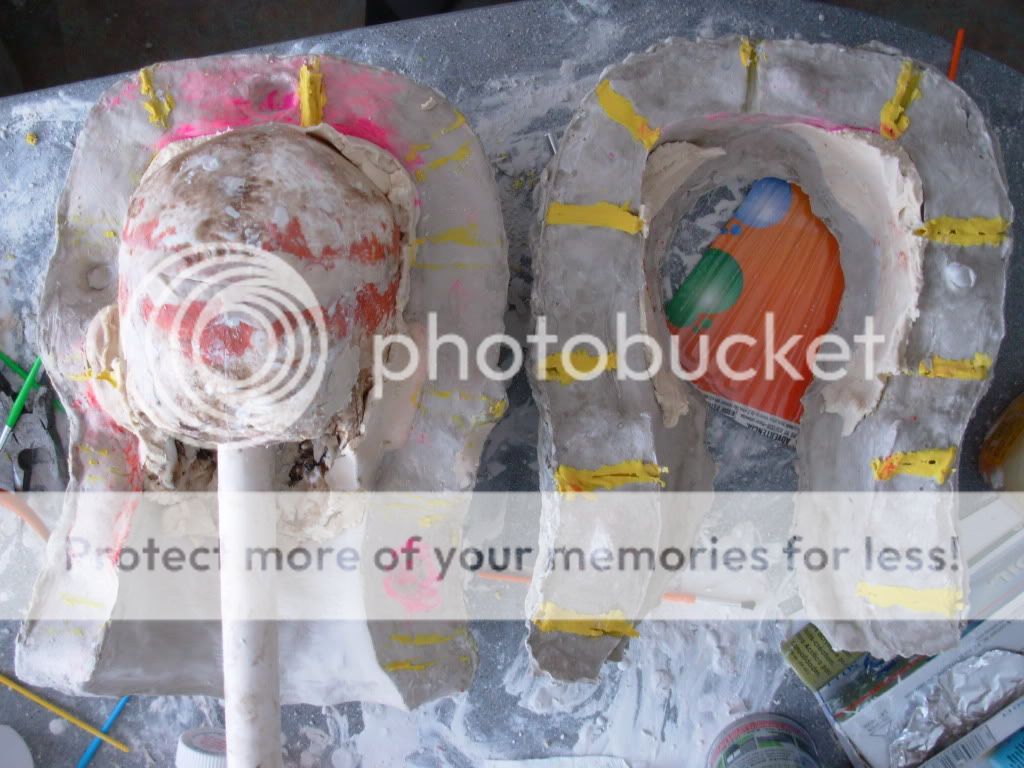
Plaster time! I started making the mold a while back.
First the mold walls built around the first half of the sculpt...

Then two brushed on layers of UltraCal-30 (actually, the picture is only of the first layer, but you get the idea)...

Then a thicker layer...

And an even thicker layer...

And then I ran out of U-30. I had to order some more from MonsterMakers.com.

I saw this nifty little trick to make a flat surface for the mold to sit on in Lee Baygan's book.

It worked out pretty well.

Here's the underside with the escape holes modeled in (before I cleaned up the edges and keys with a dremel).

I finished the second half of the mold a a few days later, having coated the the exposed U-30 of the first half with vaseline. It's about four layers of plaster, a layer of burlap soaked in plaster, then another layer of plaster.

I managed to separate them after a half hour of shoving pliers and paintbrush handles into the escape holes...

Then I spent an equal amount of time trying to get the skull out. I ended up working the jaw off, then using the PVC (which was screwed on) as a lever to work it free...

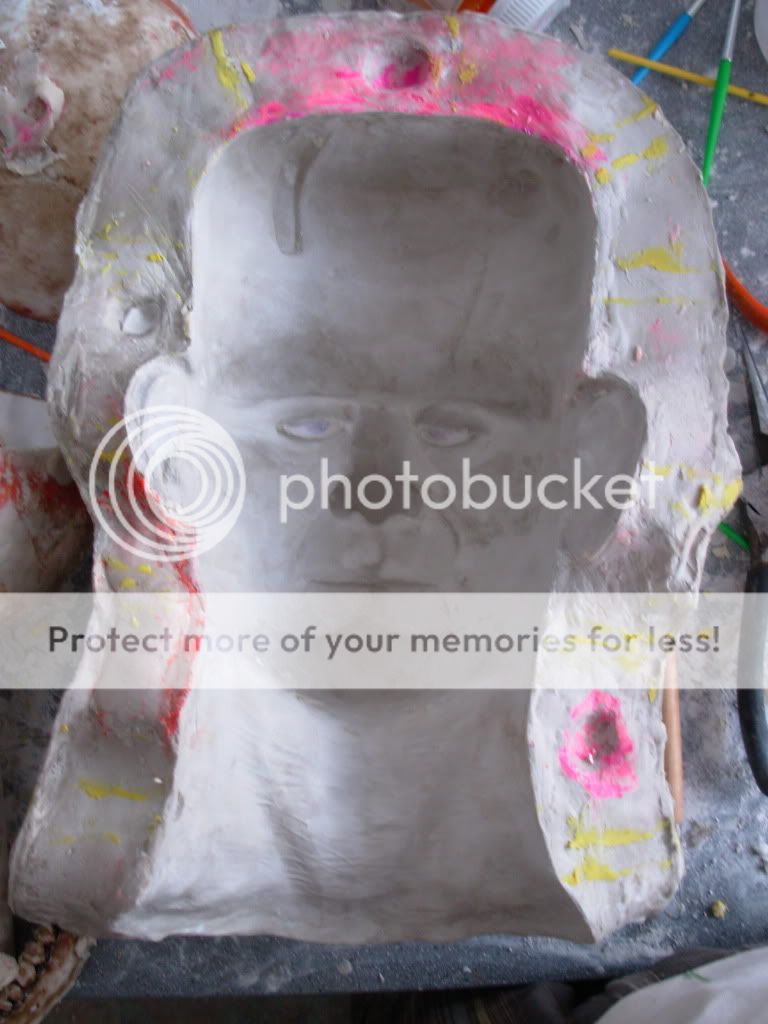
Finally, I cleared out the plaster (which came out very easily because I sealed it)...

I think it came out pretty good. There are some imperfections which (I hope) I can easily clean up, but overall I'd say it's in pretty good shape.
Plaster time! I started making the mold a while back.
First the mold walls built around the first half of the sculpt...
Then two brushed on layers of UltraCal-30 (actually, the picture is only of the first layer, but you get the idea)...
Then a thicker layer...
And an even thicker layer...
And then I ran out of U-30. I had to order some more from MonsterMakers.com.
I saw this nifty little trick to make a flat surface for the mold to sit on in Lee Baygan's book.
It worked out pretty well.
Here's the underside with the escape holes modeled in (before I cleaned up the edges and keys with a dremel).
I finished the second half of the mold a a few days later, having coated the the exposed U-30 of the first half with vaseline. It's about four layers of plaster, a layer of burlap soaked in plaster, then another layer of plaster.
I managed to separate them after a half hour of shoving pliers and paintbrush handles into the escape holes...
Then I spent an equal amount of time trying to get the skull out. I ended up working the jaw off, then using the PVC (which was screwed on) as a lever to work it free...
Finally, I cleared out the plaster (which came out very easily because I sealed it)...
I think it came out pretty good. There are some imperfections which (I hope) I can easily clean up, but overall I'd say it's in pretty good shape.
Labels:
Frankenstein Skin,
Sculpture
Subscribe to:
Posts (Atom)