Saturday, April 30, 2011
Lincoln Makeup
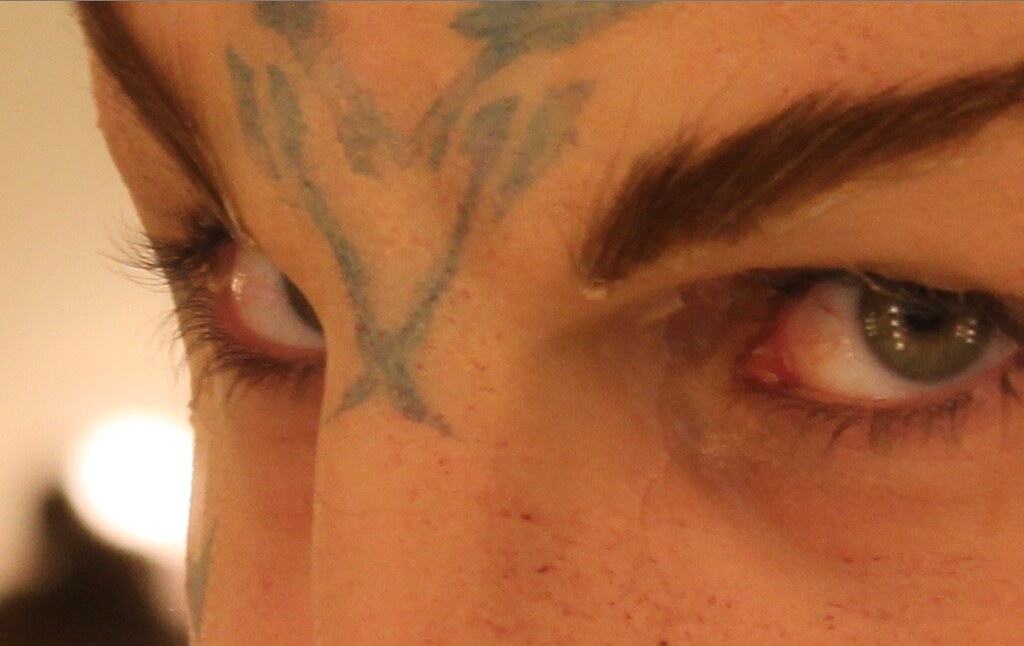
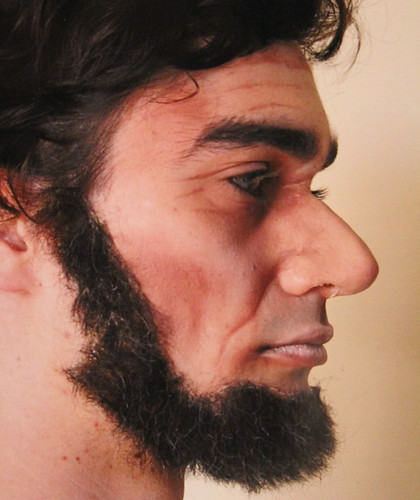
It's theatrical makeup, so it's a little overdone in places and mostly just paint, but here are the pictures!
I think I overdid the nose a little, and certainly need to work on the edges, but overall, I consider it a success, as far as learning goes.

These are actually two different applications, the second photo being from a practice day, but it came out better than the front shot from the final. The beard was since trimmed, the shading refined, and a little more work was done on the eyes, as you can see in the first photo.
Thursday, April 21, 2011
Skins for 3-Axis Skulls available for 2011!

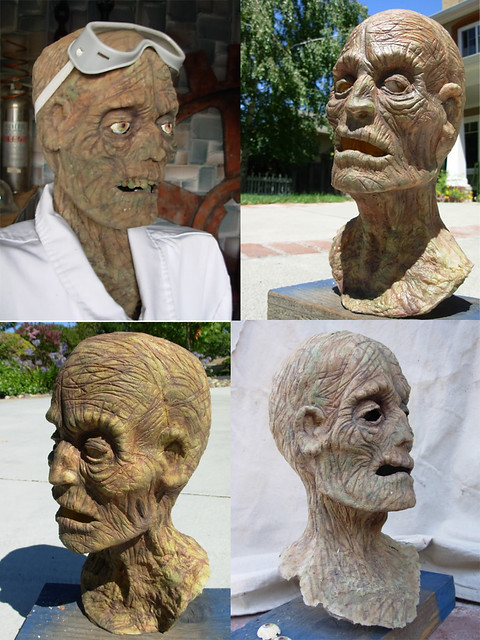
I will once again be offering a limited number of Frankenstein and Zombie skins for 3-Axis Skulls for the 2011 Halloween season.
Here's what they do:
The skins are made of foam latex, painted with rubber cement paints, and are designed to fit a Lindberg skull (though they should fit fine on Buckies or similarly sized skulls). All you do is stretch it over the skull and apply a little rubber cement or latex to hold it in place.
Each skin will be custom made, so different color schemes are possible (the images and videos above are of mine, so yours would vary a little in the paint job). Below are some examples of the painted zombie skins from last year's batch.
$85 plus shipping. Email me at ChickenHaunt [at] gmail.com for details. Orders must be placed by June 30 for this Halloween season.
Happy haunting!
Wednesday, April 6, 2011
A Nose for Lincoln
I'm doing an Abraham Lincoln makeup, and I decided I wanted to play with gelatin for it, mainly because I'm doing all of the molding and casting in a dorm room, so de-ammoniating foam latex was out of the question. Also, it's cheap and reusable-- pretty hard to beat.
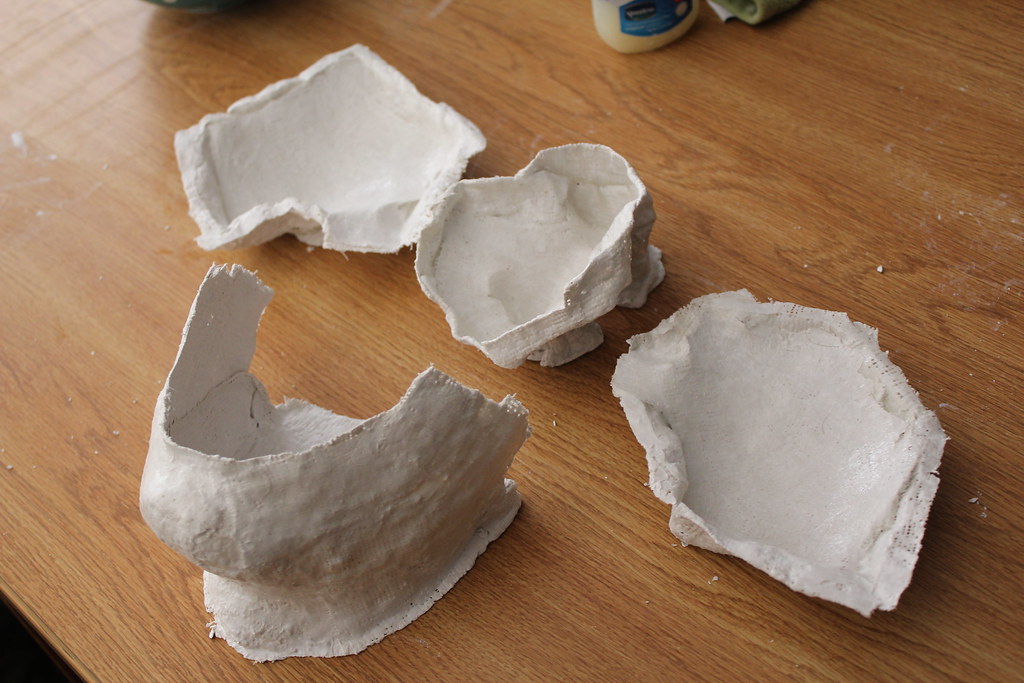
Plaster bandages used for some quick and dirty lifecasting. nose, chin, and cheeks. The chin is a form on which I will build a beard that will fit my face. I was going to use the cheek casts to make some enlarged cheekbones, but due to time constraints and the fact that this is for theatre, those will simply be drawn on with highlight and shadow.

Casting the plaster positives

Plaster positives.
The sculpt. Chavant NSP soft.
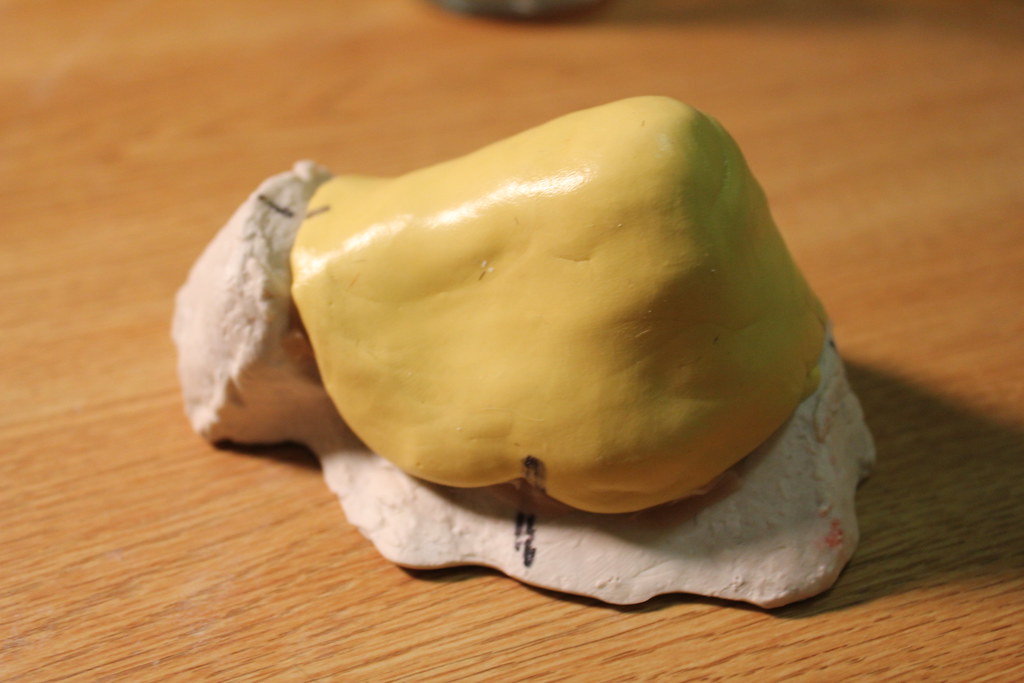
Silicone mold. Because I had the putty left over from the werewolf makeup in the Fall, and I figured it would reduce the risk of undercut problems, I went ahead and used it for this. Cool stuff, but it took a while to get the hang of the casting process in a flexible mold.
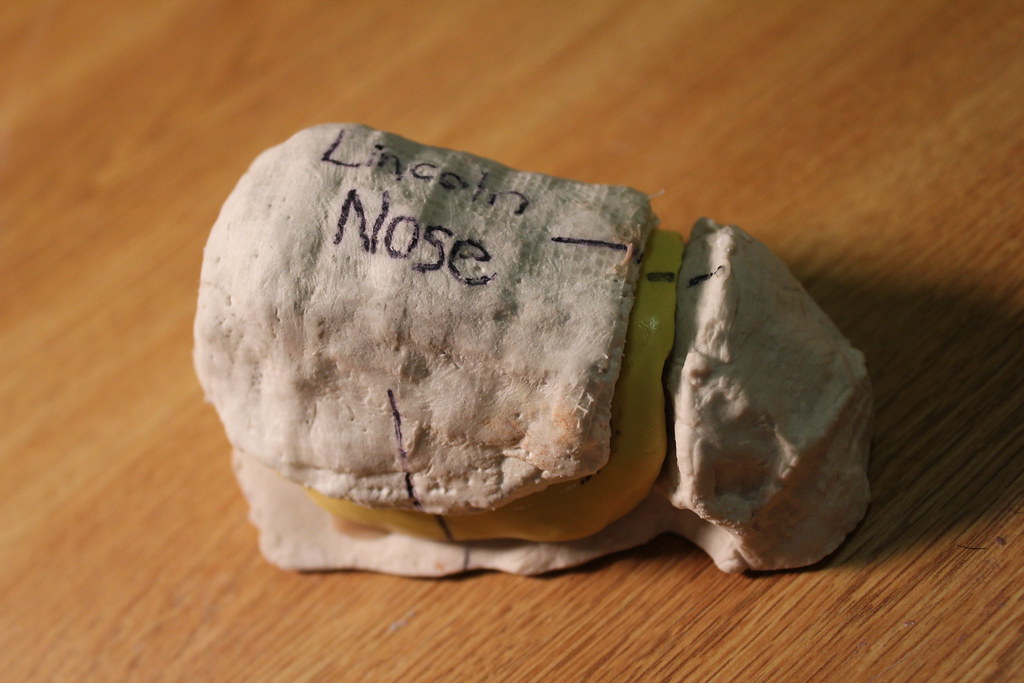
Plaster bandages as a mother mold.
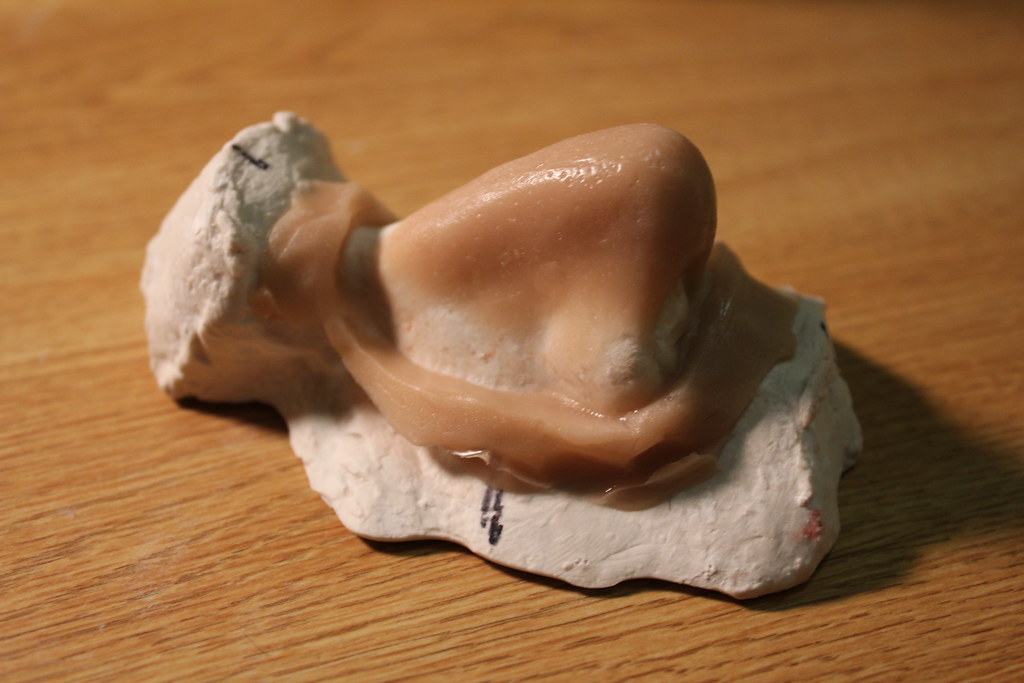
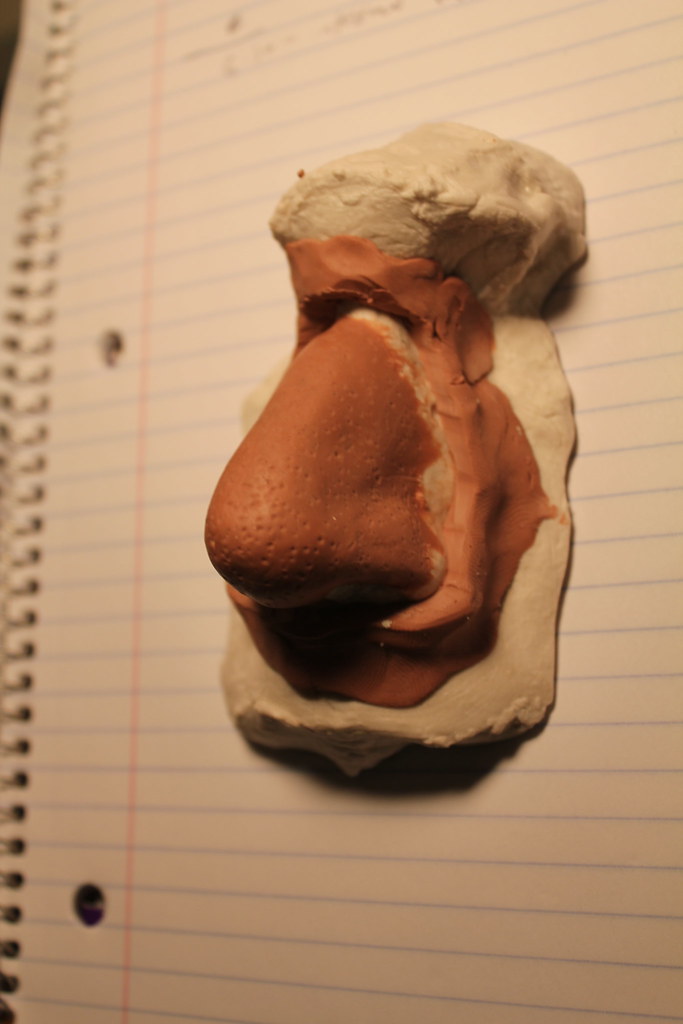
The gelatin nose. I'm using a one part Knox gelatin, two parts glycerin, two parts water formula with some creme makeup mixed in. Lots of trial and error to get the color right. This is about as close as its going to get for this project, but I'd like to increase the translucency in the future. It'll get some final coloring when it goes on my face. Stay tuned.
Subscribe to:
Posts (Atom)