
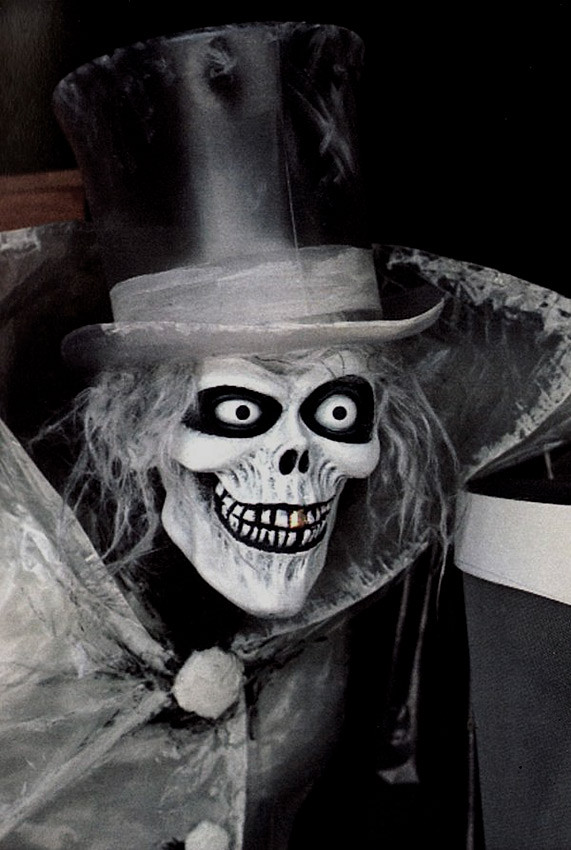
Sculptural Restoration
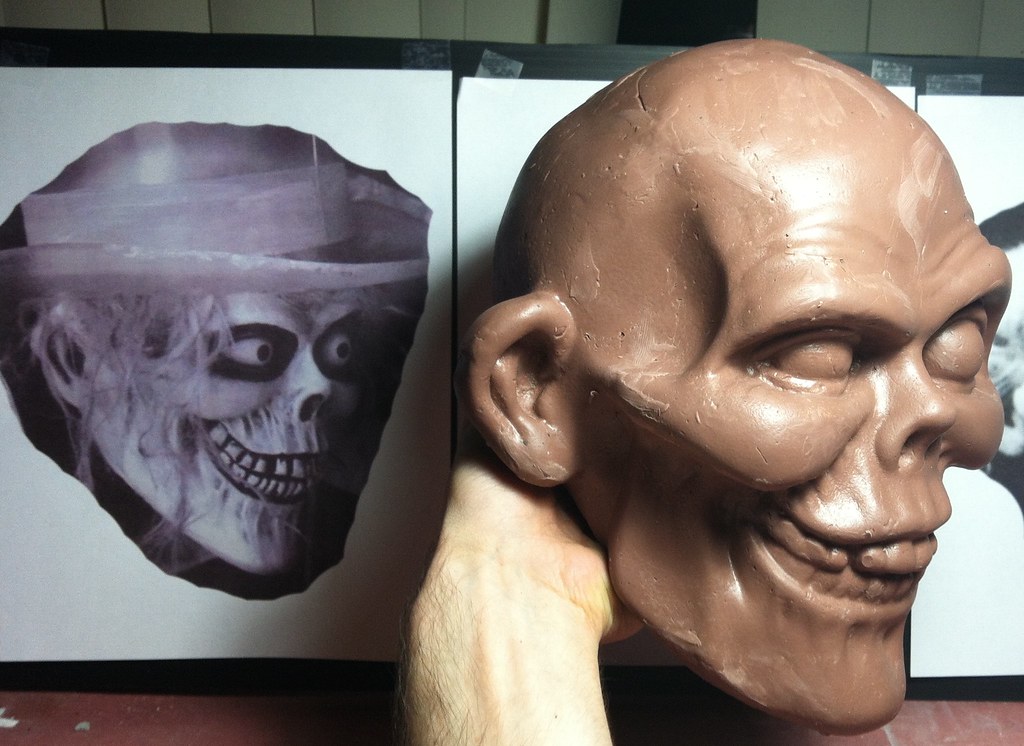
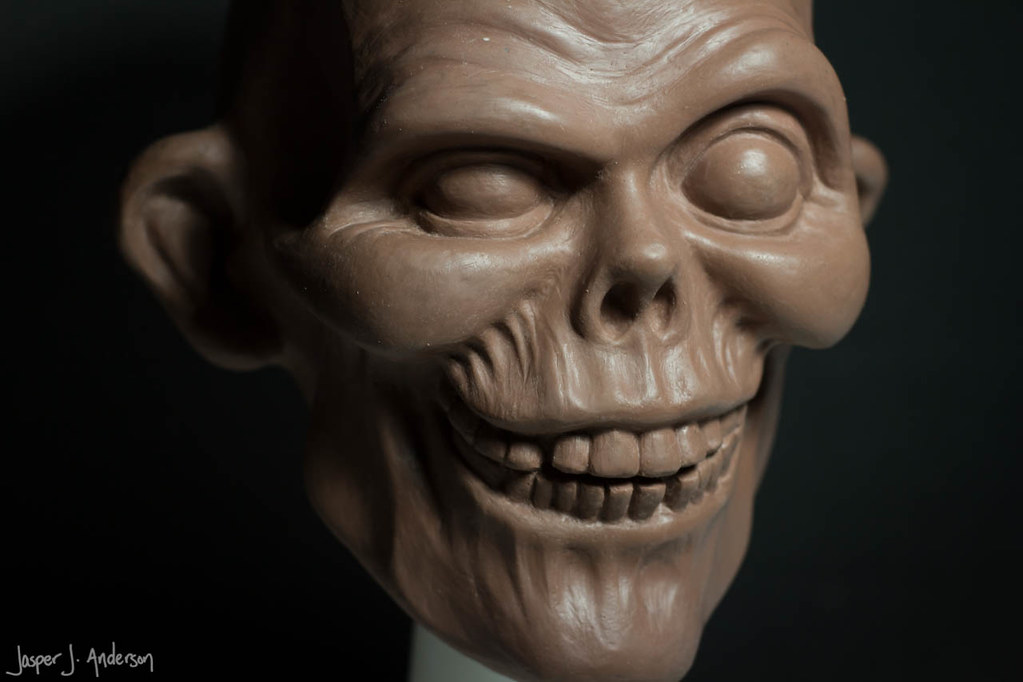
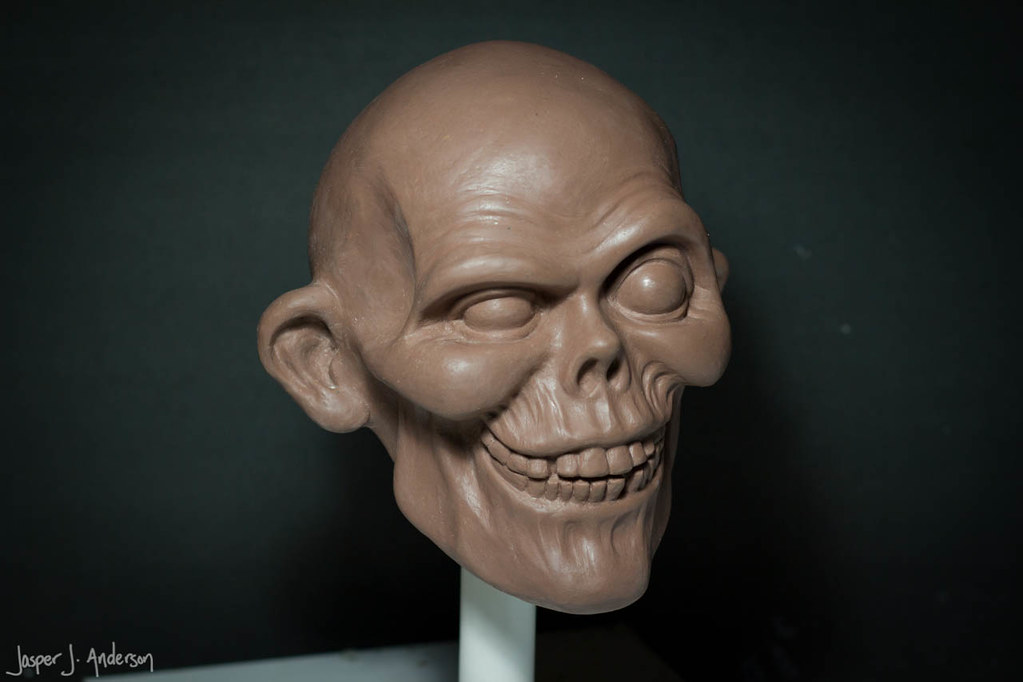
To bring the clay copy I made of the eBay head back to the sculptural excellence of the original Hatbox Ghost, I took two approaches, one for each type of problem. The most straightforward is the general droop. It's most apparent on the sides of the face. I did the clay pour in Monster Clay, which has great elastic properties. This makes it so all I really had to do to give that little facelift is to press the sides of the head inward, and it bends the overall shape without distorting the surface much. Pretty neat. But it is tricky to tell if it's done right, because, though I have some nice reference photos, camera lenses can dramatically change how wide an object appears to be. So I took it slow and did a little bit at a time until it looked right from various angles and proximities (if you stand closer and farther away from the sculpture, you can kind of simulate different lens focal lengths by eye).
The second part was all about the detail. Thanks to some relatively high resolution photos (and a few really low ones) of the original, it's not hard to discern what the details are supposed to look like, but I also know from the damage analysis that pretty much any crevasse is going to need to be carved deeper, and any peak may need to be made a bit sharper.
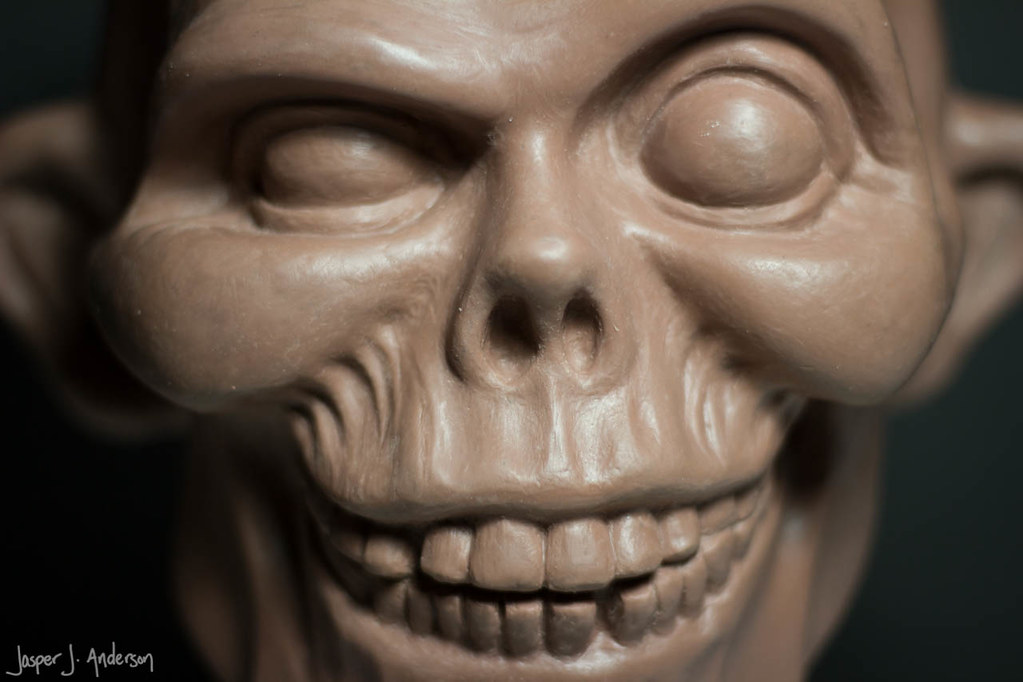
For those, I ended up building out each lower front tooth to meet up where it appears to in the original photographs.
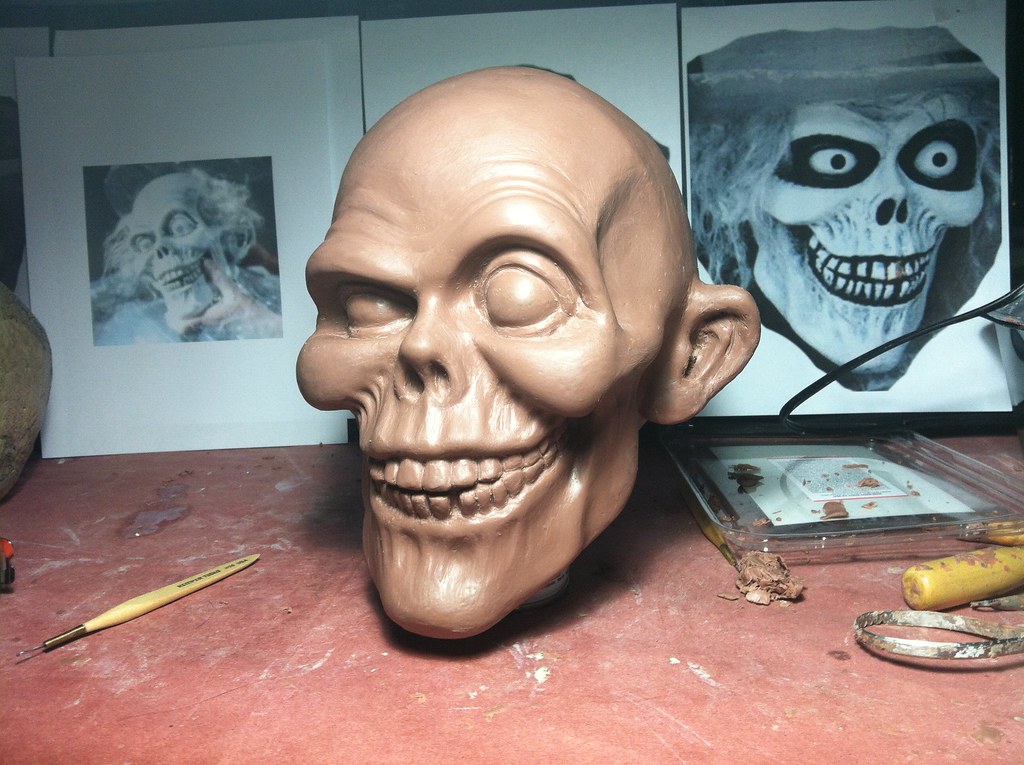
I cleaned up the eyelids, too. This part was trickier, because the only good look at them comes from this low resolution photo of the prototype head.
There's no good look at the forehead that I've seen. But this shot at least suggests that the wrinkles are more ridge-like than a traditional forehead's.
So I used the remaining detail of the eBay head as a guide, and crisped it up a bit.

I used these two little loop tools the most, since they allowed me to carve away tiny amounts of clay without disturbing the area around it. The rounded wooden ends are also good for smoothing areas over a touch.

Return to Part 1, which introduces the project and provides an appreciation for Blaine Gibson's work on the Hatbox Ghost.
In Part 2, I look at the specific problems with the head casting, and try to identify their causes.
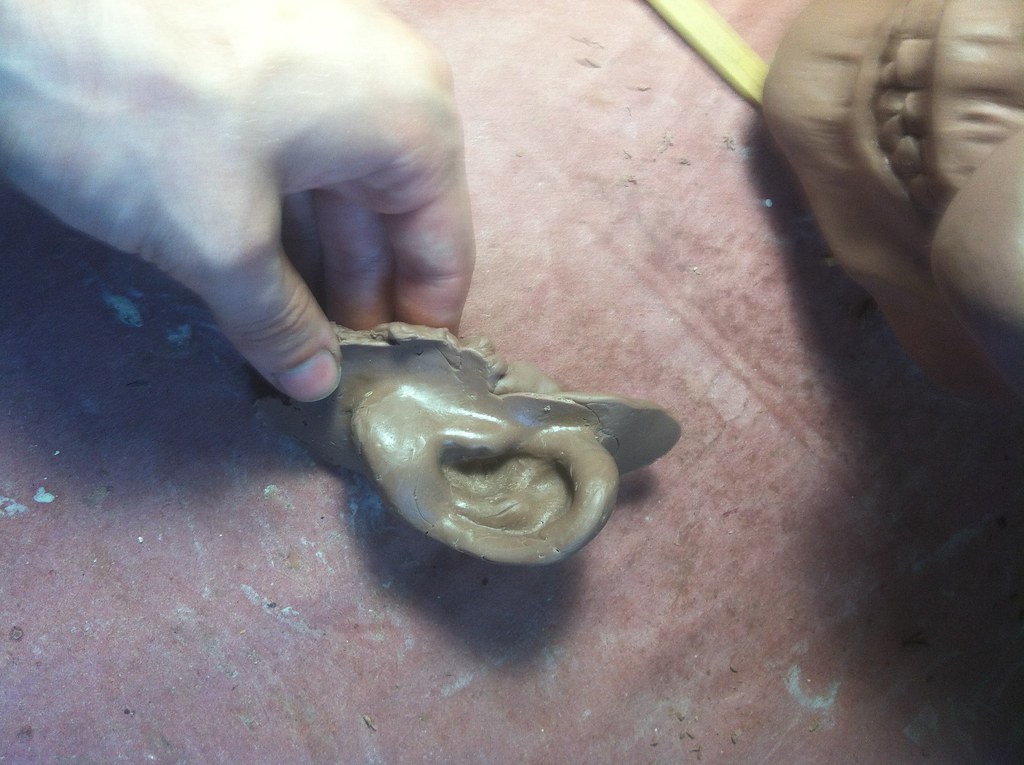
Next, I had to perform a bit of reconstructive surgery on his left ear, because my clay pour didn't capture the detail there very well. I cast up another copy of it for comparison as I worked.
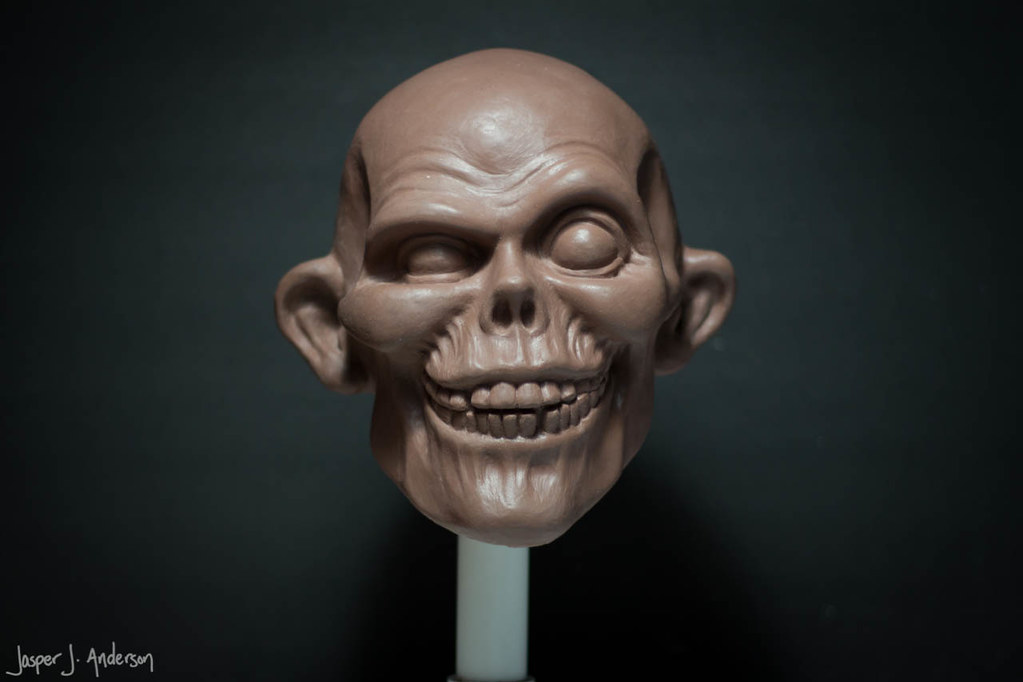
The only other major change was to finish off the bottom of the head. The pipe will become a pouring spout in the mold.
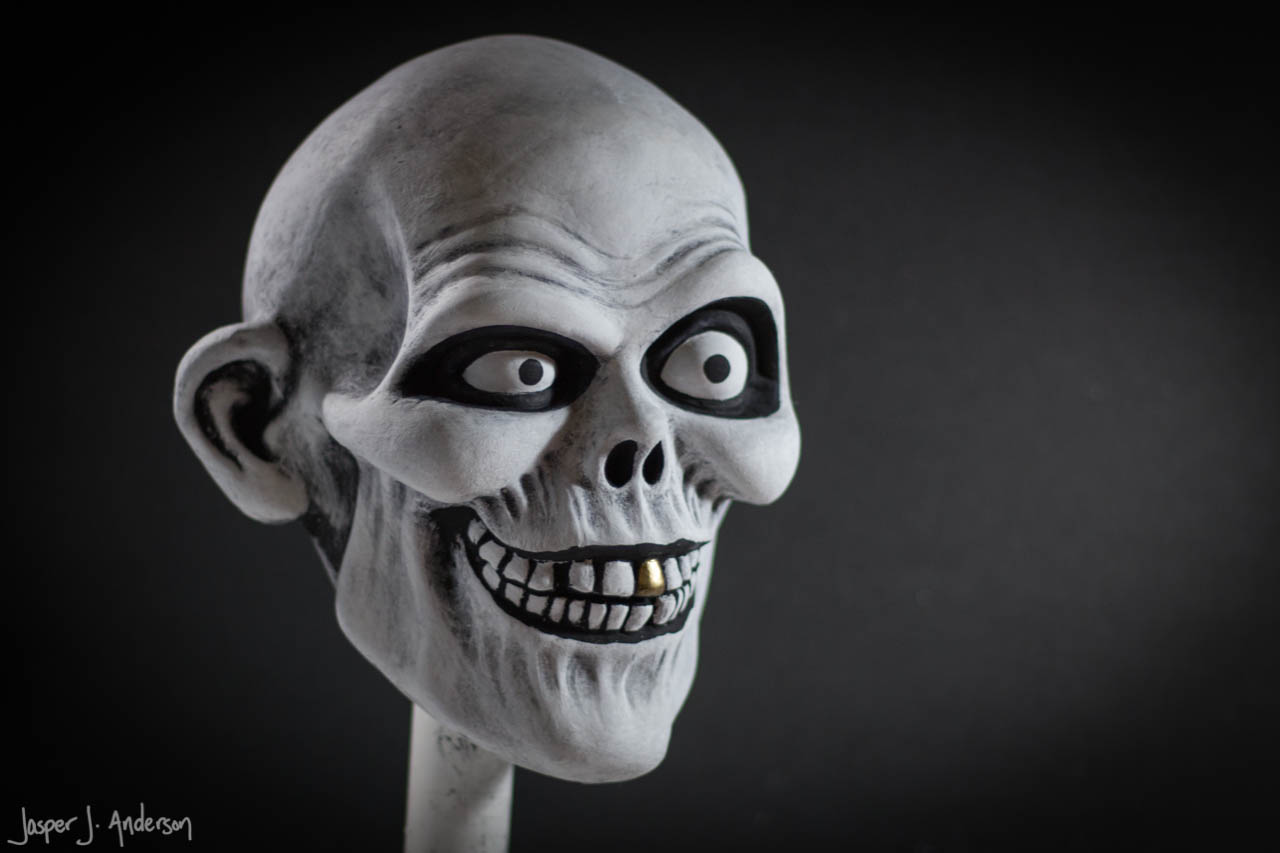
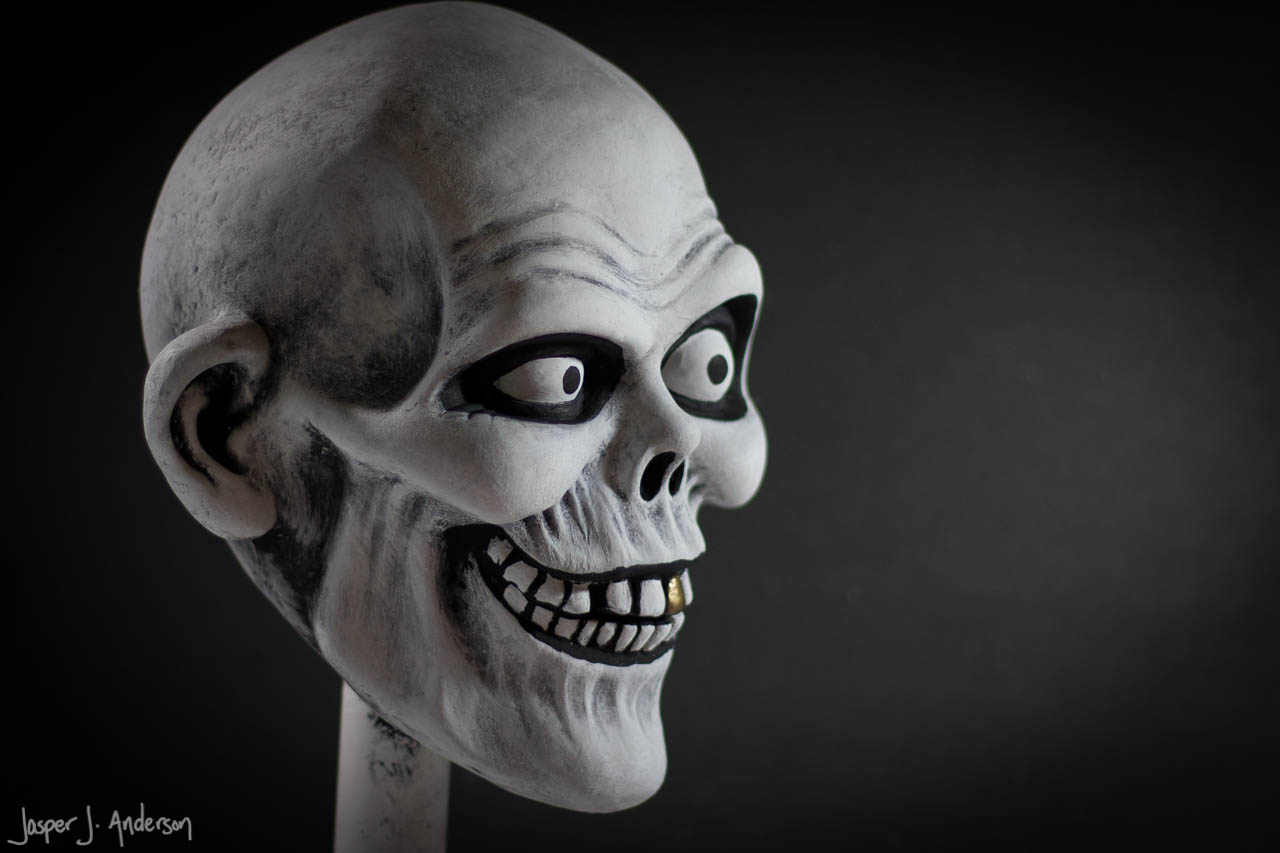
And that's where we are now. To the best of my knowledge, this is now the most sculpturally accurate Hatbox Ghost head out there. Perhaps even more so than the ones in the parks.
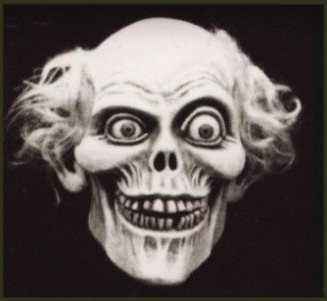
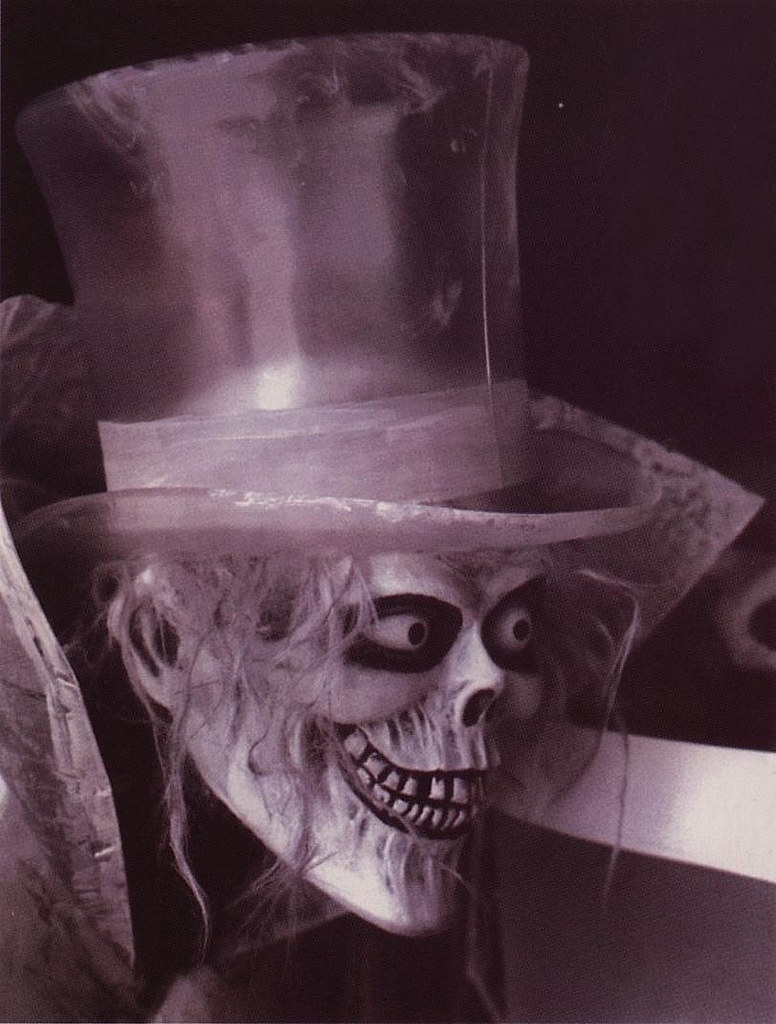
And of course I painted the first casting out of the mold! You're probably sick of seeing those two original photos by now, but, hey, that's the best there is.
In Part 2, I look at the specific problems with the head casting, and try to identify their causes.


That is SCARY you were able to make a spot on recreation of his head.
ReplyDelete