A lot of pictures on this site were hosted on Photobucket before they disabled photo embedding. If you'd like to see pictures for a particular post, please let me know, and I'll prioritize getting those images fixed next!

Friday, July 24, 2009

Giant Rusty Gear of Doom!

I'm beginning to populate my lab scene this week, and the first addition is a 7 foot rusty gear...of doom!


It's made of scrap plywood (I would have used foam, but there's about 20 sheets of used plywood laying around). Base coat of grey, smeared on coat of brown tempra, then sea sponged/mottled brick red, terra cotta, dark orange, and metallic bronze acrylics.

I wanted it to be twice as big, but the garage is only so large...

Here's the plan for the whole scene, which should explain why it's only a partial gear (of doom):

Tuesday, June 30, 2009

First Frankie Test

I was able to whip up enough foam latex to cast a face
...and now I remember why I bought a new camera (shot this on the old one)

Sunday, June 28, 2009

Foam Oven Built

I built the oven for the foam latex Frankie last night. It's made of that foil-backed foam in roughly a 2 foot cube. It fits around an old electric stove top. So far, it looks like I only need one burner to get it up to ~180°F.
The mold will sit on this rack:
That thermometer sitting on top turned out to be unable to handle the heat, so...
And this is the steampunk side....uh, I mean the thermometer side ;)


Wednesday, June 10, 2009

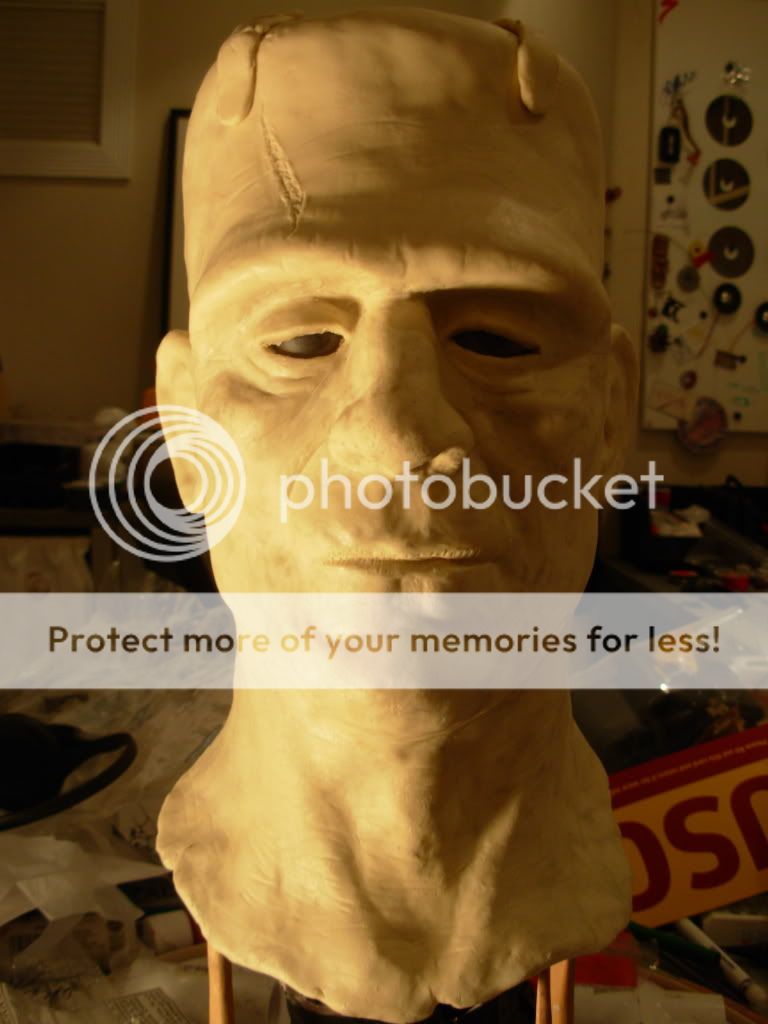
3-Axis Frankenstein Sculpted and Molded!

Here's where he's at now.


Plaster time! I started making the mold a while back.
First the mold walls built around the first half of the sculpt...

Then two brushed on layers of UltraCal-30 (actually, the picture is only of the first layer, but you get the idea)...

Then a thicker layer...

And an even thicker layer...

And then I ran out of U-30. I had to order some more from MonsterMakers.com.


I saw this nifty little trick to make a flat surface for the mold to sit on in Lee Baygan's book.

It worked out pretty well.

Here's the underside with the escape holes modeled in (before I cleaned up the edges and keys with a dremel).


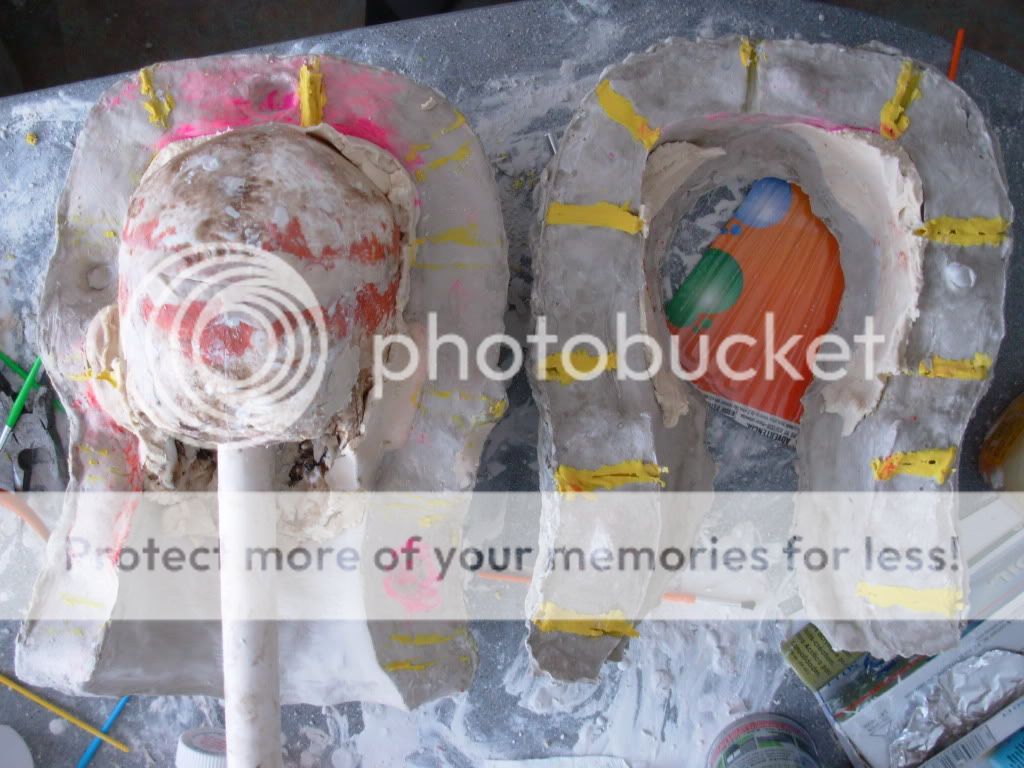
I finished the second half of the mold a a few days later, having coated the the exposed U-30 of the first half with vaseline. It's about four layers of plaster, a layer of burlap soaked in plaster, then another layer of plaster.

I managed to separate them after a half hour of shoving pliers and paintbrush handles into the escape holes...

Then I spent an equal amount of time trying to get the skull out. I ended up working the jaw off, then using the PVC (which was screwed on) as a lever to work it free...

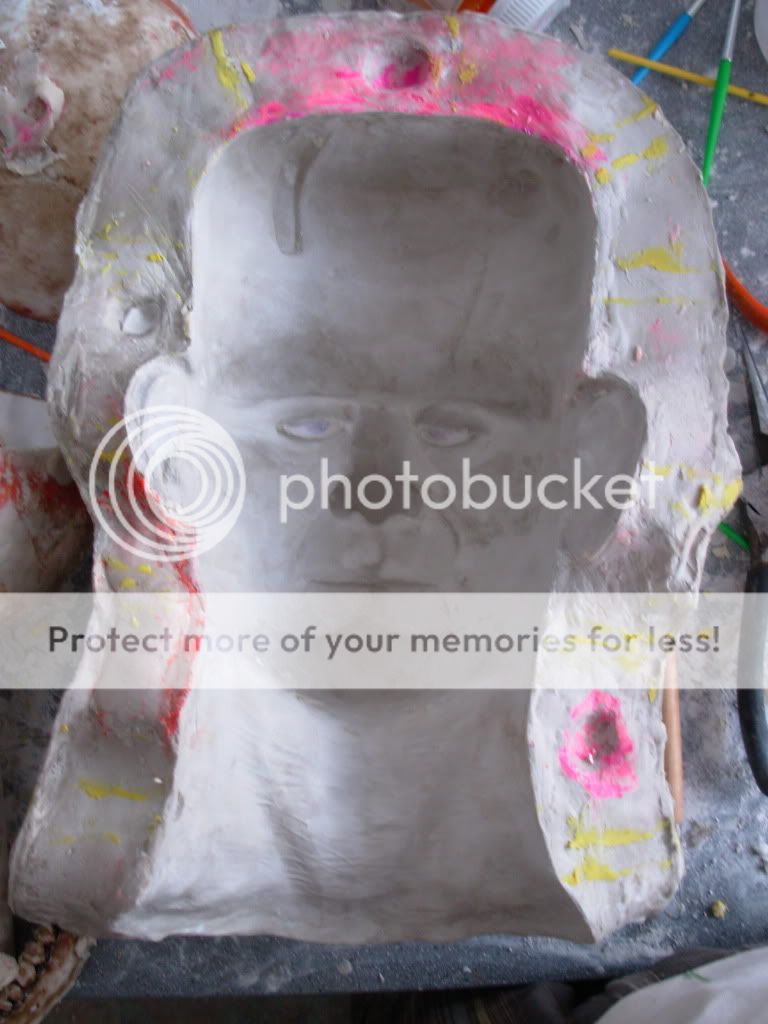
Finally, I cleared out the plaster (which came out very easily because I sealed it)...

I think it came out pretty good. There are some imperfections which (I hope) I can easily clean up, but overall I'd say it's in pretty good shape.