

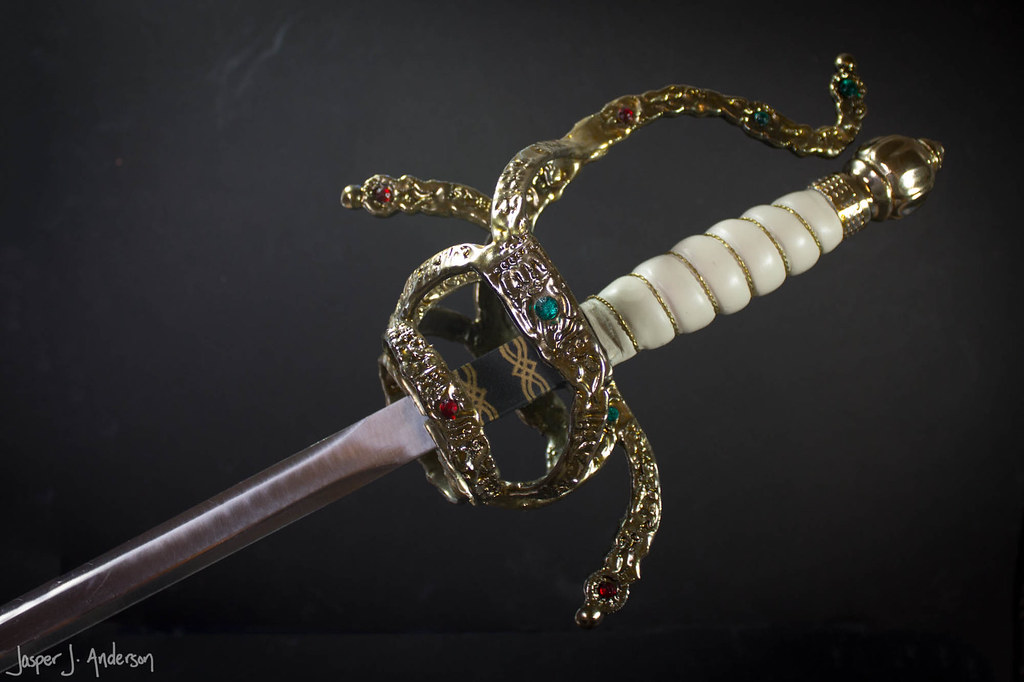
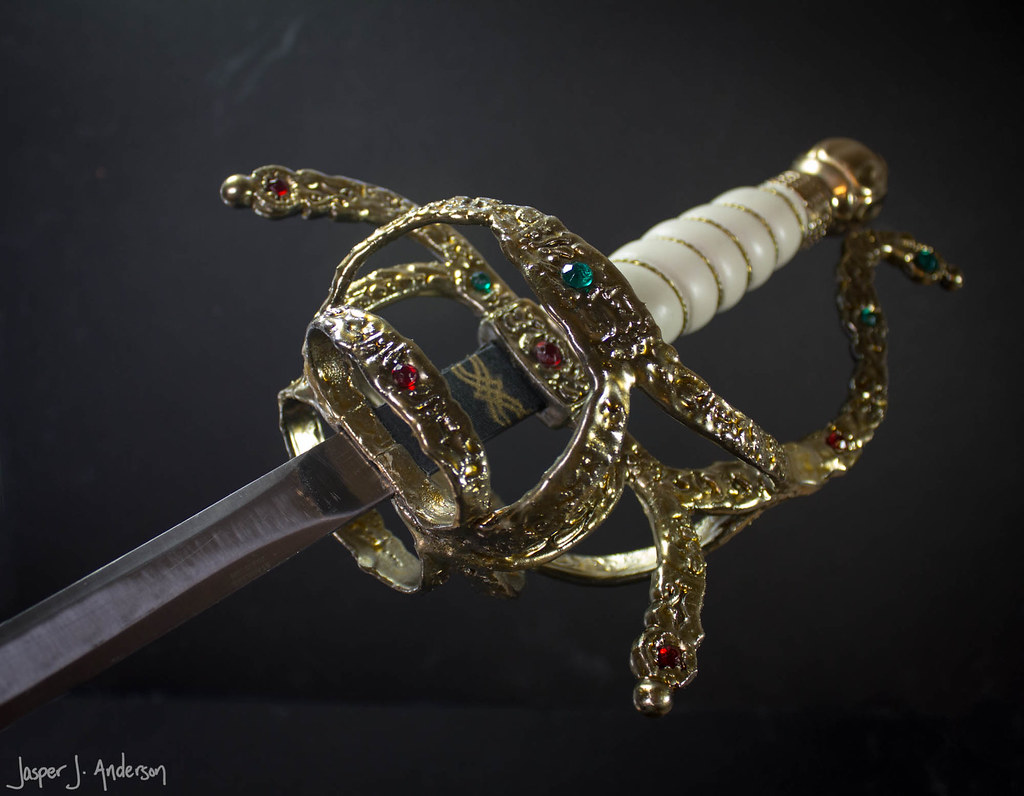
First, we needed Inigo Montoya's sword. Gold, jewel-encrusted, and ornate, it has a very specific look. I don't think you could do the costume justice without getting reasonably in the ballpark. I spent a long time looking for an existing replica, or a "close-enough" product. I looked at many a swept hilt rapier, but nothing even had the general shape of the hilt.

Then I saw that IndyMagnoli on the RPF is in the process of doing a run of beautiful reproductions of the Inigo sword, but they won’t be ready in time for Halloween, so it was back to doing things the old fashioned way. And I mean that in a general sense, because I had never made something quite this way before.
I thought about making a blade, but the thought of all that grinding of metal was giving me a headache, so I found a cheap rapier for $40 on Amazon to cannibalize.
On studying the construction of what looks like a very complicated, swirly, twisty hilt, I determined that it would be impractical to mold as one piece, or even a few pieces, especially given also the fact that I only needed one. Really, the way the original maker probably made the hilt is out of a few flat pieces bent and fused together. I could take a similar approach with plastic. Cue the 3D printer. I mocked up the concept in paper to be sure it would work.

I am not a skilled 3D modeler, so I drew out a rough approximation of the intricate details of the guard in sharpie, following the outline I had prototyped in paper. Then I scanned those drawings, and used the tracing tools in Illustrator to turn it into vector outlines. That file could then be imported into a 3D modeling program (I used one of the free ones from Autodesk...123 something), and extruded into one thickness for the main body, and again a little taller for the details. Print two of everything, mirrored for the other side of the sword.
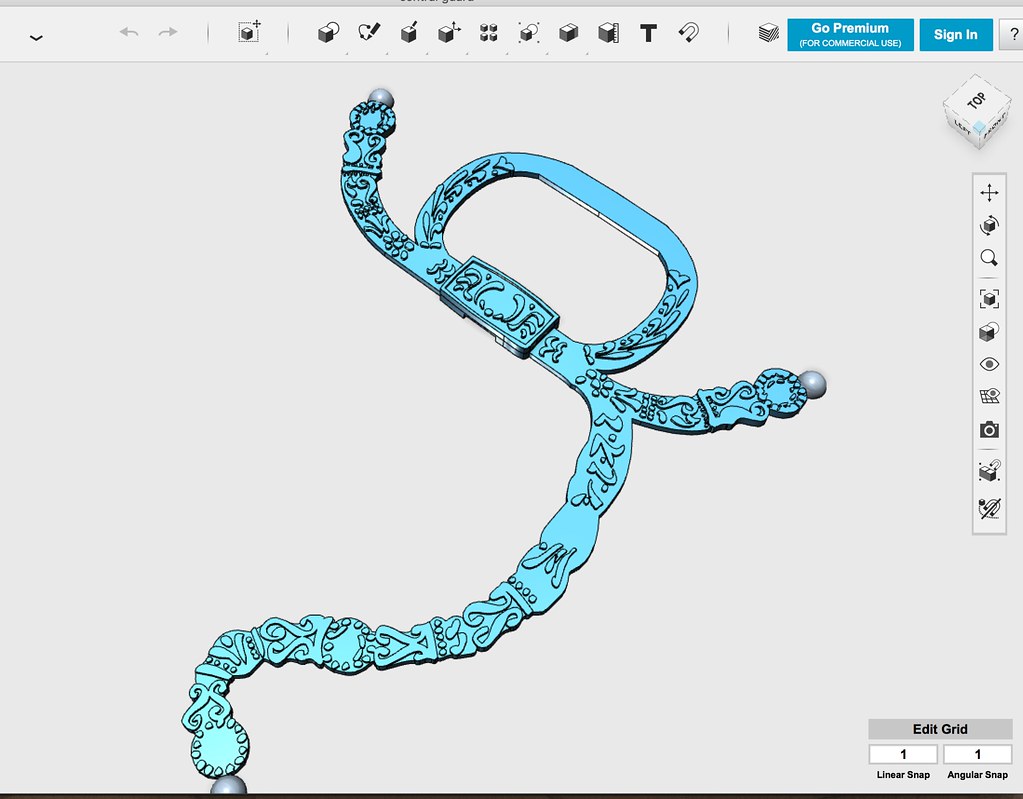
I printed in ABS, because it’s a bit stronger. Solid infill for extra strength. The thinking here was that if I printed the curved parts in a curve, the layers would be aligned to create weak points where it would snap through the thin bars. If I print it flat, one layer of plastic goes continuously around the whole surface, making for a stronger part. Then it's just a matter of hitting the parts with a heat gun, and shaping them to fit together.

A bit of acetone will bond the reversed ABS parts to each other, and will also seal in the outside, and melt it down a bit. I also rounded over the edges and some of the detail with a dremel sanding drum at this point. It could have been done in the model, but I was pleased with the way this worked out.
My mistake that I realized at this point was that the middle Y shaped piece should have been a bit larger. Oops.

I used a thick 5 minute epoxy gel to fuse the larger curved parts to the main guard, and to fill in the volume there. This stuff retains some flex when it cures, which means it’s less likely to break off at the join than if I had used a totally rigid glue.

I did another pass of acetone, but it wasn’t giving me the total smoothness that I wanted, so I went for a product that I really don’t like to use. Smooth On XTC 3D. It’s designed to be brushed on to 3D prints to clean up the layer lines, but it tends to obliterate all detail, too. It often goes on unevenly, and it’s an especially stinky epoxy. Not my top pick. But all of those usual drawbacks (except the stench) will actually work in my favor here, and give me a high gloss surface to do my faux chrome. So I slathered on a couple of coats.
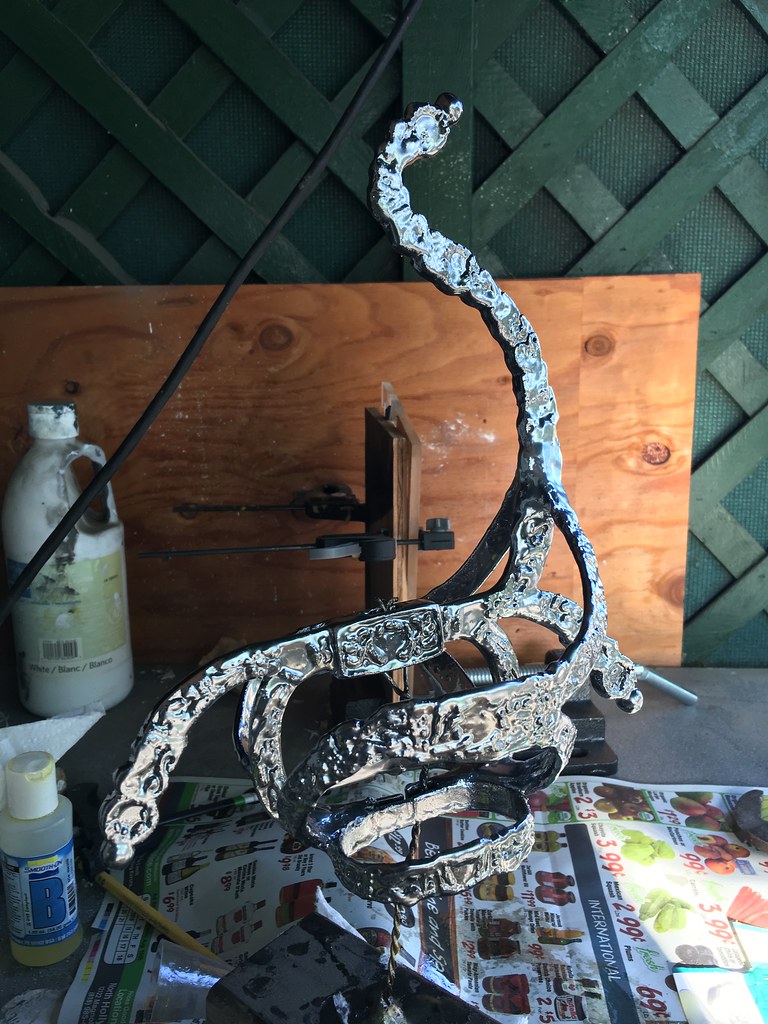
Some Alclad Chrome paint, then a candy coat of orange makes a decent faux gold.

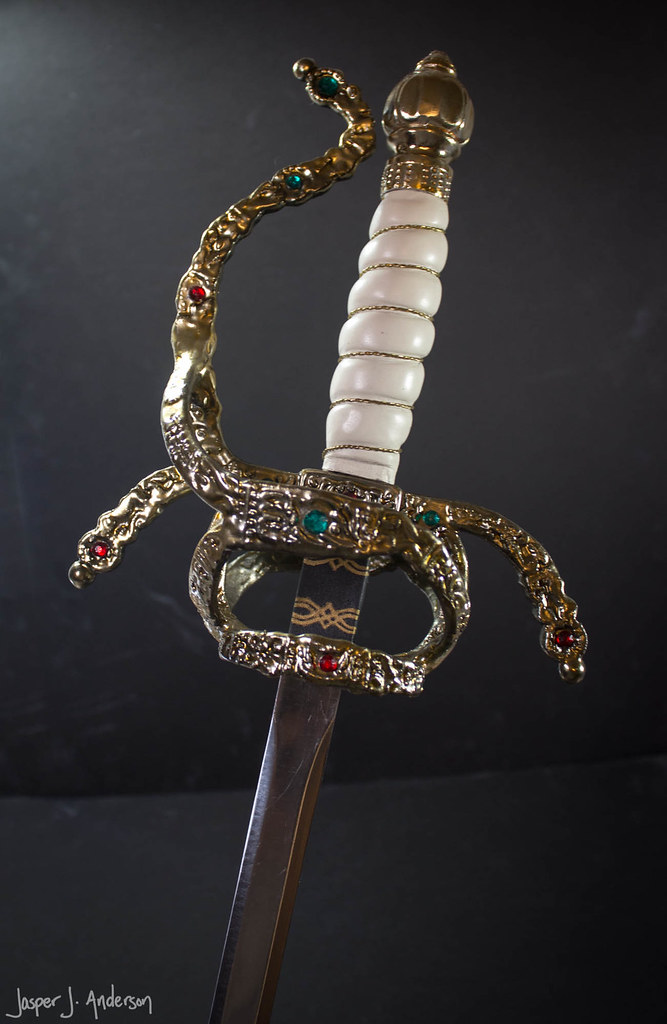
I decided to keep the original pommel because the weight of real metal is needed to make the sword balance properly in your hand. The shape was in the ballpark, too, which is one of the reasons I picked this donor sword originally. So then I just had to make a handle to fit between the pommel and the guard. I checked the size with a bit of 1/2” pvc pipe, and ended up using that as a base, onto which I added Freeform Air (leftover from a previous project). I figured out this time that using baby powder to smooth it was a cleaner way to go than alcohol.

I let that cure, then painted it and gave it a good wire wrap. Not too bad for $50 and some leftover materials.
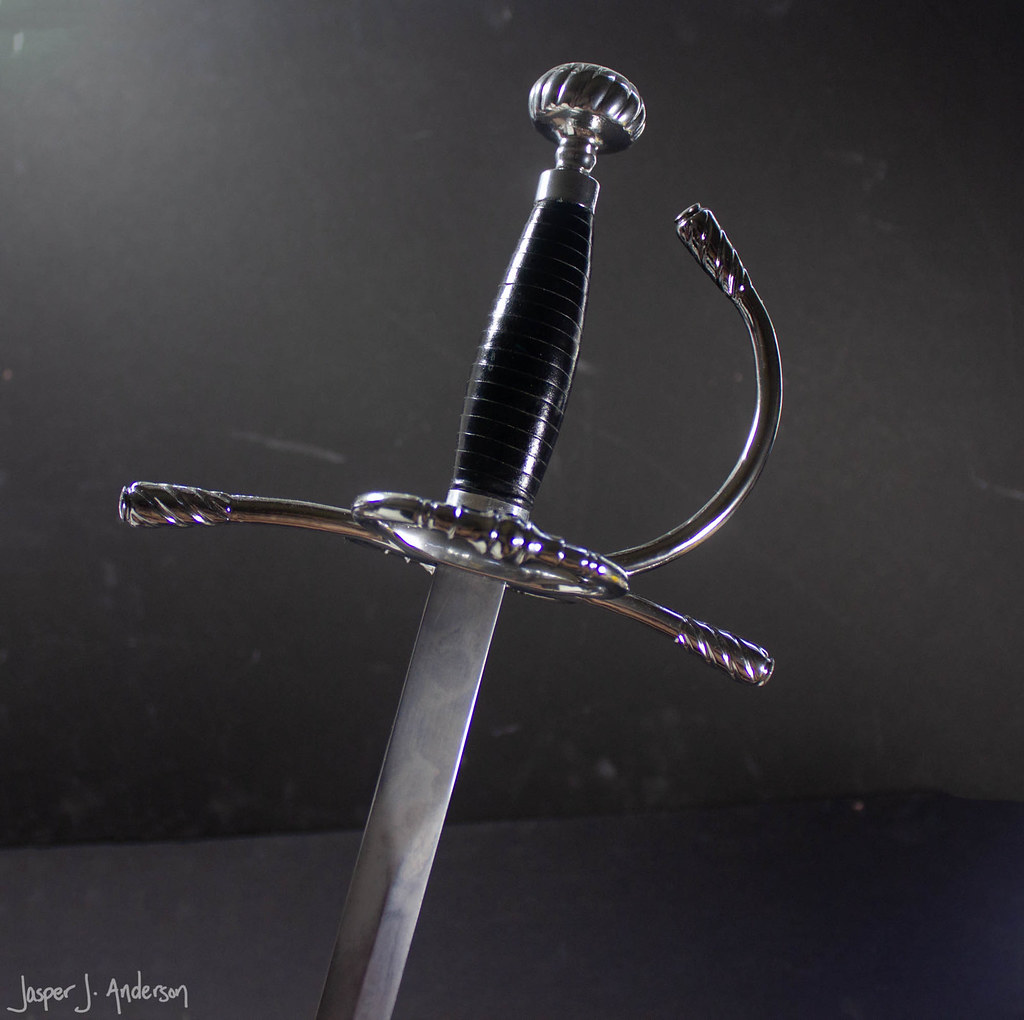
The Dread Pirate Roberts sword was the next puzzle. I should mention that Factory Entertainment did both swords several years ago in a very small edition. I looked for these, but they’re long sold out, and it doesn’t seem like anyone who has one is parting with theirs. However, I spotted on Amazon what appears to be the manufacturer’s attempt to make a genericized version of the Dread Pirate Roberts sword. It’s the same guard, same handle, but a different pommel and a black blade.

They call it the Black Marauder Rapier. I can work with that. Frankly, this was the sword that could have been pretty generic. Most people wouldn’t know he difference no matter what sword he was holding, but where’s the fun in that?
The blade was blackened, and through some research, I found that you can just scrub it with vinegar and the blackening comes off. Give it a polish with some stuff made for stainless steel kitchen surfaces, and you've got a silver blade again.
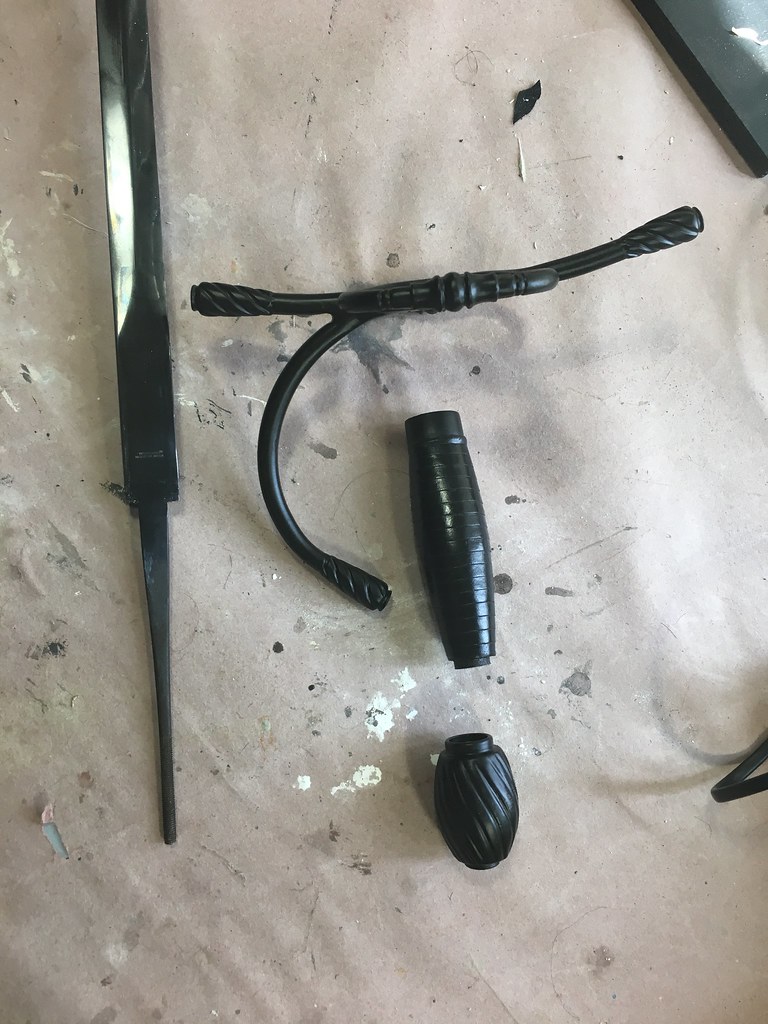
The wrong pommel screws right off, so it would be easy to replace. And I had great reference of the correct pommel, due to the previous licensed replica. The bummer is that the swirling seashell design is a pain to 3D model. Yes, I’ll be printing this one, too. One thing the printer does much better than I do is geometry.
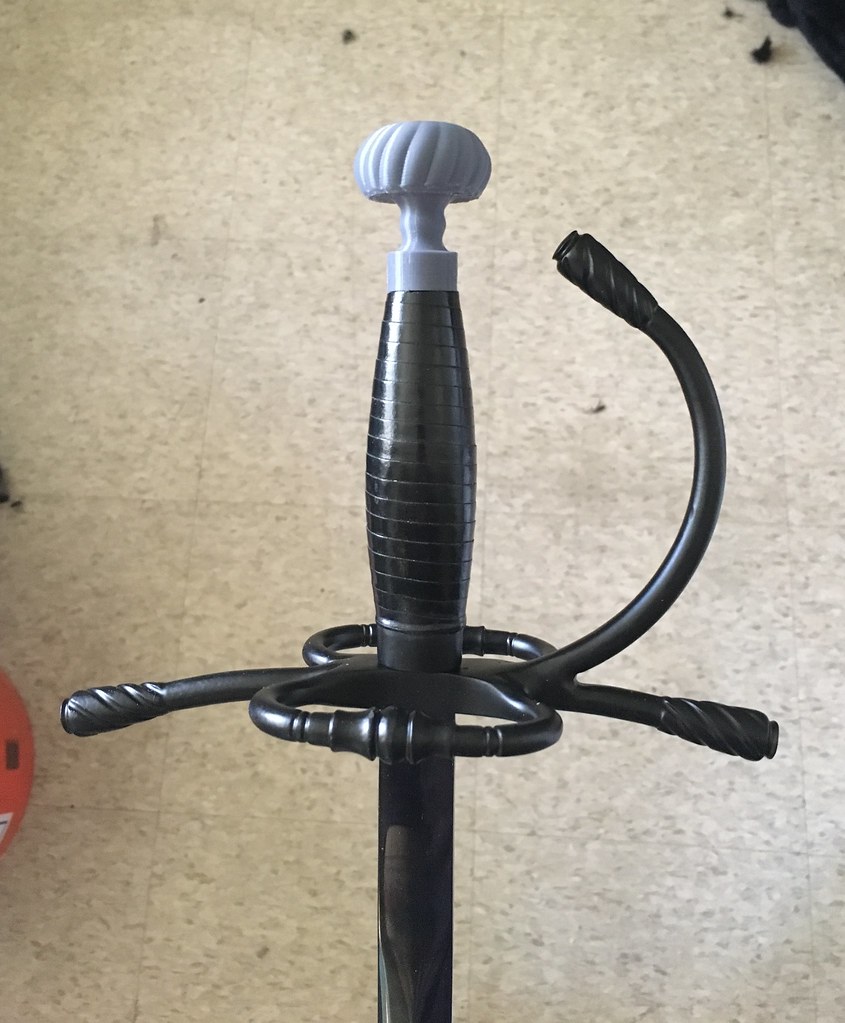
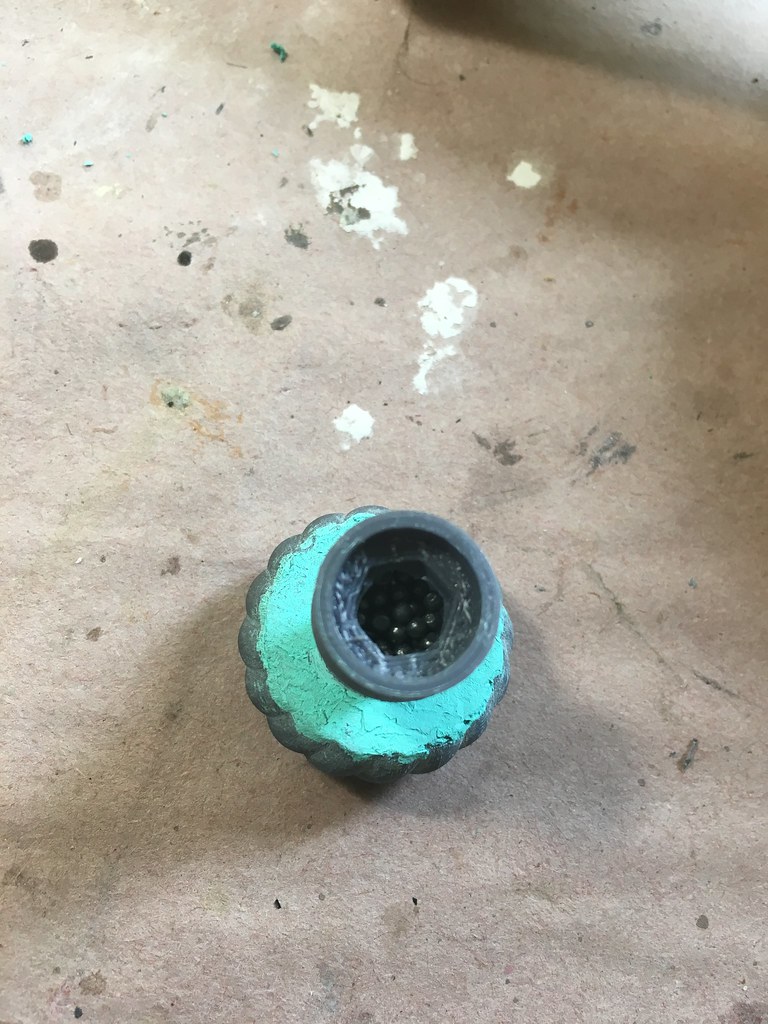
I got it modeled and printed hollow, with a receptacle for an appropriate hex nut. And then I filled the void with lead shot, backed with epoxy.
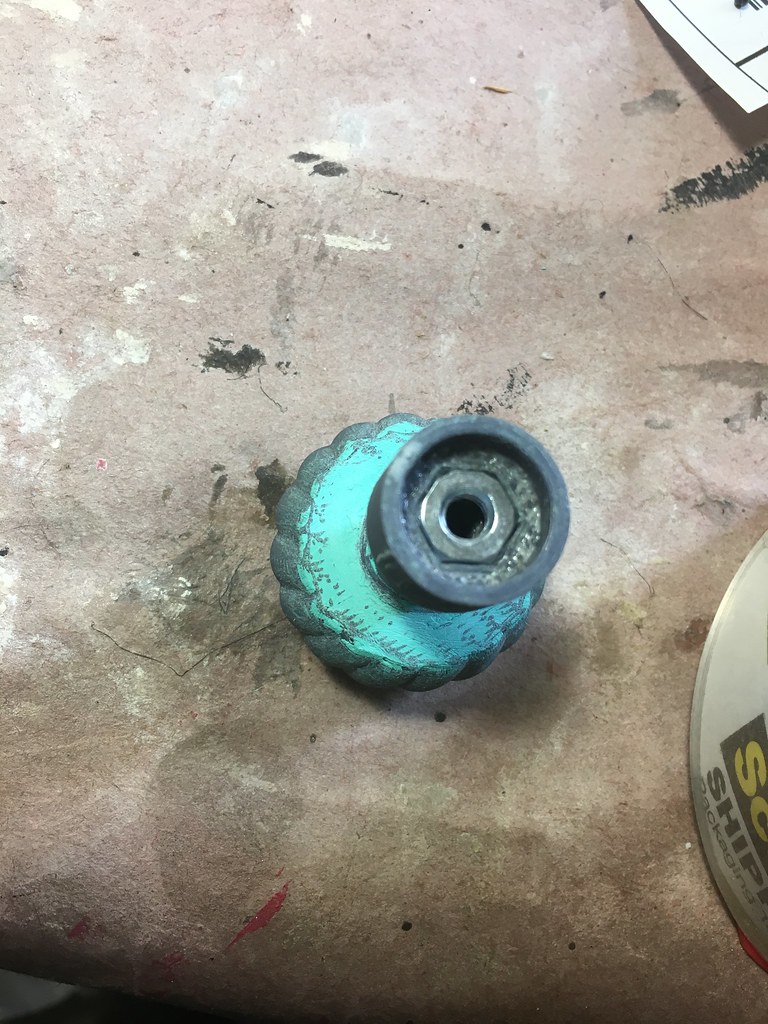
Sand, sand, sand the pommel. Then I gave the guard and the pommel a coat of gloss black enamel and the Alclad chrome treatment. I'm really impressed with how effective the chrome is on this. There's a little ring of metal at the top of the leather wrapped handle. I opted for aluminum tape on this part, rather than masking and painting, and it blends right in.
If you'd like to make your own swords, I've uploaded the files I made to Thingiverse.
Here's the Dread Pirate Roberts Pommel: https://www.thingiverse.com/thing:3114815
And here's the Inigo Montoya guard: https://www.thingiverse.com/thing:3054622


I know old blogpost... but you are so everloving awesome!
ReplyDelete