A lot of pictures on this site were hosted on Photobucket before they disabled photo embedding. If you'd like to see pictures for a particular post, please let me know, and I'll prioritize getting those images fixed next!

Thursday, November 20, 2014

Noggins Available!

Okay, gang, due to popular request, I'll be offering castings of my skull sculpture. You can either get it in rigid foam or hollow resin.

Foam castings are not going to be as well detailed or perfect as the resin. So if you want it for display, go resin, if you're going to modify it or corpse it, save a buck and get the foam.

Resin skulls come white (pictured below painted), and foam is yellowish (pictured below unpainted). Both will need a bit of cleanup along the seams (a razor blade and a bit of light sandpaper will do the trick). The foam will need a coat of primer to paint, and the resin needs a very light sanding before acrylic paint will stick.

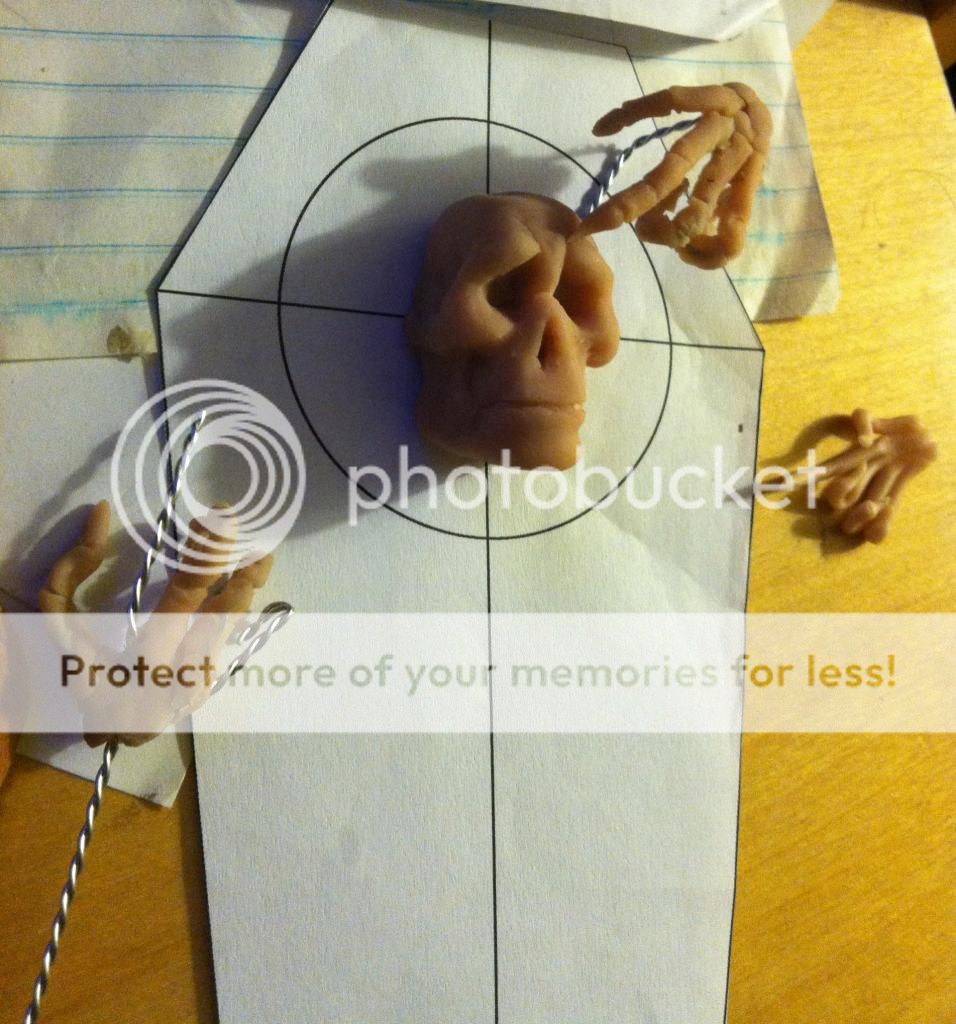
The skulls are in two parts (cranium and mandible), and measure approximately 5" from cheekbone to cheekbone, and 8" from chin to top of the head.

Resin for $55, Foam for $35. $50 and $30 without the mandible, respectively. $10 shipping in the US for one skull. Email me your zip code for shipping cost of more skulls.

Email me at ChickenHaunt@gmail.com with what you'd like to order, and I'll send you a Payapal request (so be sure to tell me if you use a different email on your Paypal account).


This is a temporary offer, as I do not intend to be making skulls all the time, haha. I'll update this post when it changes or ends.

Thanks for your interest, folks!


Monday, November 17, 2014

Skull Copies


Raw castings in foam (L) and resin (R)

Sunday, November 16, 2014

Eyeball Moldmaking How To Video!


I got a few questions on how I make my eyeballs, so here's a video on making a mold to churn out as many peepers as you want!

Wednesday, November 12, 2014

Skull Sculpting

Just finished sculpting this guy. Chavant NSP Medium clay. I used one of the Skull Shoppe's excellent models as a reference. Molding it next for what I hope will turn into a pretty cool project.  Stay tuned!


Monday, November 3, 2014

End of the Hallow-season


A little group shot of some of this year's creations before I begin working on the next round!

Wednesday, October 29, 2014

Pumpkin Sculpture Time Lapse!


How fast can you carve a pumpkin? Here's a lightning fast video of mine!


I've been playing with doing one of these each year for the past few. It's fun to play with, even if I'm not as good as the pros

Thursday, October 23, 2014

Eye on LA

Looks like Benny thought he could sneak past the camera during the Eye on LA segment about Creature Features in Burbank that aired October 19th.  No such luck, Benny.

Haunted Mansion Inspired Ghost

Or is it a zombie?  Either way, they're too fun to make.


He's inspired by this ghost in the Haunted Mansion.  I believe it was sculpted by Blaine Gibson, and probably based on a deign by Marc Davis:

Check out the how to video in yesterday's post.


Wednesday, October 22, 2014

How to Make Wacky Zombies: New Video!

With Halloween coming up fast, I thought I'd put together an easy to digest tutorial video on my corpsing techniques.  It's a great way to quickly knock out some fun characters.  Check it out.  It's only 4 minutes, and you might get a useful idea or two!

Tuesday, October 14, 2014

Last Chance for Sybil this Season!

This just in! I have TEN Sybil the Clairvoyant Kits (1&2) ready to ship now. Order this week and have her conjuring spirits for you before Halloween!

Info here: www.chickenprops.com/p/sybil.html


AND don't forget about the CRAZY October Projections Sale on the Haunted Tombstones: http://chickenhauntprops.blogspot.com/p/tombstone.html

Sunday, October 5, 2014

Nervous ToT Zombie: Part 3, Done!

Here he is! I decided what he really needed was a tattered cape as his trick-or-treating costume. Sort of splits the difference between the two looks posted before.

"Benny" will be on display (and available) at the October Shadows group art show at Creature Features in Burbank, CA from October 11-November 2, 2014: http://creaturefeatures.com


Tuesday, September 30, 2014

Crazy October Projections Sale!

You know what you need?  Some Haunted Tombstone projection effects.  Perfect last minute props, big bang for your buck.  Yep.  Oh, and they're on sale!

This month only (Oct. 2014), the entire Haunted Tombstone Collection (the original tombstone, the second taller tombstone, and the two together in one video frame) are available as a single download for only $50!  That's like 60% off!  Holy spooks! Even if you have one or two already, this is waay cheaper than getting the rest individually.  Get 'em while the gettin's good.

Check out the How To below if you haven't, and head over to ChickenProps.com to see more and get yours.


PLUS: did you know I have another effect out this year (besides Sybil the Clairvoyant, our resident disembodied medium, of course)?  "Spooks!" is now available.  A $25 loop of swirling green ghosts.  See them in the background of the Sybil video:

Nervous ToT Zombie: Part 2, Drybrushing and Eyeballs

Updates!
Moving quickly on this guy to have him done before the weekend.

Once the mache (which DevilsChariot has been calling "Chicken Mache" haha) was dry enough, I started dry brushing. Drybrushing, washes, and rubouts are awesome for getting "free detail" in your paint jobs. I took a little of the base color, and mixed it with white and yellow to get the drybrush color. Actually, I did about three or four variants on that color to keep things from getting too much the same all over.


Now I'm going to turn you onto another cool trick. You can get this stuff called Polycrylic at Home Depot. I think it's for sealing wood, but it gives a nice clear satin finish to just about anything. Just makes things pop a little better than if they were matte. It's pricey at about $50/gal, but you hardly use any. If you don't stir it, it comes out glossy, which is kinda neat, too.

Someone asked about the eyes. I think it's a trick I got from Born2Haunt: http://www.born2haunt.com/Ledeyes01.html
I believe these ones were a little plaster mold I made of a half ball of clay. Shoot in some hot glue (no need to fill it, just skin the surface. Bam. Eyeballs. I run the thing under cold water to speed up the glue cooling down.


I decided to paint the eyes. I had left them glue colored before because they have LEDs behind them, but they look kinda lame in the daylight like that. Turns out the light will still shine through a thin few layers of acrylic.


Then I glossed them. I did the teeth with an acrylic gloss, and it looked fine, but I really want the eyes to pop, so I used a couple coats of 5 minute epoxy. It doesn't show up so great in this picture, but I'll do a proper photoshoot later in the week.


So now we're at like 95% complete. I'm toying with the idea of giving him a little bit of costuming to go with the ToT bucket. We'll see...


Monday, September 29, 2014

Nervous ToT Zombie: Part 1, Armatures and Corpsing

It's been a while since I made a regular Halloween prop, since I haven't had a haunt of my own for a few years.  I recently got an opportunity to make something, so I decided to go back to my roots with a goofy zombie. I used to do plenty of groundbreakers, but I never got to do a full figure zombie in my style, so that's this week's project.

I like to start with a sketch. I don't draw, but I can doodle!


The armature is in my traditional style-- 3/4" PVC, X coupler at the shoulders, T at the pelvis. All the other joints are posed simply with a heat gun. It makes for a cheaper structure that has fewer weak points. Perhaps most importantly, it allows for infinite flexibility in the pose, which I think is the most important part of a static character. This post by Pumpkinrot really sums it up for me.


I do the ribs, bone knobbly bits, and such with rolled or crumpled newspaper, as in my skeleton tutorial:http://www.instructables.com/id/Paper_Mache_Skeletons/

Cardboard sternum, pelvis, palms of the hands. Wire fingers.

And then I go for the skin. A few folks know how I do mummified corpse skin, but I don't think I've explained it publicly yet. It's basically just paper towels soaked in latex house paint. Lay it on, wrinkle it up. It dries super hard, depending on how much paint is on the towel, is basically waterproof, and gives you your base color

I do the majority while he's upright, so I can get all around


You'll notice the hands aren't attached when I begin corpsing. I find it's easier to do them when you can get all around, and since they're going to be all tangled up together, keeping them separate seemed the way to go.


Then I lay him on his back to do the stomach and neck. If I did these standing up, the paper towels wouldn't drape as nicely.


By the way, you probably noticed the head is already done. That was a little guy who peeped around the corner last year. I figured his expression was close enough that I could repurpose him to save some time. I actually rather liked doing it this way, though.


More to come...

Sunday, September 21, 2014

Still Shipping!

Sybil the Clairvoyant kits are still shipping!  Order yours now from my new Mr. Chicken's Prop Shop: ChickenProps.com site to have Sybil conjuring spirits in your haunt for Halloween 2014.

Here's how easy it is to set her up:


Don't forget she now has an optional crystal ball (pictured below)


Or you can get her in the latest-and-greatest PRO version, with internal projection and a moving head!


Click here to find out more!

Friday, September 5, 2014

Museum of the Weird


Before the Haunted Mansion as we know it, Imagineer Rolly Crump designed a "Museum of the Weird." Next Saturday, Sept. 13, Creature Features in Burbank is hosting the opening of their "Museum of the Weird" gallery show, with Rolly himself in attendence!

Stop by to see my Sybil the Clairvoyant conducting a seance, as well as my new recreation of Rolly's Coffin Clock maquette (seen in the foreground in the image at the top of the post).  Pictures of mine are later in this post.

Details on the event here:https://www.facebook.com/events/668040166608199/

Here's a little background on the Museum from the Disneyland 10th Anniversary Special (starts at 1:37, but watch from the beginning to see Marc Davis talking about the Haunted Mansion, too!):


***

Now, here's my Coffin Clock, with Rolly's original below:


Not exact, perhaps, but not too far off, either!

While not a full how-to, here are some making of photos to give an idea of how it came together.

The dimensions of the coffin were designed in Illustrator and printed for reference.  The skull and hands are being sculpted with Super Sculpey here.

To make the fabric, I penciled lines on the backside, then stitched up and crumpled it down.

Much of the coffin hardware is from the jewelry section of the craft store

The clock face was made in Photoshop, printed, mounted, and laminated

All the doodads were first attached to the clock face, and that whole assembly mounted in the coffin as one piece.

You can tell by the lighting above that I just finished this up late last night!  I was able to snap some nicer pictures before delivering it to the gallery today.

Sunday, August 24, 2014

The Davis Graveyard Needs You!


Chris and Jeff Davis of the Davis Graveyard, without doubt one of the most impressive home haunts around, have fallen on hard times.  Both of them lost their jobs, one three years ago and one a few months ago. They've been searching hard for work but nothing has come their way as of yet, and now they're at risk of losing their home.  I'll let you read Chris' post (here) for the details.  

Fellow SoCal haunter Derek Young has put up a donations page on GoFundMe to give us all a way to show the Davises a little support.  Chris and Jeff have certainly done more than their part to support the efforts of haunters everywhere, so if you've ever admired their photos, learned from their how tos, participated in the Home Haunter DVD Collection, please throw a few dollars their way to keep their haunt and lives on track.

If you don't know them, take a moment to click the links above.  You'll be glad you did.  Seriously, the Davis Graveyard rocks.


Link:
https://www.gofundme.com/davisgraveyard

Monday, August 11, 2014

Thanks for visiting us at ScareLA!

I had a great time chatting with everyone who came by the booth.  Looking forward to next time!

You can also keep up to date by following Mr. Chicken on Facebook at facebook.com/chickenhaunt

Monday, July 28, 2014

Sybil 2.0

So, wondering what's going on with this year's products?  The time has come.

Sybil Ad for video

Sybil the Clairvoyant is now available as a professional, already assembled effect.
But now she's completely self-contained.  No projector to hide.
And her whole head moves.

This is pretty darn cool, if I do say so myself.


Available now at ChickenProps.com


Sunday, July 27, 2014

Spooks! Projection Effect

The big news is still on the way, but in the meantime, you can now invite some of my favorite ghosts over to play with Spooks! A new projection effect offering.


I've had a few requests for a video featuring just the ghosts from the Sybil the Clairvoyant effect, either to populate the rest of the room, or to add a bit of ambiance to a graveyard scene.  Here it is!

Stop by my booth at ScareLA to see it in action, or, for the impatient, download it right now for $25!
You can see them floating around in the Sybil video:

Tuesday, July 15, 2014

Freak Show

Did you catch the new teaser for American Horror Story: Freakshow?


What? You heard it's not official?  But Hollywood Reporter, EW, E!, Vanity Fair, ComingSoon.net, io9, Cosmopolitan, MTV, Perez Hilton, Shock Til You Drop, Bloody Disgusting, IGN, and just about everybody else on the internet said it was!

Yes, the secret's out.  I was the makeup effects artist on this phoney teaser.
You can read about it in this interview with the director, my friend Kellen Moore, on IndieWire:

http://www.indiewire.com/article/heres-how-to-make-a-viral-video-american-horror-story-teaser-creator-tells-all-20140715

1000px-8259

1000px-8249

I also designed the mechanics for the wings, but because of the time crunch and limited budget, they were done in the computer.

Friday, July 11, 2014

Making A Crystal Ball for Sybil, part 2

On to Phase 2: Molding and Casting!


So, I glued the sculpture to an 18" tile to prepare for molding (typically people use melamine board, but I couldn't find any a reasonable size, and this was only a couple bucks). A gave it three coats of clear spray paint, and one pass of Ultra 4 Epoxy Parfilm, a release agent that is paintable, meaning it won't leave residue on the mold (and later, when I use it in the mold to release the castings, it won't leave residue on the castings, so I can paint on them without having to clean off an oily release).


Then I went in with silicone. The plan is to do enough silicone to cover the piece and fill in undercuts, then back that up with a rigid shell to hold its shape. This silicone is Mold Max 30 from Smooth On. It seems to be working pretty well, and it's a bit cheaper than the stuff that I usually use. Plus it's so pink and pretty! :P


That was the first layer, brushed on thin to get the surface details.

I went in with several more layers until all the undercuts of the sculpture were filled in. These layers I added a thixotropic agent to (Thi-vex, from Smooth On). This makes it more paste-like, so I can put on a thicker layer without it dripping so much. There are brushable silicones you can buy, but adding the "thixo" means I only have to buy one kind of silicone, and I can modify it to do different things. In total there are about 1.5 quarts of silicone on this.


You'll also notice some rectangles on there. I made those ahead of time and stuck them on to act as keys, so the silicone would register in the right spot in the hard shell later.


The shell is just two layers of burlap dipped in ultracal:


And when everything was set and cured, I demolded!


Into the mold, after a few passes of parfilm, I brushed a 2-part expanding rigid polyfoam. I only need enough to make the thing hold its shape, and the weight of the globe.


Once THAT set, I demolded to find a pretty darn good first casting.


A bit of gold, a bit of black, and a nice big acrylic globe on top, and there we go! Here's Sybil's new crystal ball home.


I might still give it a gloss coat...we'll see.


Now, you might be wondering why there's a big ugly hole in the middle of the base, when her head would fit perfectly right on the flat surface that I sculpted. I'm not telling. Not yet. But the reason is really cool, if I do say so myself. ;)