I was able to whip up enough foam latex to cast a face
...and now I remember why I bought a new camera (shot this on the old one)
Tuesday, June 30, 2009
Sunday, June 28, 2009
Foam Oven Built
I built the oven for the foam latex Frankie last night. It's made of that foil-backed foam in roughly a 2 foot cube. It fits around an old electric stove top. So far, it looks like I only need one burner to get it up to ~180°F. 
The mold will sit on this rack:
That thermometer sitting on top turned out to be unable to handle the heat, so...
And this is the steampunk side....uh, I mean the thermometer side ;)

The mold will sit on this rack:

That thermometer sitting on top turned out to be unable to handle the heat, so...
And this is the steampunk side....uh, I mean the thermometer side ;)

Wednesday, June 10, 2009
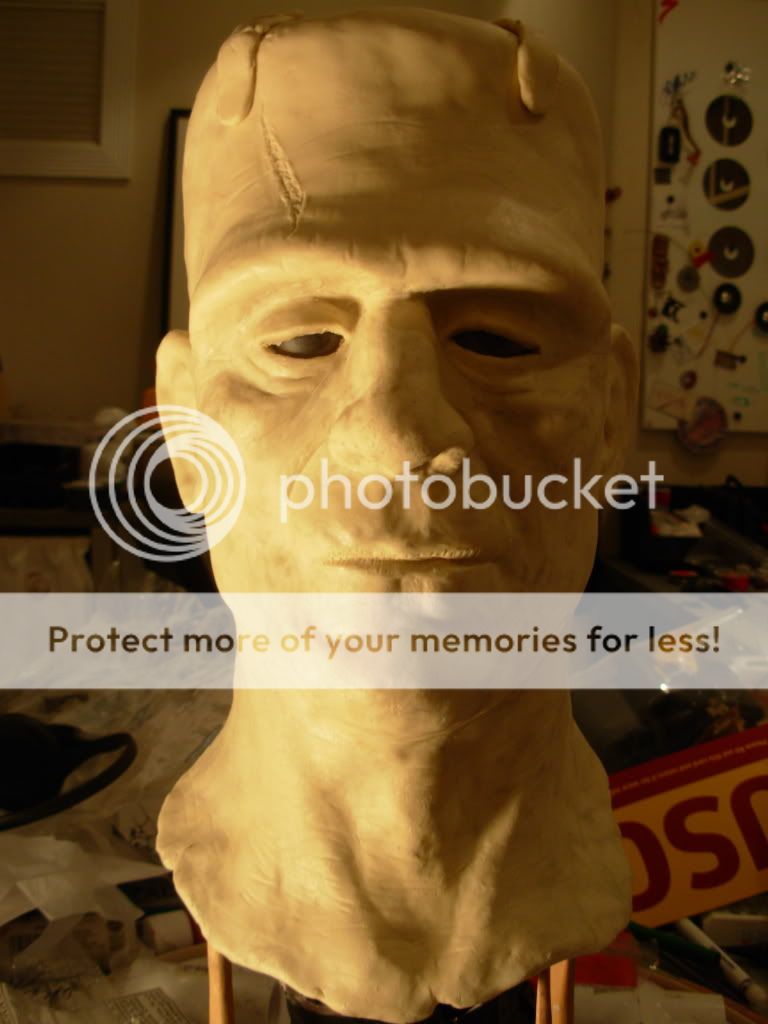
3-Axis Frankenstein Sculpted and Molded!
Here's where he's at now.


Plaster time! I started making the mold a while back.
First the mold walls built around the first half of the sculpt...

Then two brushed on layers of UltraCal-30 (actually, the picture is only of the first layer, but you get the idea)...

Then a thicker layer...

And an even thicker layer...

And then I ran out of U-30. I had to order some more from MonsterMakers.com.

I saw this nifty little trick to make a flat surface for the mold to sit on in Lee Baygan's book.

It worked out pretty well.

Here's the underside with the escape holes modeled in (before I cleaned up the edges and keys with a dremel).

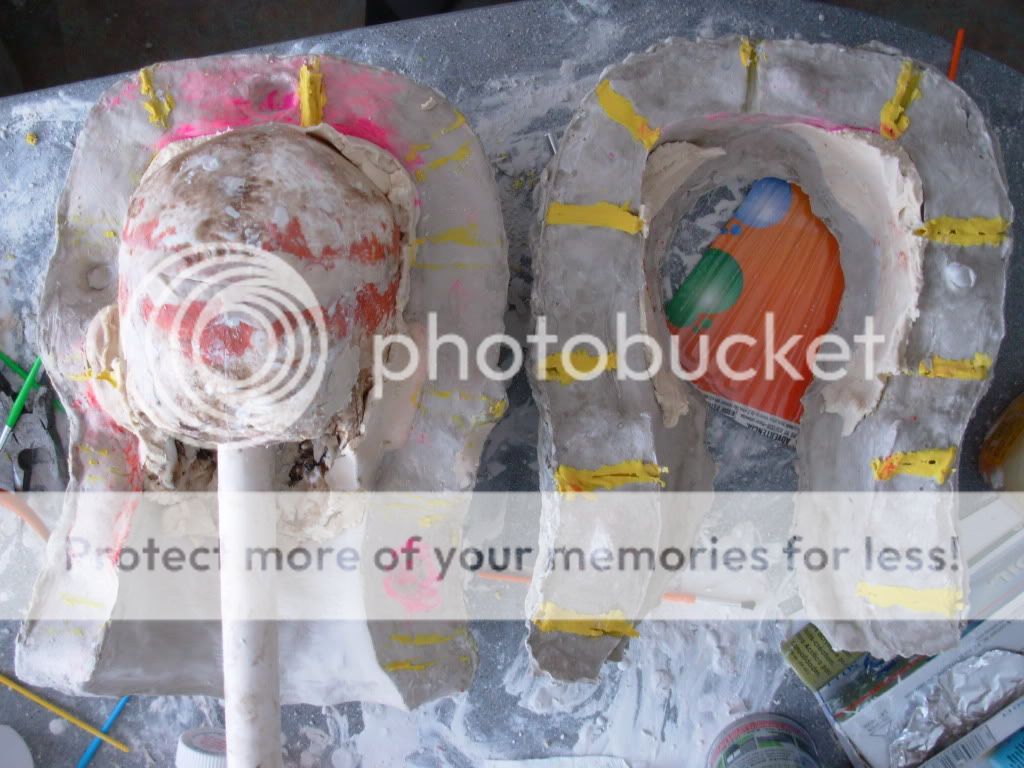
I finished the second half of the mold a a few days later, having coated the the exposed U-30 of the first half with vaseline. It's about four layers of plaster, a layer of burlap soaked in plaster, then another layer of plaster.

I managed to separate them after a half hour of shoving pliers and paintbrush handles into the escape holes...

Then I spent an equal amount of time trying to get the skull out. I ended up working the jaw off, then using the PVC (which was screwed on) as a lever to work it free...

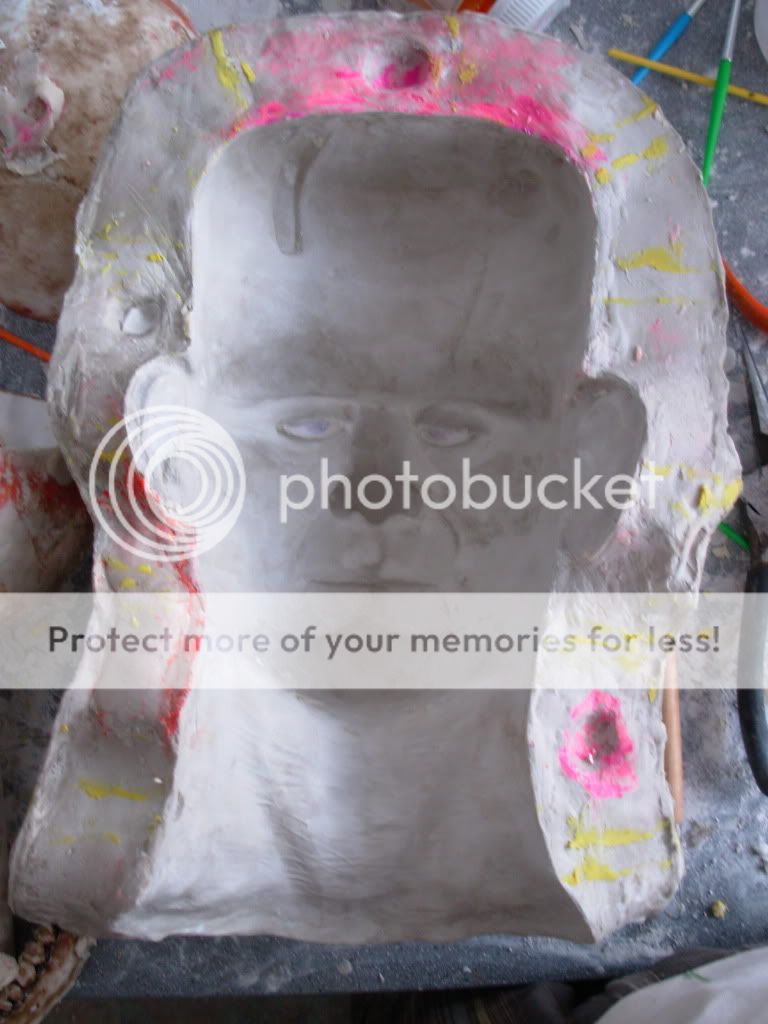
Finally, I cleared out the plaster (which came out very easily because I sealed it)...

I think it came out pretty good. There are some imperfections which (I hope) I can easily clean up, but overall I'd say it's in pretty good shape.


Plaster time! I started making the mold a while back.
First the mold walls built around the first half of the sculpt...

Then two brushed on layers of UltraCal-30 (actually, the picture is only of the first layer, but you get the idea)...

Then a thicker layer...

And an even thicker layer...

And then I ran out of U-30. I had to order some more from MonsterMakers.com.

I saw this nifty little trick to make a flat surface for the mold to sit on in Lee Baygan's book.

It worked out pretty well.

Here's the underside with the escape holes modeled in (before I cleaned up the edges and keys with a dremel).

I finished the second half of the mold a a few days later, having coated the the exposed U-30 of the first half with vaseline. It's about four layers of plaster, a layer of burlap soaked in plaster, then another layer of plaster.

I managed to separate them after a half hour of shoving pliers and paintbrush handles into the escape holes...
Then I spent an equal amount of time trying to get the skull out. I ended up working the jaw off, then using the PVC (which was screwed on) as a lever to work it free...

Finally, I cleared out the plaster (which came out very easily because I sealed it)...
I think it came out pretty good. There are some imperfections which (I hope) I can easily clean up, but overall I'd say it's in pretty good shape.
Subscribe to:
Posts (Atom)