A lot of pictures on this site were hosted on Photobucket before they disabled photo embedding. If you'd like to see pictures for a particular post, please let me know, and I'll prioritize getting those images fixed next!

Thursday, May 15, 2014

Were-Cat: Phase 1.1

Sculpting continues.  Still quite a ways to go, but progress is being made!


Sunday, May 4, 2014

Were-Cat: Phase 1

This is a project I've been meaning to get around to for a long time. I've always thought hairless cats had potential for being a really cool monster, so these are the beginnings of my "were-cat" (cat werewolf? cat monster?) makeup with animatronic augmentation. Bear with me.


Here's the rough concept, sketched over the lifecast. The actress will be wearing dentures that push her lips out, so her mouth will meet up with and become the mouth of the creature, but her eyes will not be used as the creature's eyes. She'll have limited visibility out of the tear ducts. The gimmick will rely partly on the appearance that the creature's head is slightly tilted down.


And here's a sampling of the reference I'm using. I'm thinking it will be a lot of the general shapes of big cats, but the secondary forms will come from the hairless house cats.


I've been spending a lot of time over the course of this sculpture so far trying to figure out what makes a cat look like a cat, even if you distort the shape as heavily as I will be. To further complicate things, I knew I wanted the nose and upper lip to be more on the human side of the beastie. You'll see I've missed the mark several times in several ways in the process, but I think it's getting somewhere that's sort of promising now.


I'm an impatient sculptor (and an impatient artist in general), so before I figured out how I would handle the eyes or teeth, I went in and started blocking out one side in Chavant NSP Medium clay, based on the profile of the sketch. Something about it felt very rodent-like to me:


Later I made an eye form out of a wooden ball cut in half to add a little precision, and paid a little more attention to what makes an eye shape catlike. The upper lid has a lot to do with it. But now we were in some sort of Pan's Labyrinth-meets-Avatar realm.


I figured it was because the eyes were too buggy and stuck out too far on the sides, too (I did a little mirroring in photoshop to figure out where things were headed), so I vacuum formed some larger spheres so that I could have less than half a ball and still get the size across I wanted (less deep, just as wide). I just cut out the old eyes and stuck the new ones in. You can see here how they sit above the real eyes.


Now I was able to shave down a lot of the sides of the cheekbones to keep the top of the head in proportion with the bottom.

You can see I also added an actual stand in for the teeth now. Basically I lifecast the actress' lower face with the dentures in and made an insert piece in epoxy, painted black. This was so I didn't have to do a whole new lifecast for the project. I don't feel the slight inaccuracies of the process I'm using will matter on this one. I can get some pictures on those pieces if anyone's interested. Anyway, now I knew how the mouth had to go together, as well.

From there, I was able to move things along to a place I felt much better about. Incidentally, this is the first stage I broke out the tools for. Previously it was all pushing around warm clay. This is the basic form, and next will be the freaky cat wrinkles (which you can see I've started sketching in on the forehead). A lot has changed from the concept, but that was expected, since you can't really get a complete 3D design off a profile. The ears may get smaller. We'll see...


More to come.

Monday, April 14, 2014

A Park for A Princess

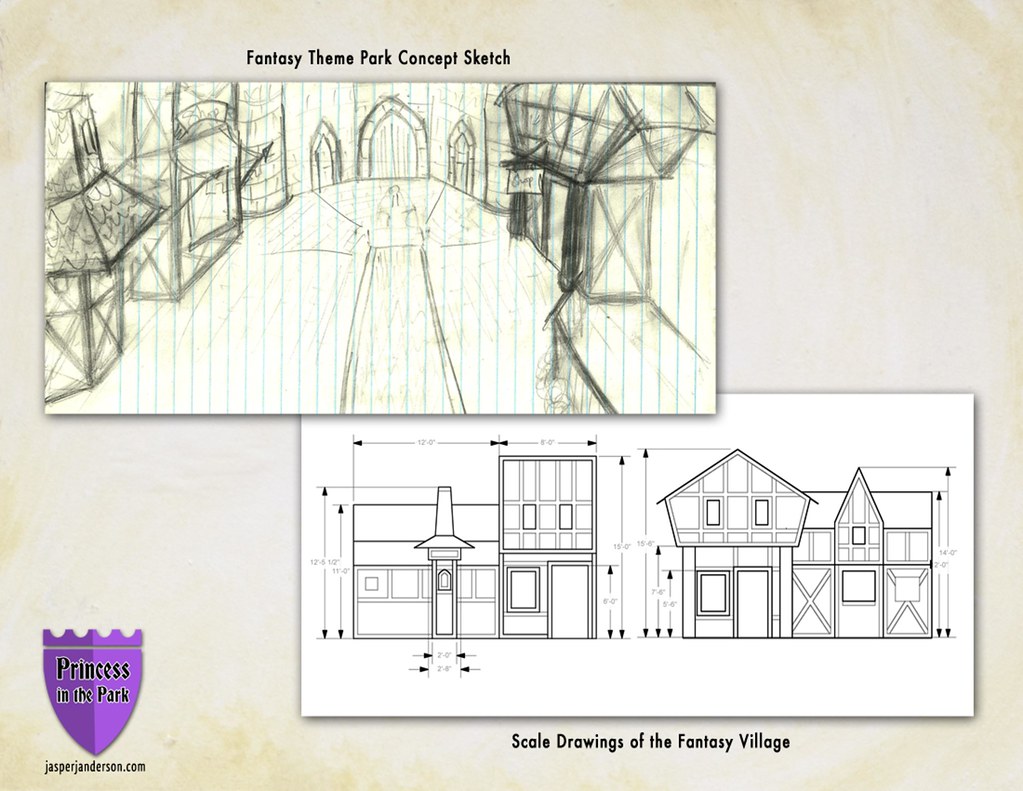
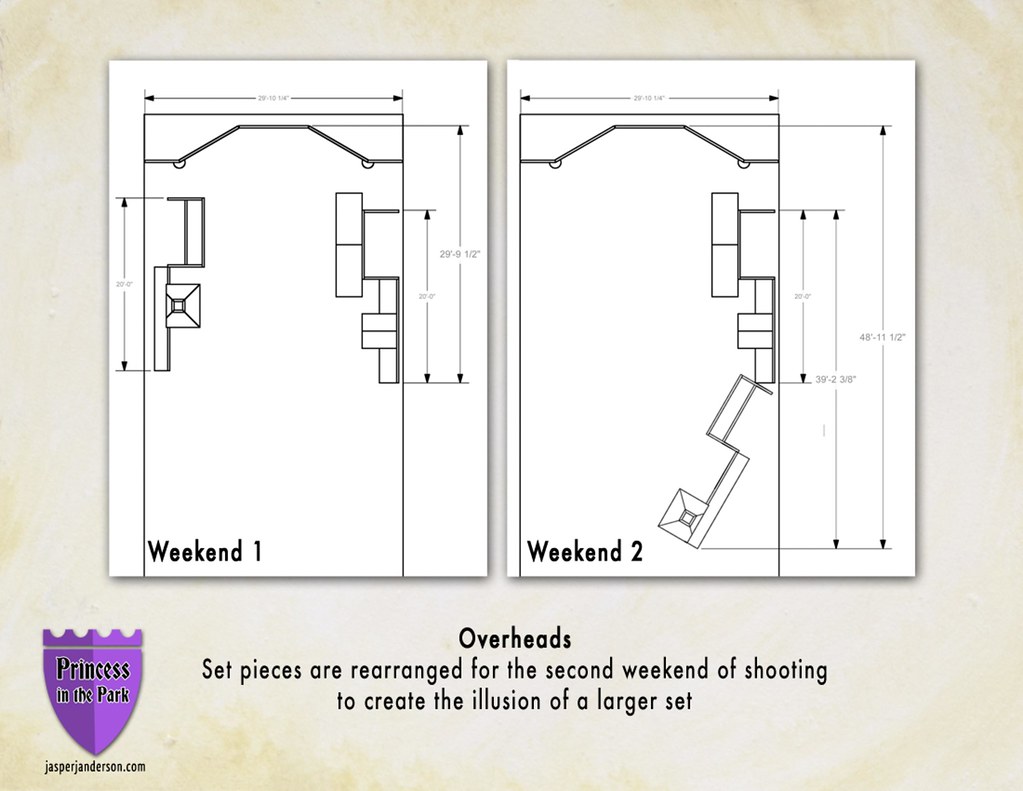
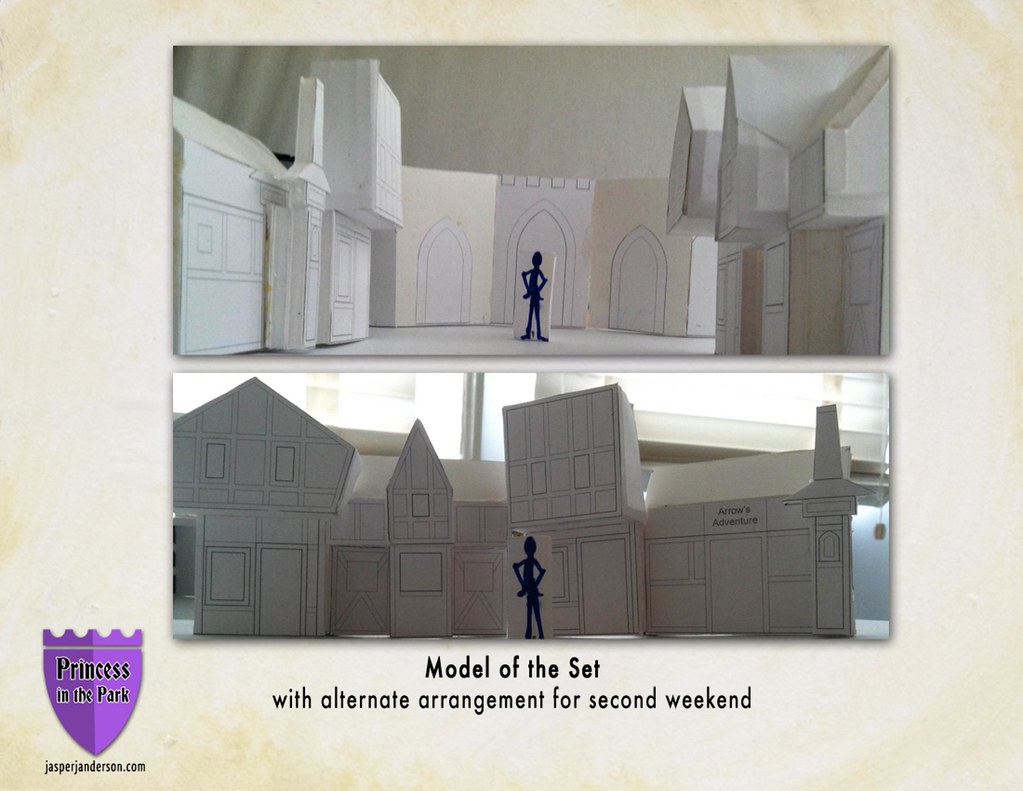
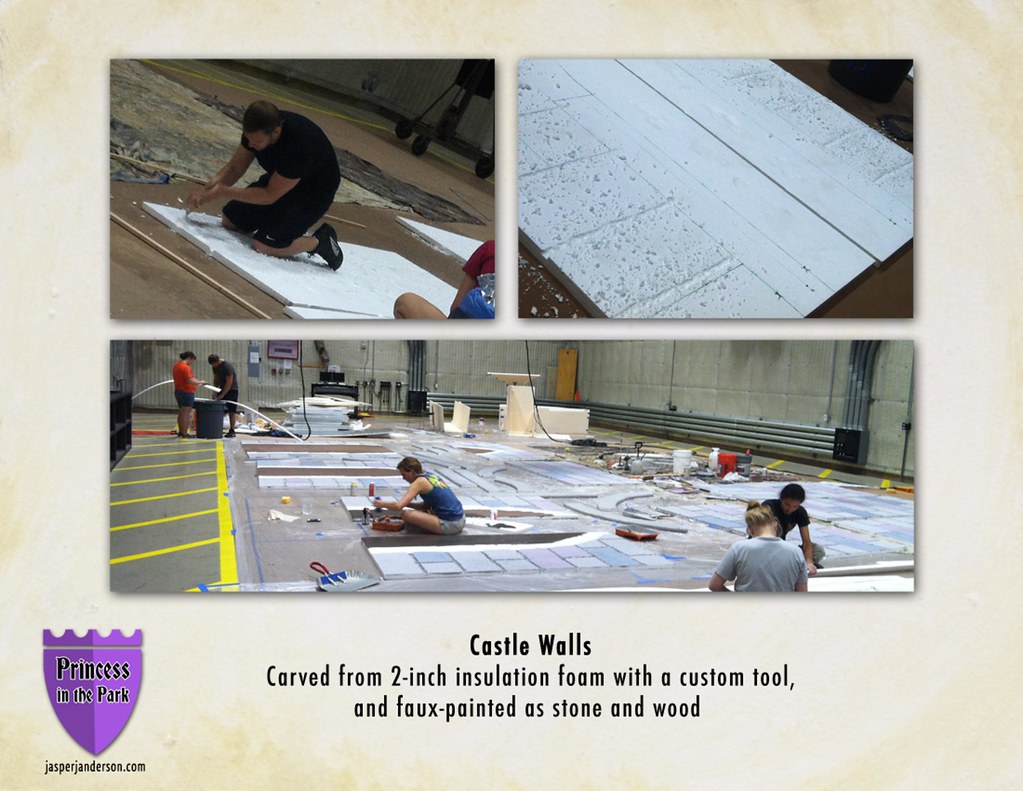
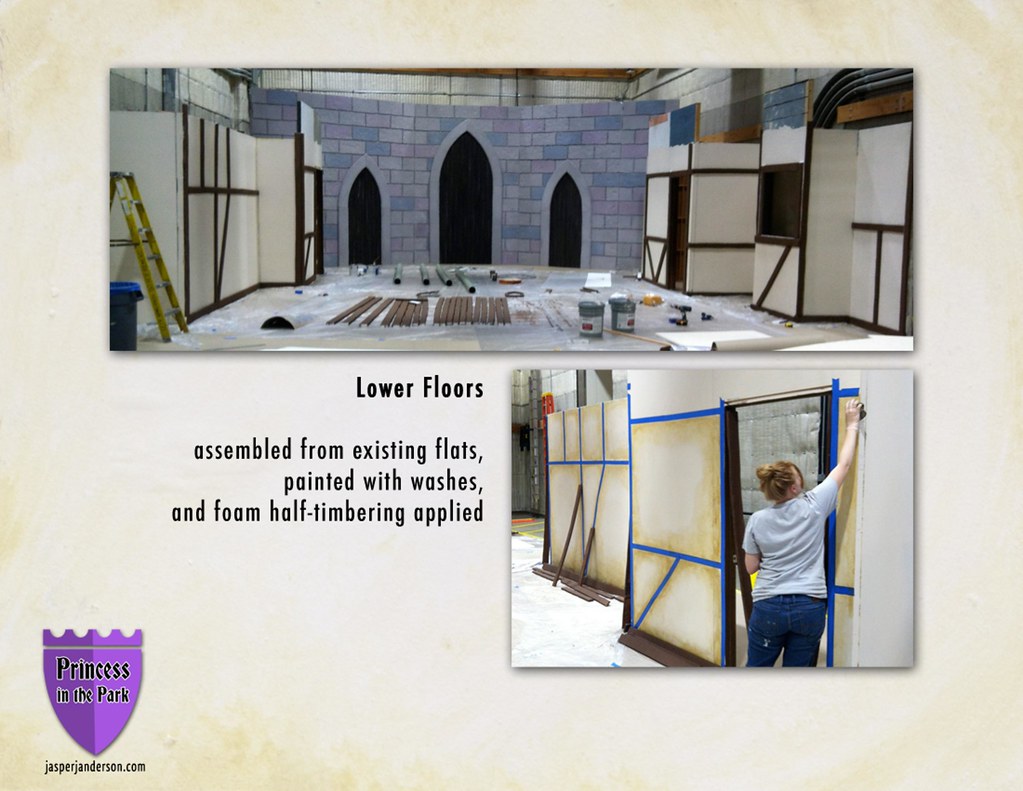
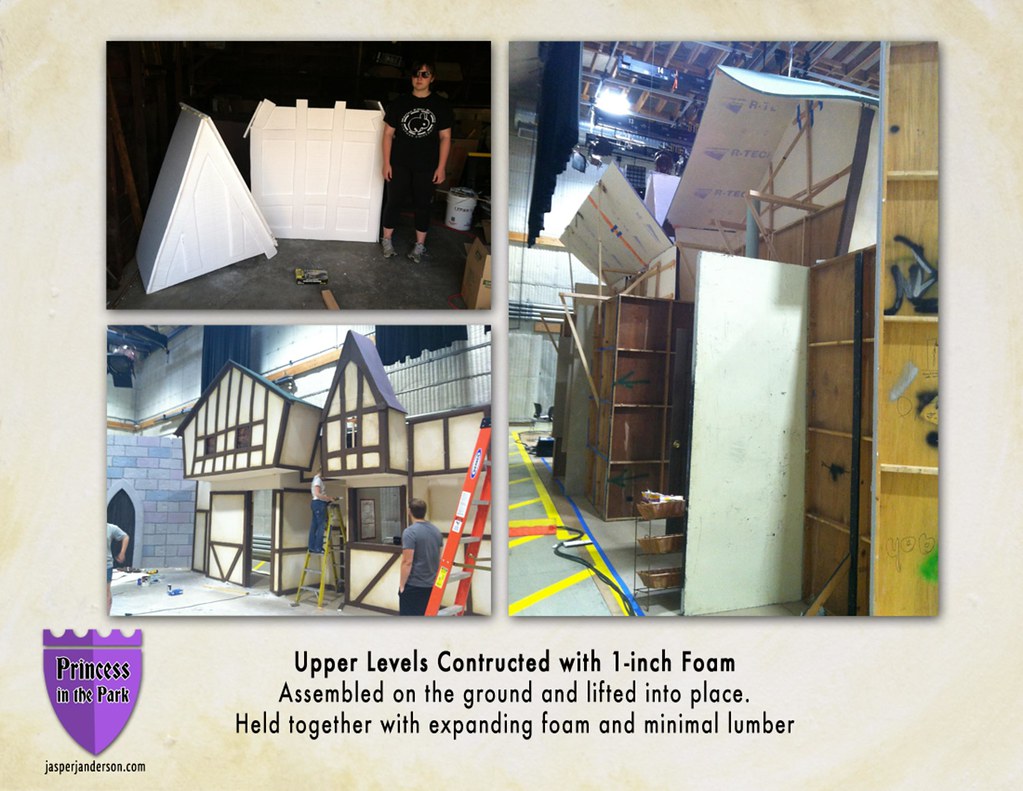
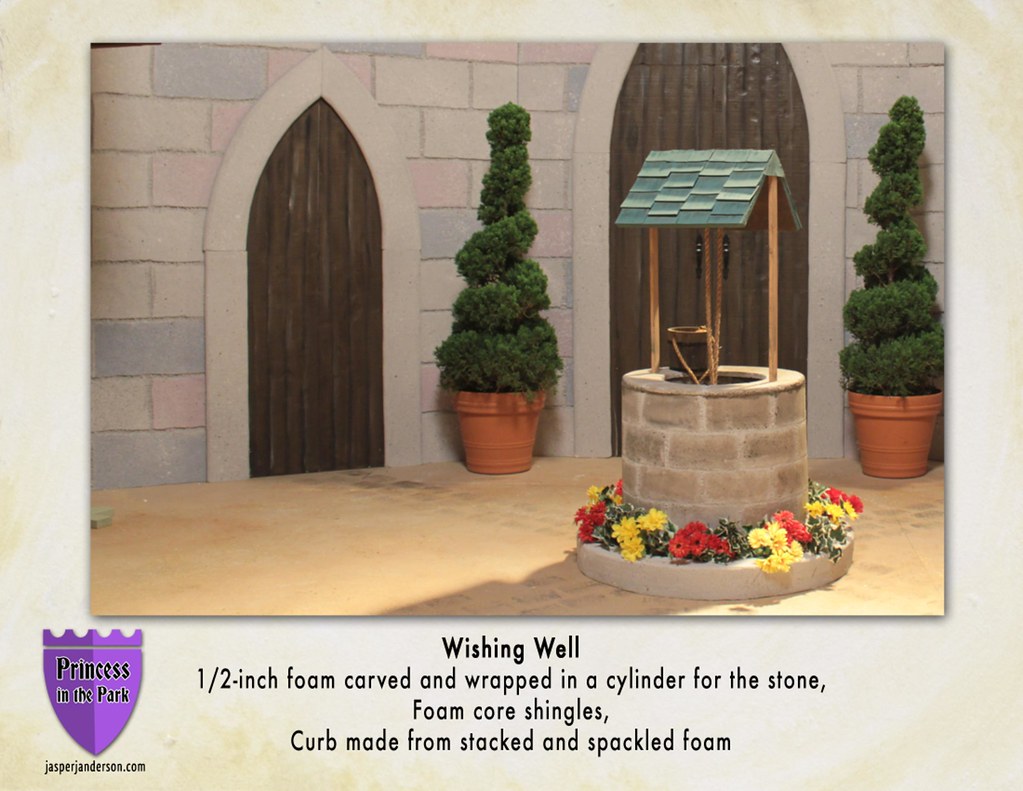
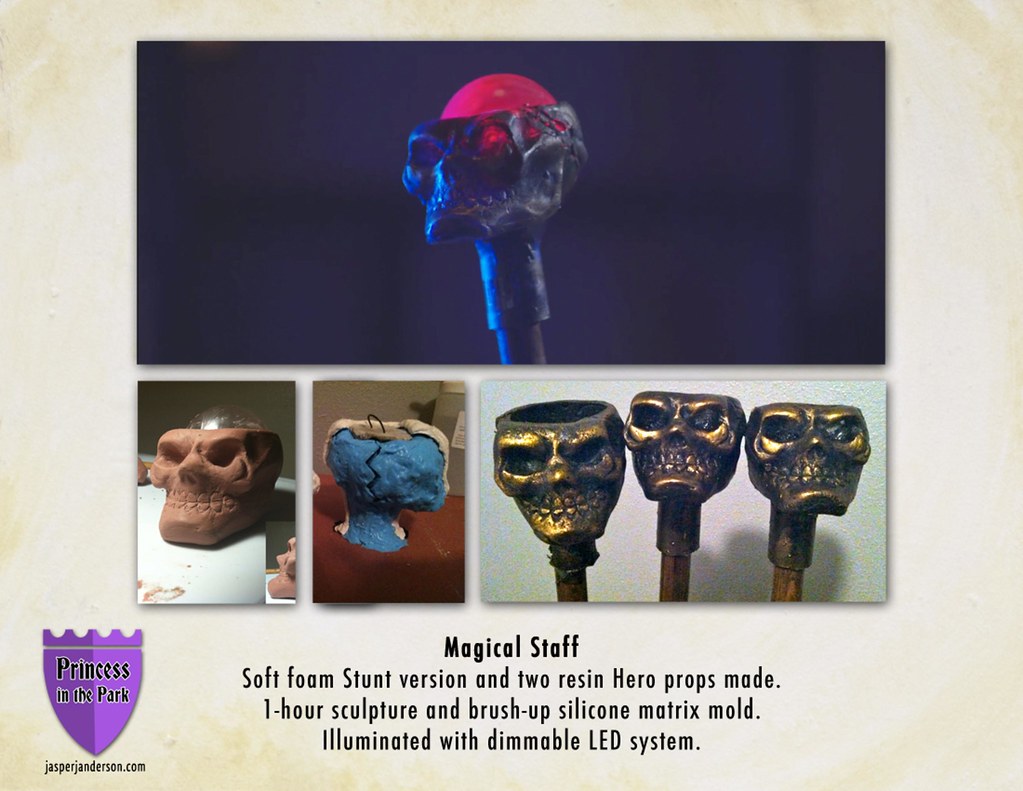
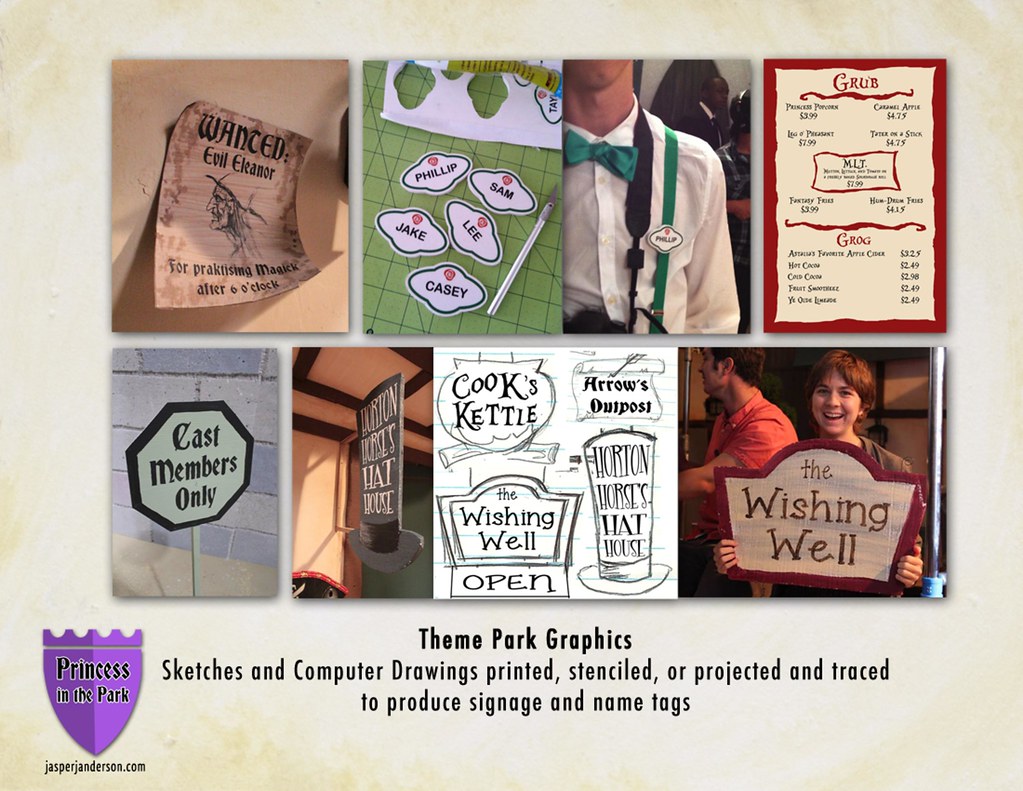
In October, I served as Production Designer for a film that takes place in a fantasy theme park.  Above is the set we built.  Below is how we did it.
Click to enlarge/read the text.

Saturday, April 12, 2014

Sculpting with Model Magic

The new Fright Radio is coming out soon here and on iTunes.  Below you'll find the transcript of my segment on sculpting with Model Magic clay.


Good evening.  I’m Mr. Chicken, and you’re entering my Hall of Illusions.  This time we’re going to talk about how to get the best results out of one of the cheapest and easiest to find sculpting mediums out there—Crayola Model Magic.

As I mentioned in the last episode, the big advantage of air dry clays for is that your sculpture is your final product.  You don’t need to mold and cast to get a usable prop.

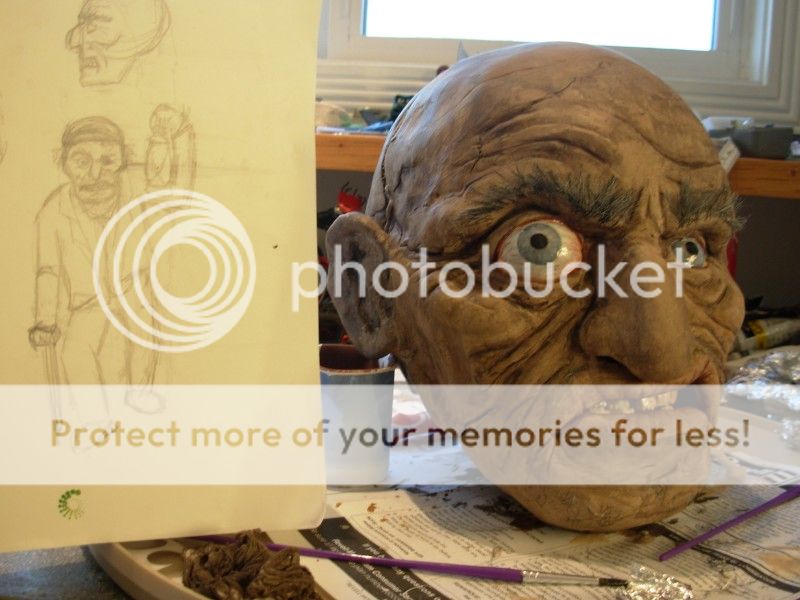
I used model magic for the heads of most of the characters in my haunt.  Here’s what I found worked best for me.  I’d pick something to use as an armature.  A skull or modified foam wighead work well.  To modify a wighead for use as an armature, cut off the nose and lips, and carve down the sides of the head a bit so you won’t be forced to follow the proportions of those things.  Wrap the armature in aluminum foil before sculpting—more on that later.


Then you just want to tear off pieces of clay, form them into approximately the right shape for the facial feature you’re working on, and apply it to the form.  You want to work in this way, rather than trying to mush around large pieces, because the model magic has a strange elastic quality that makes it difficult to reshape, so try to get your forms as close as you  can when you first lay them down.  A blob for the nose, blobs for the cheeks and chin, you get the idea.  Water will help smooth and blend between these blobs, as will very thin pieces of clay from time to time.  Plastic balls cut in half make good eyes.

When you’re ready for details like wrinkles, take your tool and wet it first so it will glide over the clay and not stick to it.  Unlike more professional clays, the model magic doesn’t like to be refined gradually.  It’s more about picking a shape and sticking with it.  This means that you’ll often end up with a face that doesn’t quite match your original plan, but that’s part of the fun.

If you need to walk away from your sculpture for the day, just spritz it with a little water and put a plastic bag over it.


In my experience, air dry clays will crack if one side dries out faster than the other. The Crayola air dry clays (Model Magic, and pretty much any air dry clay out there, as far as I know) are water based. The water needs to evaporate from the clay in order for it to harden. Now, as the water evaporates, the clay loses mass and shrinks. However, if something (such as the armature you’re sculpting on, be it a skull, foam head, or wad of newspaper) prevents the water from escaping evenly, one side (the face) will dry faster than the other (the inside). This means that the outside is shrinking faster than the inside, so it cracks.

When I make heads in air dry clay, I cover my armature (either a skull or foam wig head) in aluminum foil so that as soon as the face is dry to the touch, I can remove it from the armature, peel off the foil, and allow the sculpture to dry thoroughly.  I do this by slicing the sculpture from ear to ear with an xacto blade, and pulling the two halves apart. 

Shortly thereafter, I give the whole thing a coat of latex-based paint, just in case, to hold the surface together should any cracking be tempted to ensue.  You need a base coat anyway.  I like to paint the rest in washes and drybrushing with cheap acrylic paints.
To attach it to a body, I shoot a bit of great stuff in the head...just enough to grab the PVC that makes up the neck.


That’s what’s worked for me in the past.  If you have any questions, suggestions, or tips of your own to share, let me know at chickenhaunt [at] gmail.com.