A lot of pictures on this site were hosted on Photobucket before they disabled photo embedding. If you'd like to see pictures for a particular post, please let me know, and I'll prioritize getting those images fixed next!
Showing posts with label Sybil. Show all posts

Friday, July 11, 2014

Making A Crystal Ball for Sybil, part 2

On to Phase 2: Molding and Casting!


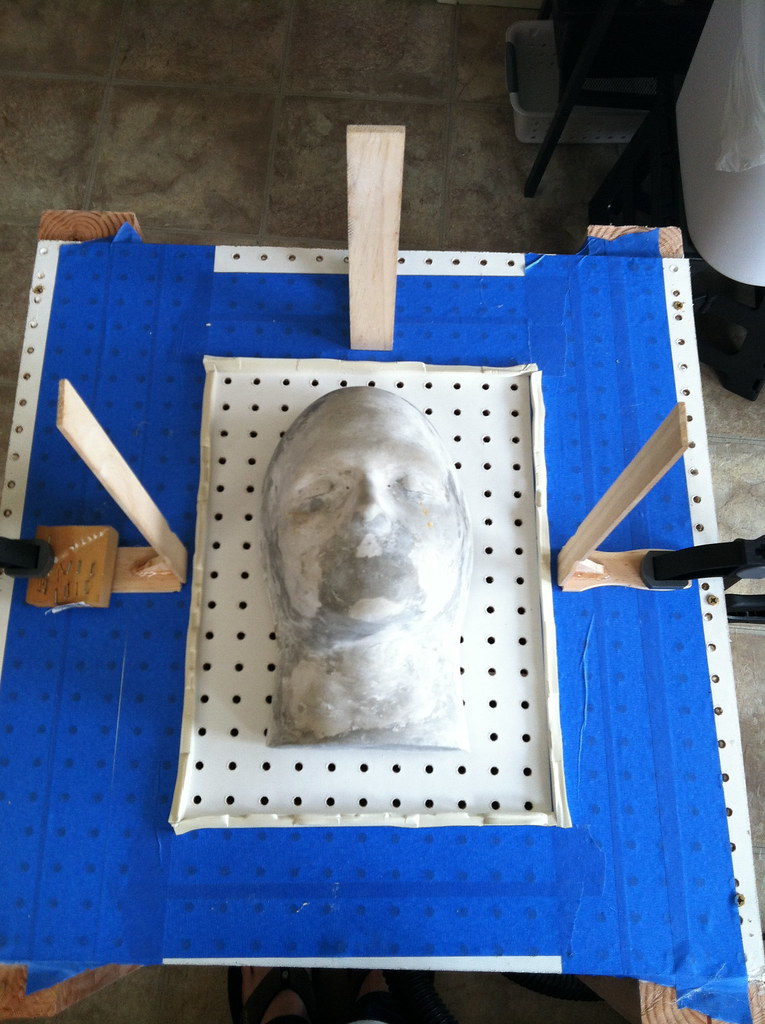
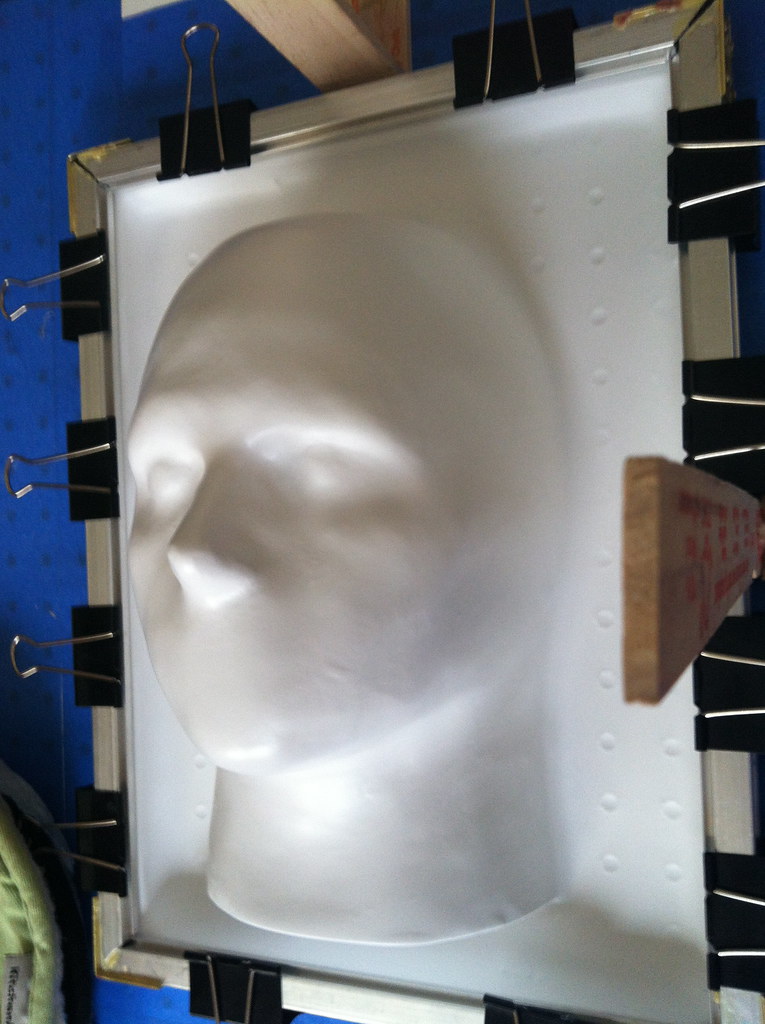
So, I glued the sculpture to an 18" tile to prepare for molding (typically people use melamine board, but I couldn't find any a reasonable size, and this was only a couple bucks). A gave it three coats of clear spray paint, and one pass of Ultra 4 Epoxy Parfilm, a release agent that is paintable, meaning it won't leave residue on the mold (and later, when I use it in the mold to release the castings, it won't leave residue on the castings, so I can paint on them without having to clean off an oily release).


Then I went in with silicone. The plan is to do enough silicone to cover the piece and fill in undercuts, then back that up with a rigid shell to hold its shape. This silicone is Mold Max 30 from Smooth On. It seems to be working pretty well, and it's a bit cheaper than the stuff that I usually use. Plus it's so pink and pretty! :P


That was the first layer, brushed on thin to get the surface details.

I went in with several more layers until all the undercuts of the sculpture were filled in. These layers I added a thixotropic agent to (Thi-vex, from Smooth On). This makes it more paste-like, so I can put on a thicker layer without it dripping so much. There are brushable silicones you can buy, but adding the "thixo" means I only have to buy one kind of silicone, and I can modify it to do different things. In total there are about 1.5 quarts of silicone on this.


You'll also notice some rectangles on there. I made those ahead of time and stuck them on to act as keys, so the silicone would register in the right spot in the hard shell later.


The shell is just two layers of burlap dipped in ultracal:


And when everything was set and cured, I demolded!


Into the mold, after a few passes of parfilm, I brushed a 2-part expanding rigid polyfoam. I only need enough to make the thing hold its shape, and the weight of the globe.


Once THAT set, I demolded to find a pretty darn good first casting.


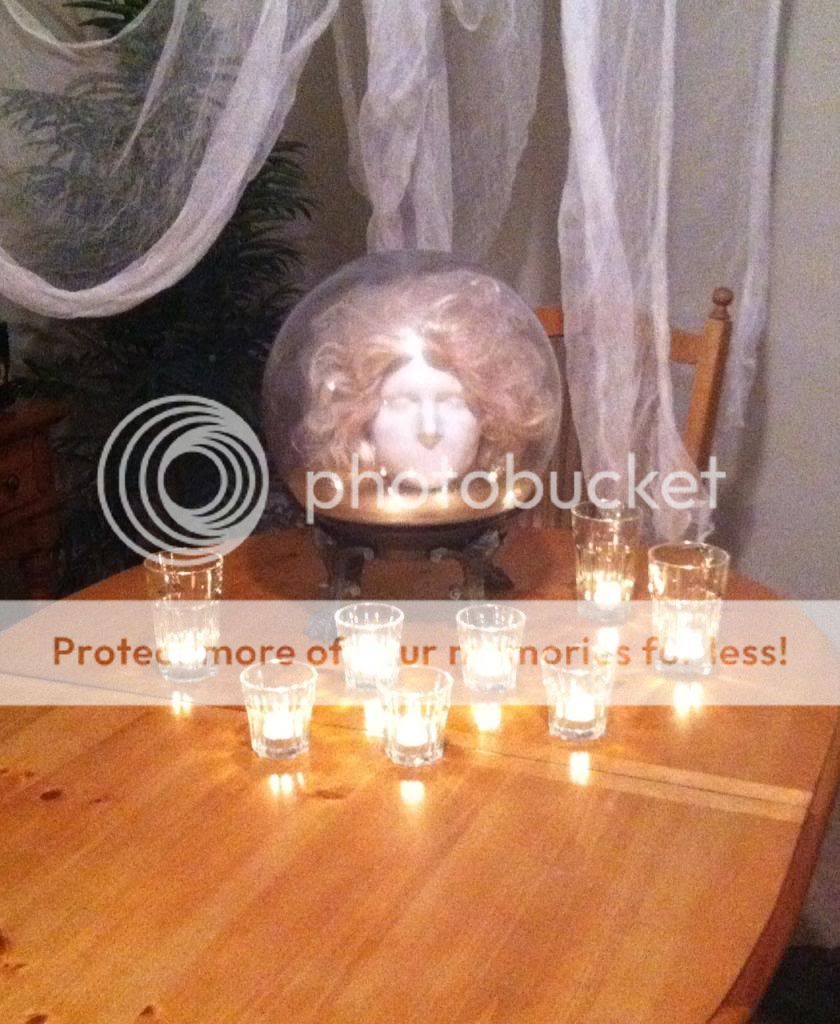
A bit of gold, a bit of black, and a nice big acrylic globe on top, and there we go! Here's Sybil's new crystal ball home.


I might still give it a gloss coat...we'll see.


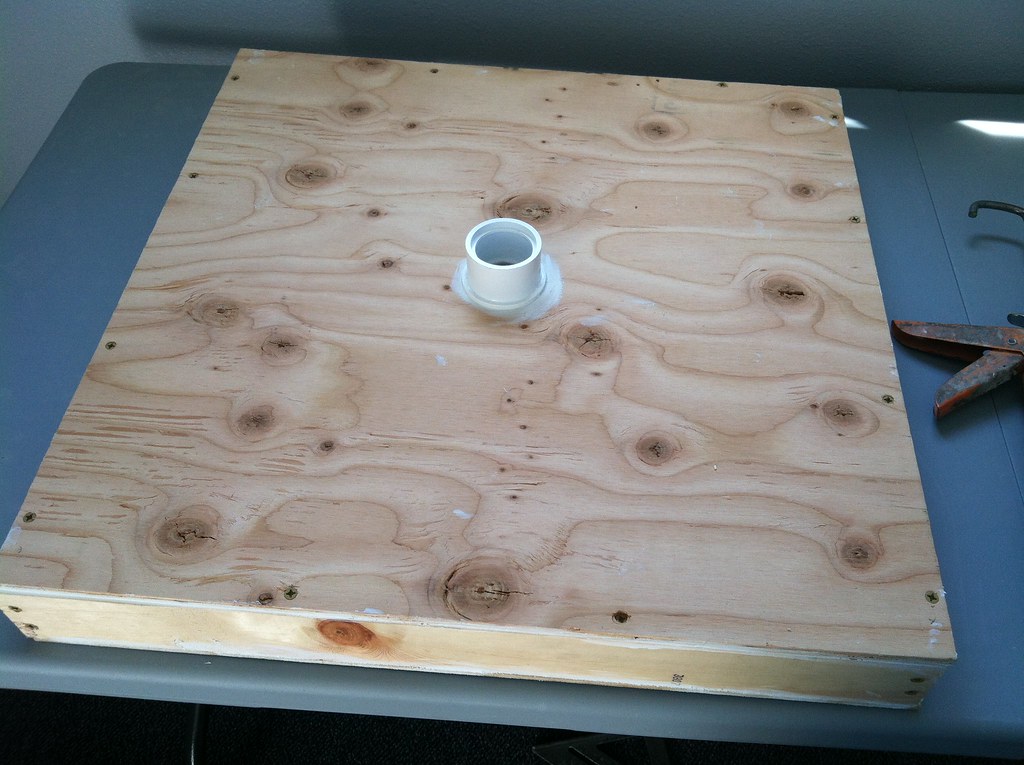
Now, you might be wondering why there's a big ugly hole in the middle of the base, when her head would fit perfectly right on the flat surface that I sculpted. I'm not telling. Not yet. But the reason is really cool, if I do say so myself. ;)

Monday, July 7, 2014

Making A Crystal Ball for Sybil, part 1

You may remember my Sybil the Clairvoyant effect from last year...

At the time, I displayed her in a gutted Gemmy Spirit Ball (if you want to see a young Mr. Chicken disassembling it, check out this:http://www.freewebs.com/skeletonhand...spiritball.htm)

I figured it's time to personalize it. The plan is to fabricate, mold, and cast a custom base for a larger 16" globe. Here we go!

I did some research into antique hardware for some ideas, and was really attracted to this winged lion motif I found. I sketched out a bunch of designs one day, and settled on this:


And then it was a matter of sketching out the deigns full size.


This guy will replace the flowery design in the sketch


See, I only want to sculpt each of the little critters once, so I'll be molding and casting duplicates to stick around the base.

I laid warm clay over the outlines, and carved it into shape as it cooled


Quick and dirty molds were made in LifeForm silicone (because it is platinum based and therefore will not interfere with the later platinum silicone, and also because it is very quick setting, but mainly because I had it handy)


Now I could spread melted clay into those molds to make duplicates, and stick them onto the base, which I'm forming out of foam core


Those little beads are from the scrapbooking section of the craft store. THey come on a sheet of sticker paper. Super nifty.

Once I put it all together, though, I realized it was going to be much too tall like this.


So now I'm reworking it to be more like this


Next up is finishing off the sculpture and molding it. More to come!

Monday, August 5, 2013

Presenting...Sybil the Clairvoyant, My New Projection Effect

It's here!  My updated version of the disembodied medium projection effect.


Sybil the Clairvoyant is a professional quality projection effect kit that anyone with access to a video projector can do. You simply project the DVD onto the included head form, and watch your guests become completely mesmerized by this incredible illusion. Sybil conducts a séance that's sure to impress.


Watch the demo video below to see all the cool, creepy effects, and click HERE for the how-to video and more information about how to set up and display Sybil, PLUS how to get your hands on a kit!

Friday, August 2, 2013

Testing...1, 2, 3...

You didn't think I'd show you a picture with the projector turned on yet, did you?

Editing, Compositing, Sound Design

Lots to do, but it's getting closer!

Here, have a screenshot.
Whaa??  What's she doing way down there in the bottom of the frame??  Hmm....

Thursday, August 1, 2013

Filming Day

A little teaser from the shoot today:

This isn't how the actual video will be edited, but it'll give you an idea...

Sunday, July 28, 2013

Using the Vacuum Former

Some of you may have heard rumblings of a replacement in the works for the DIY Madame Leota projection effect I helped popularize a few years ago. Well, it's very close to complete, so I thought I'd share the progress.

I had two main issues with the Madame Leota effect. 1) It's Disney's, so it would never be truly "mine," no matter how well I replicated it. 2) It's practically impossible to replicate it perfectly, since, though the video is easy to find, projecting Leota's face onto anything but her actual head will result in some funky distortion.

The solution: build my own version from the ground up. 


You've already seen the first stage, my vacuum forming table. Here's what comes next.

The head form that I project onto needs to actually be the head of the actress in the projection video. So I made a plaster lifecast of her head, which comes out like this:


And then I modified it to suit a projected face, reducing detail to what needs to be there to register the face properly, and removing what would get in the way.


But I don’t want to project on a heavy plaster head form. I want a lightweight copy of it.


So I put the head form (called a “buck” in vacuum forming) on the table. The paint sticks are guides so I can put the frame into the right place.


Then take the heated plastic out of the oven, press the frame down until the vacuum suction engages, and bam! A split second later, I have a lightweight, plastic head form to project onto.

Admittedly, it took a half dozen tries to get the machine figured out, but now that it's working, we're in business!

Wednesday, July 10, 2013

Vacuum Forming Table

I don't know about you, but I've always wanted a vacuum forming machine.  You take a sheet of plastic, heat it up, and shrink-wrap it over an object you want to copy.  If I had a dollar for every time I could have simplified a project by running off a thin plastic shell of something...well, I would have saved up enough to build one.  So I figured, that's a silly statistic, and I built one anyway.

I'll be using the kitchen oven to heat the plastic, so I only needed to make the vacuum table.  The table is actually a box that hooks up to my shop vac, so it sucks the softened plastic down.  It's 2' square, with a pegboard top, 1x2 sides, and plywood for the bottom.  The legs are 2' 2x4s.

I found a PVC fitting that fits my shop vac hose perfectly.  It's some kind of reducer that I just adhered with caulk over a hole in the middle of the plywood.


It hooks up like this.


These are the frames that will hold the plastic.  Aluminum window screen frame stock made into 12 x 16" frames with L brackets and Gorilla Glue for good measure.  They'll get clamped on either side of the plastic sheet.


Like that.


If you've been watching the numbers, you'll have noticed that my frames are smaller than my table.  I'm taping off the holes in the extra area of the table.  I wanted to make it bigger than I needed for future projects.

Now, I won't say what my first project with the vacuum former is yet, but I will tell you that it's related to the new projection effect.  Stay tuned, because in the next few days I'll put this thing to use.