Ye come seeking adventure and salty old pirates, eh? Sure, you've come to the proper place.
I recently had a resin head fall into my lap that seems to be derived from a well used sculpture from Disneyland.
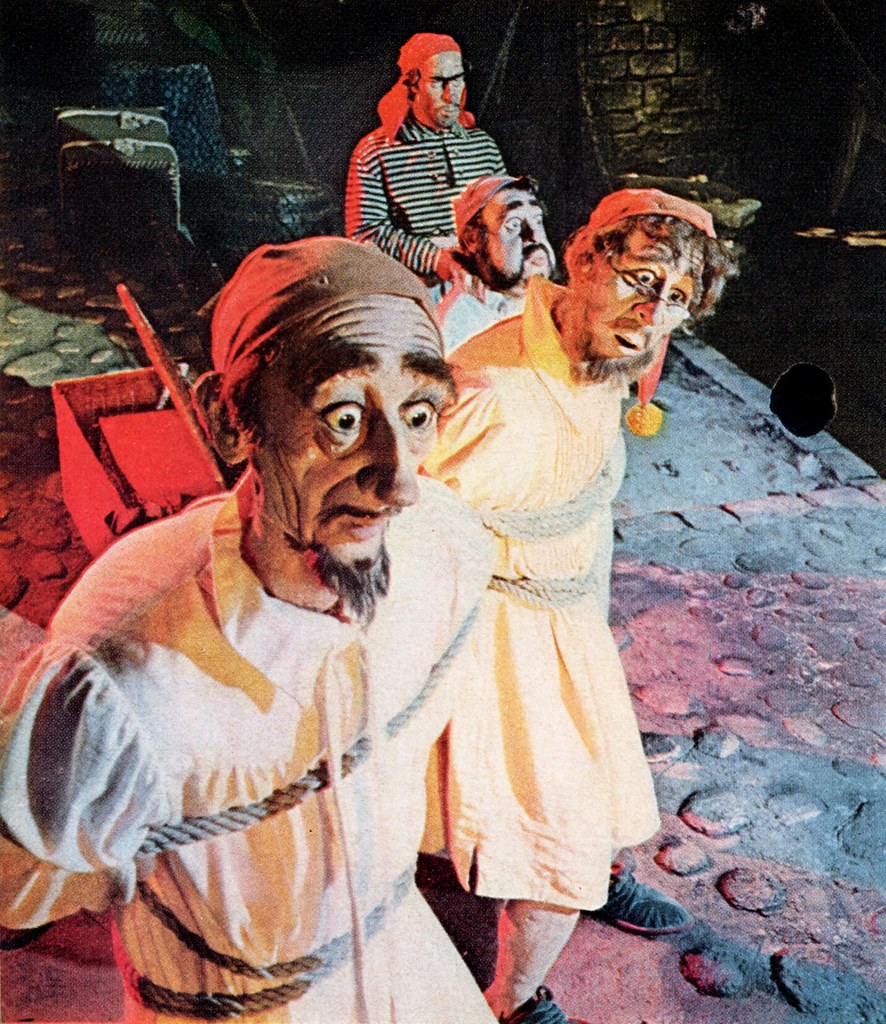
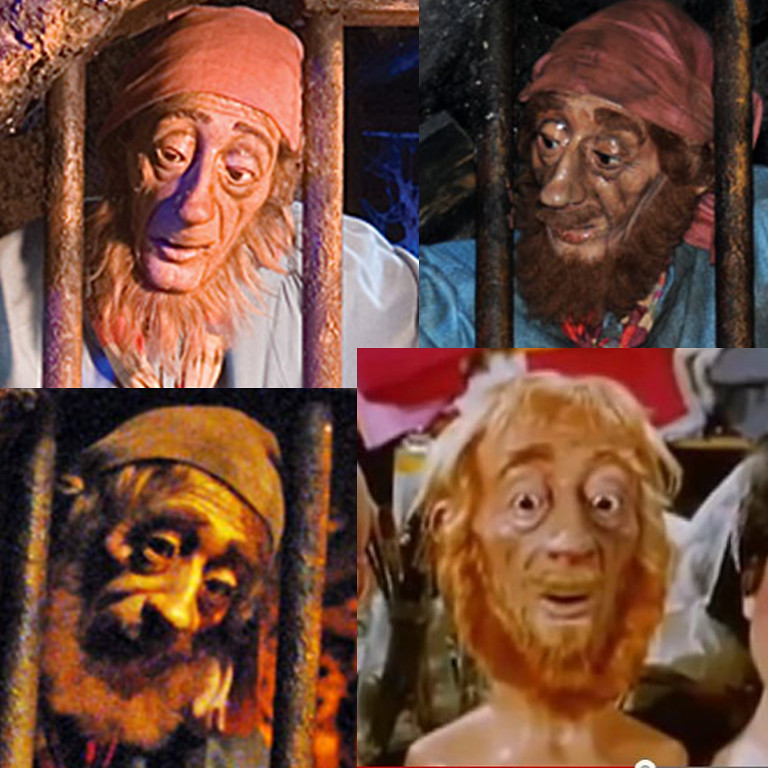
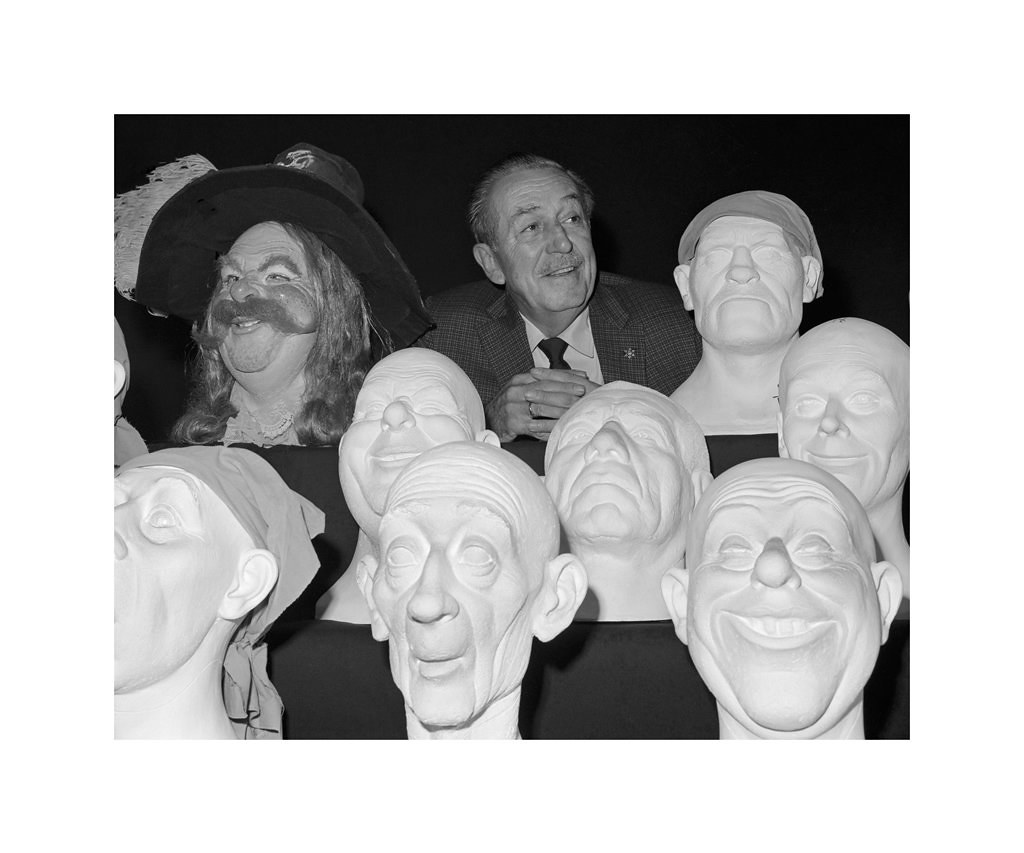
When they did the Pirates of the Caribbean ride, there were only 20 or so different heads sculpted to fill out the hoards of buckaneers, so each face got different paint and hair treatments to transform it into multiple characters. This one can be seen several times in Pirates.
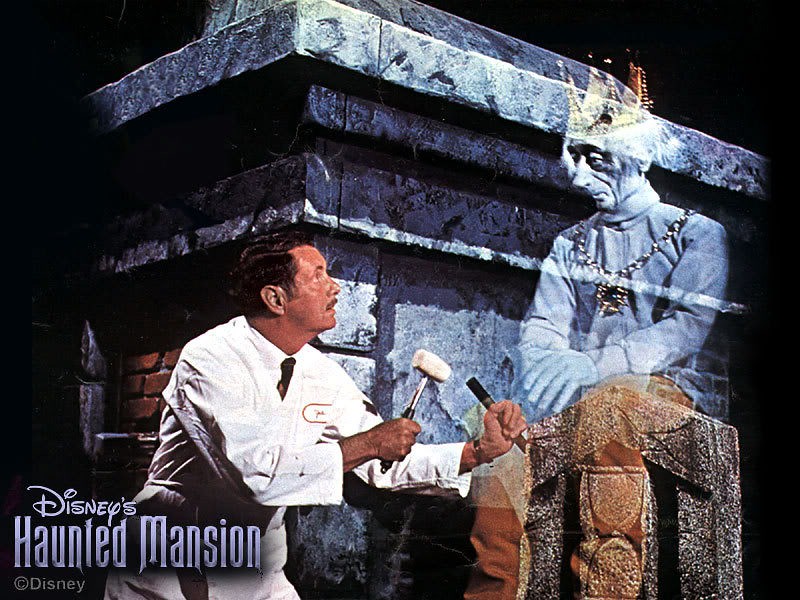
It even found a job in the Haunted Mansion as one of the revelers in the ballroom (pictured here in a pre-opening promo photoshoot with master illusionist, Yale Gracey).
Every now and then a figure will get retired from the ride and wander into the world.
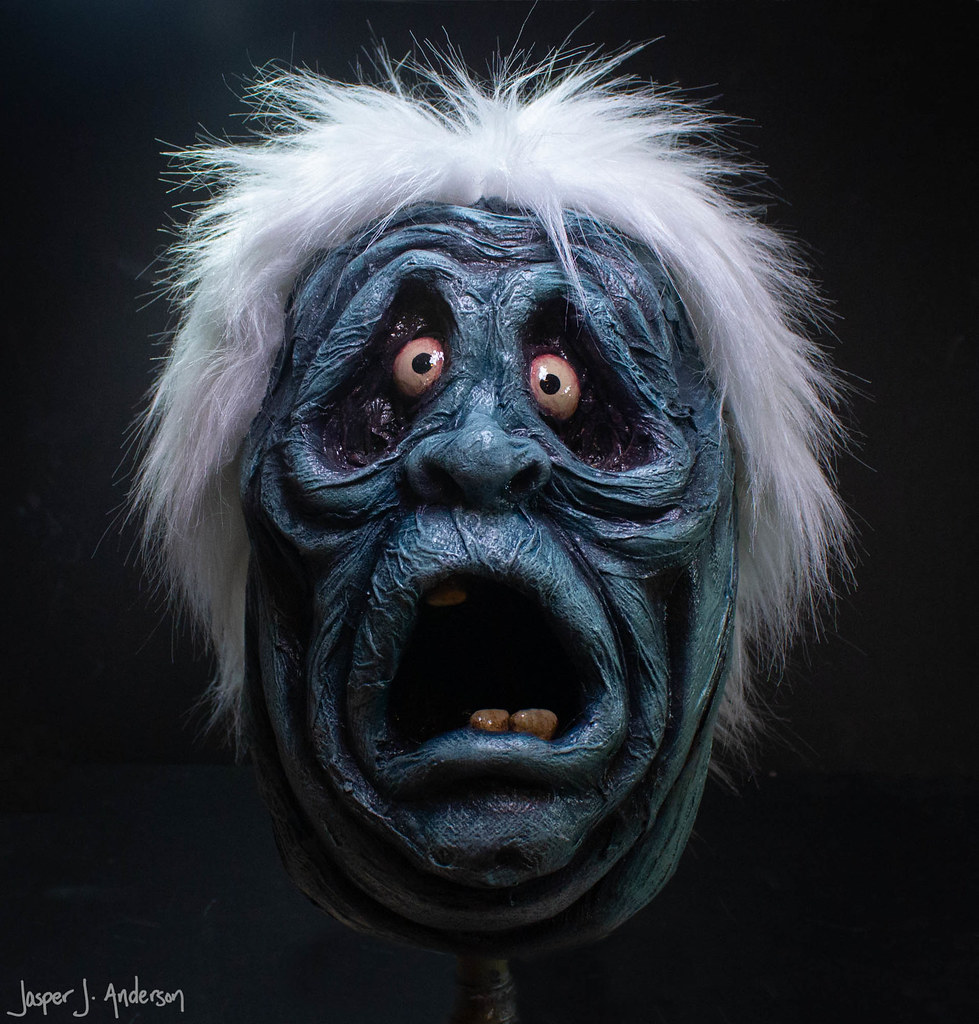
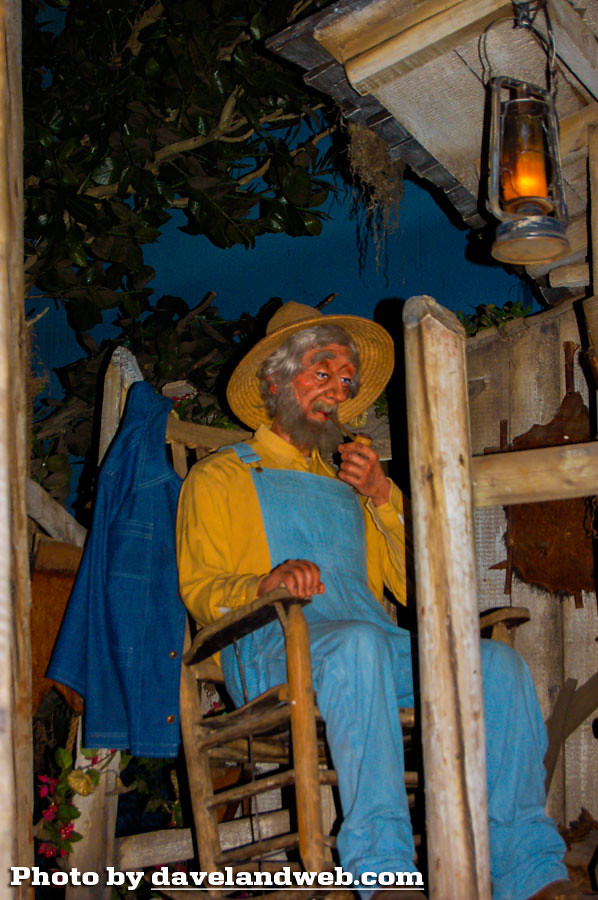
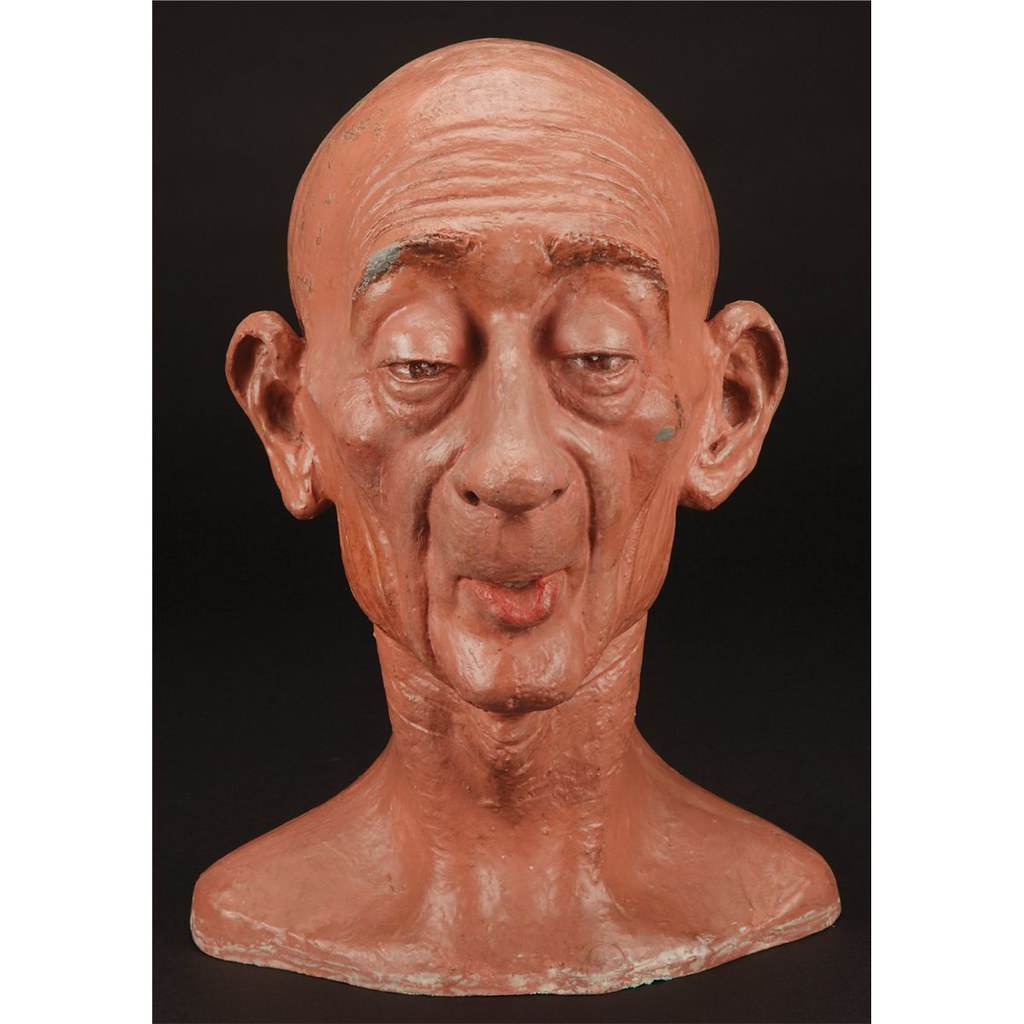
The original source of the copy I have seems to have been this head, or one just like it. This was from an auction some years ago. It matches up with the old man in the bayou scene at the top of the ride. Notice the angled hole in the mouth to accept a pipe, and the partially closed eyes. This is the only example I've been able to find of a different version of the same sculpt.
All other appearances of the head in Pirates and Haunted Mansion have more opened eyes, and a more neutral mouth position. And that's kind of weird. They were doing all these different sculptures for Pirates, and reusing many, but here's this one that was reused, yet modified. I have to assume they made a copy of the first sculpt, altered it, and remolded it. But which version is the original sculpt? Going back to the auction picture, I spy a line in the reflection across the upper eyelids that roughly corresponds to the shape of the open eye version. That's good enough for me. Looks like the open eye version came first, and additional eyelid was added in clay over a hard casting to be remolded as the bayou guy. The lower lip was probably tweaked the same way.
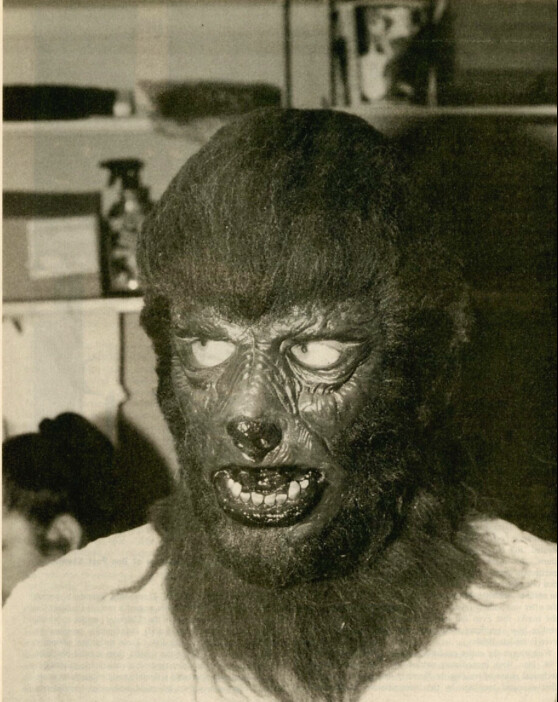
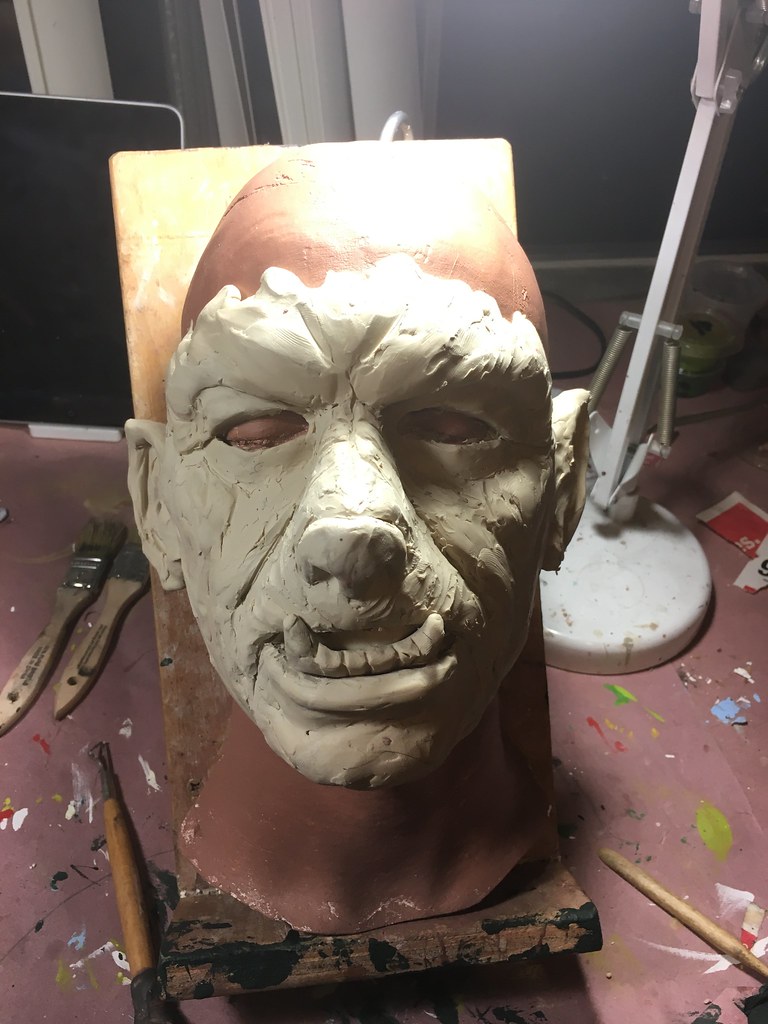
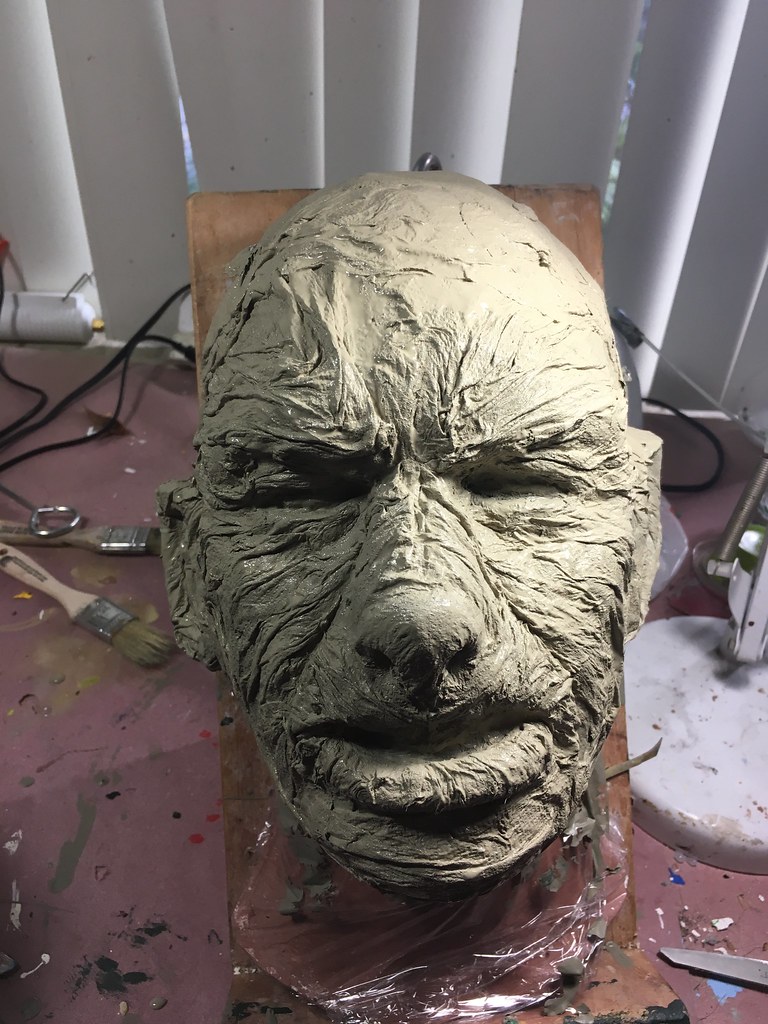
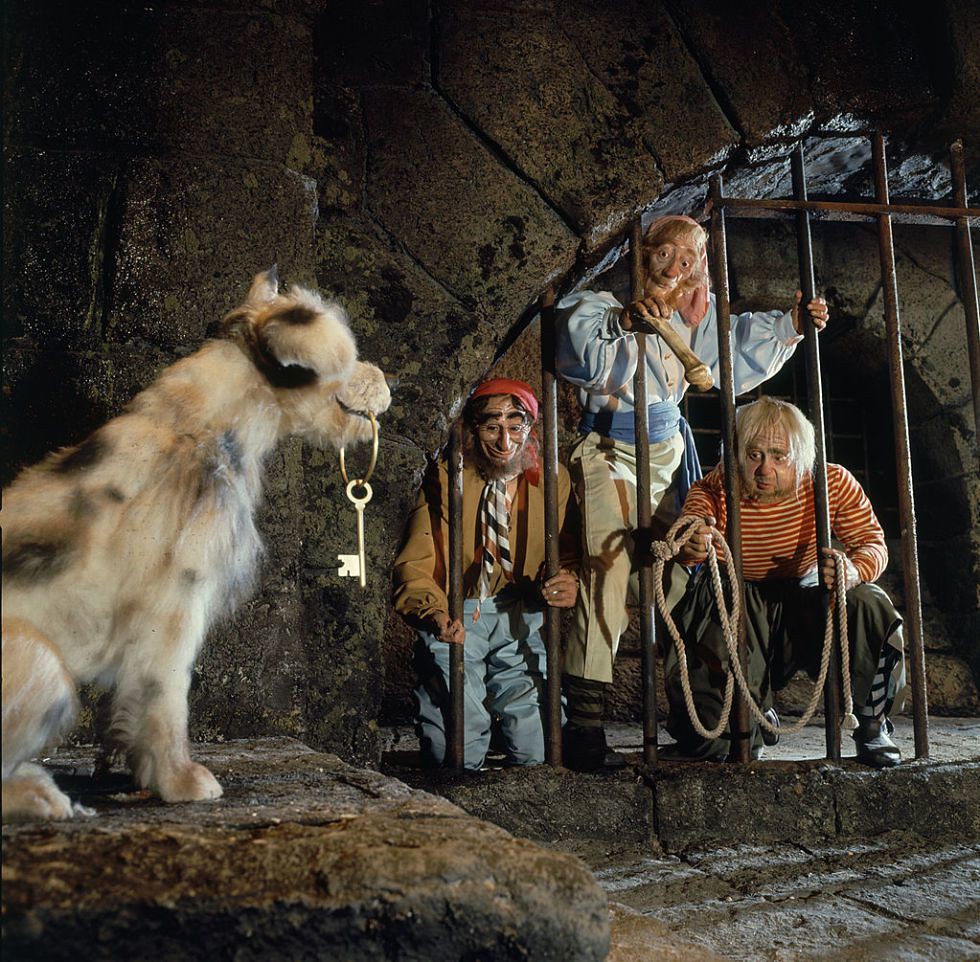
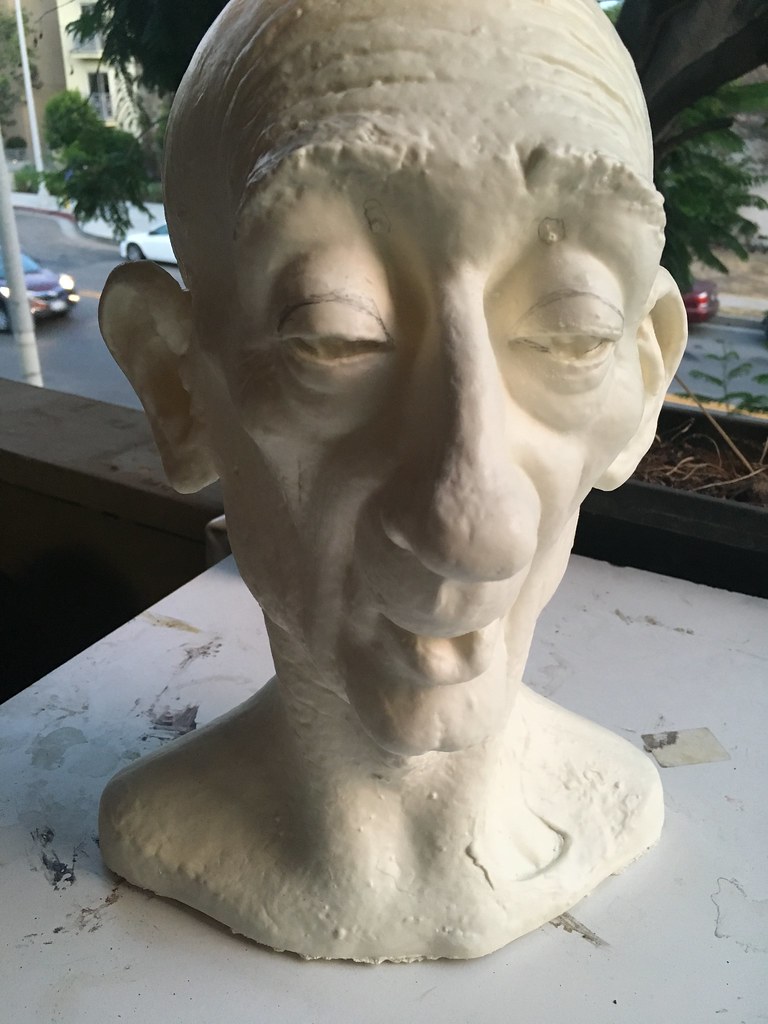
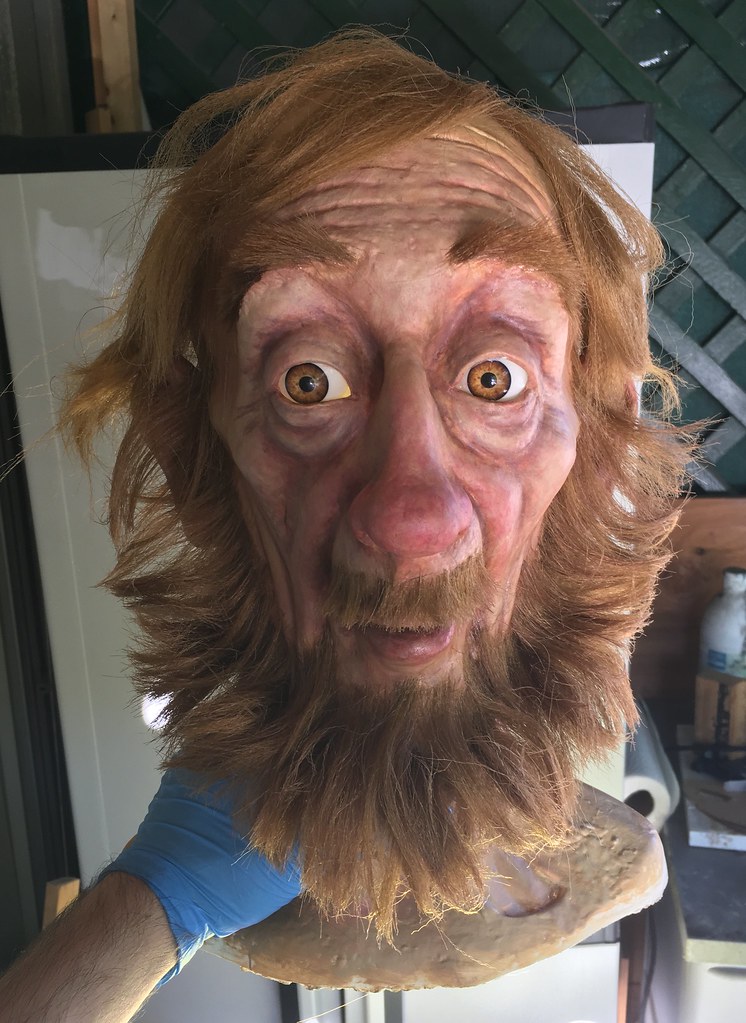
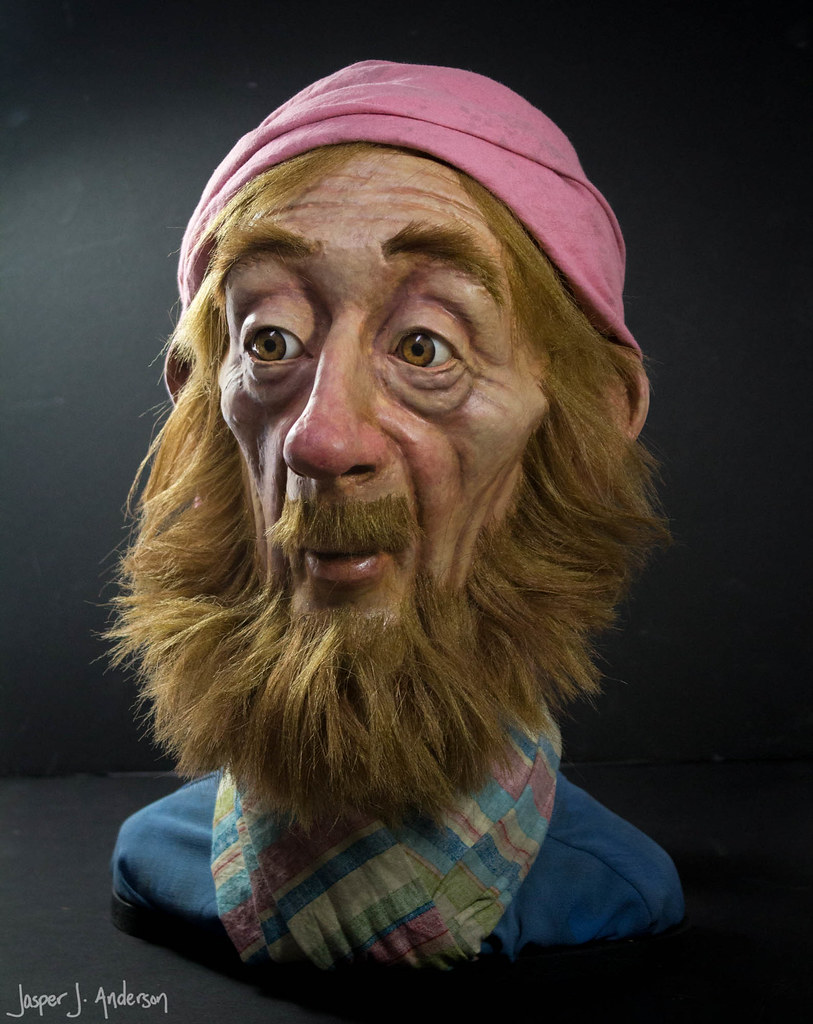
Now, I'll be turning this head into a replica of the jailed pirate seen above. So, the aim of the game is to open the eyes back up, see what we can do with the mouth, and go from there. I'm going to be inserting premade eyes, so I can just carve away at the cast eye until it's the right size and shape.
Measure twice, cut many more times in gradual increments.
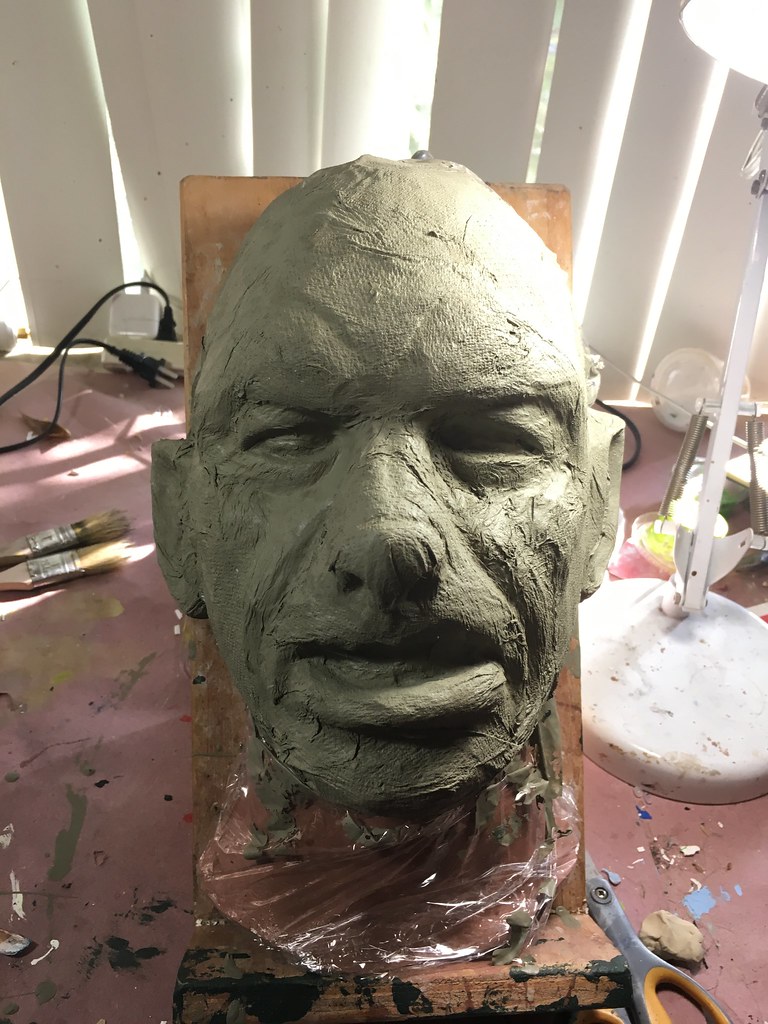
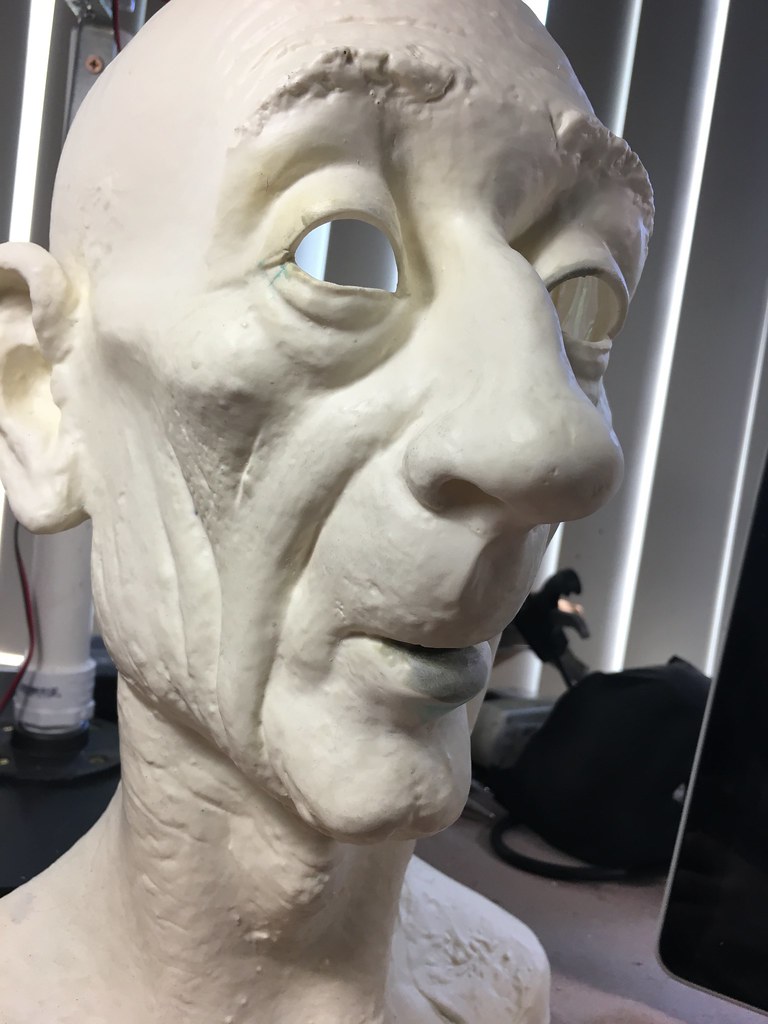
I filled in the hole in the lip with epoxy clay, and shaped it back to a closed position with a dremel. I cut a door in the back of the head to be able to access the eyes from behind. It took lots of careful carving to shape the backs of the eyelids to properly fit the plastic eyeballs I had. Side by side with the original, you can see how much is changed before we even get to the finishing work.
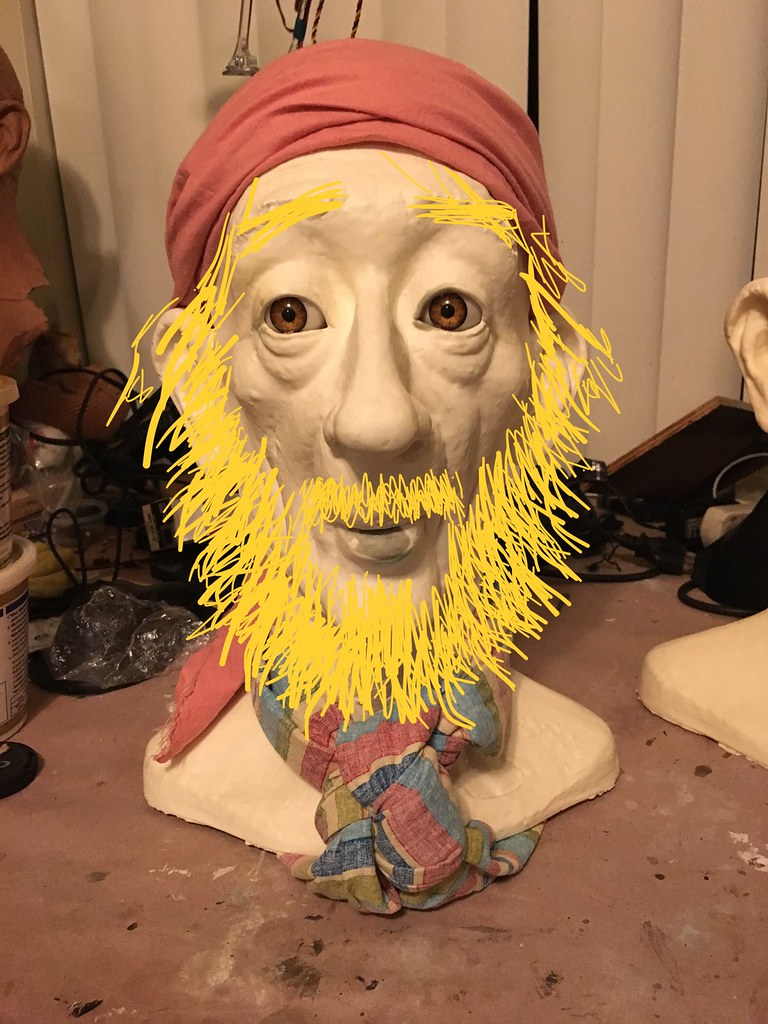
I find it's helpful to visualize where things are going to doodle important features on photos. Will his face look right when the beard goes on? You'll notice I also stated adding some of the clothes. The bandana and scarf are just cotton fabrics, and the shirt is one from the thrift store.
And then came painting. I wanted to strike a balance here of looking nice fairly close up, and having the feel of the actual Disney piece, which tends to have a pretty simple paint job. "Tends to" because, well, let's digress a bit here. Each time the character gets a refurbishment, things change a bit. Here's a look at some of the different versions of the same character at Disneyland. We're not even getting into the variations at other parks.
There's changes in the face paint job, the hair color, the beard texture, the beard placement, and cut. The bottom right picture is before the very first one was installed in the attraction, so I take that as the most important reference point. Then I sort of mixed all of them together to get at the essence of the character. If there's this much leeway in how the official pirate looks, then I can have some wiggle room, too.
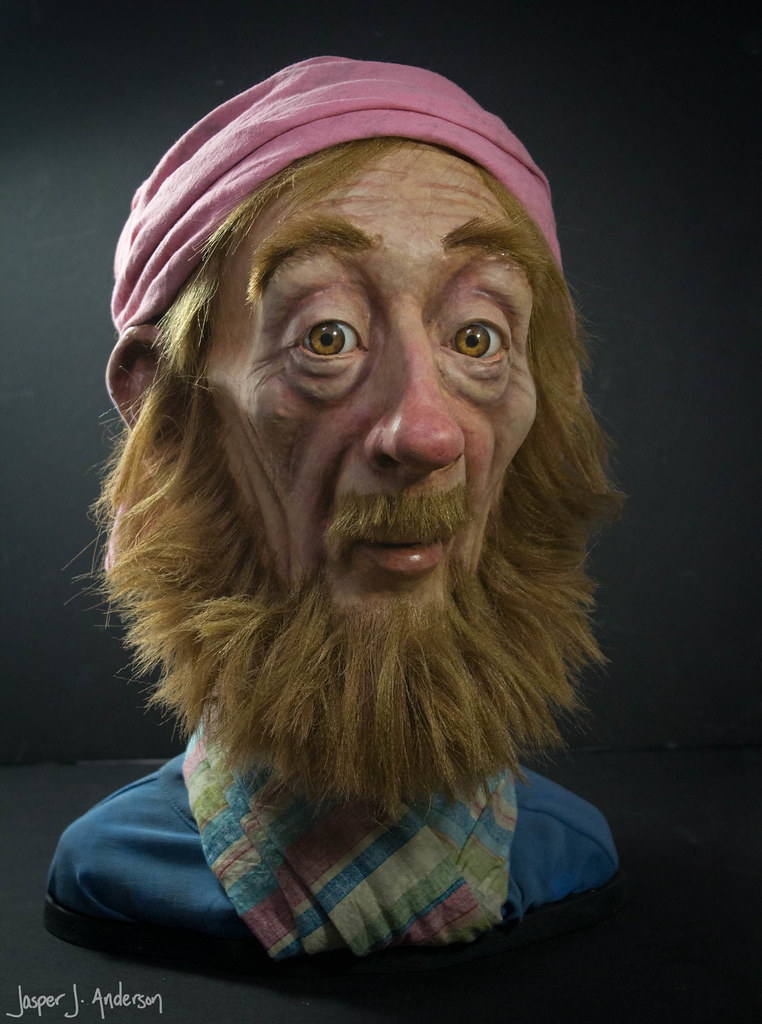
So, I painted the face. A little more cartoony than not, but with a little more realism than slapping down one or two colors.
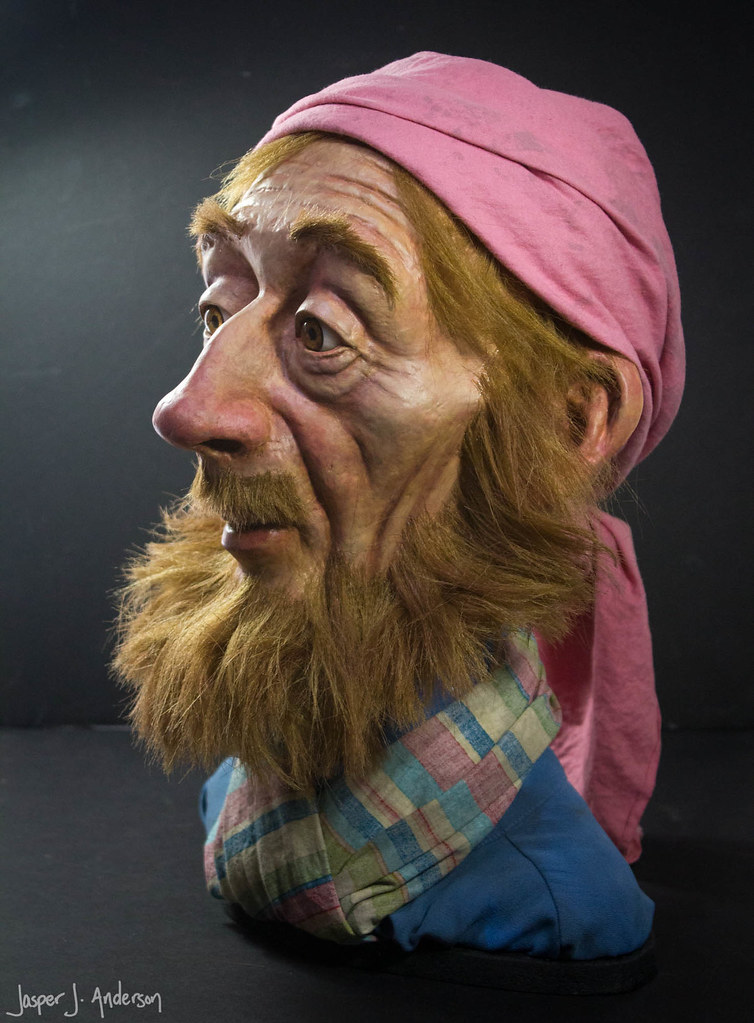
And then I started going at the hair and beard. It's two colors of kanekalon synthetic hair mixed together to feel a little more natural. It makes a color not exactly ever represented on the real pirate, but one that feels like a pretty good compromise between the many that have been.
I didn't take any pictures during the hair laying, but I did learn a few things. I've glued hair to resin before with superglue, so I started using that, but I found out that there's some kind of reaction between the glue and the hair that turns the hair whitish after a short time. I switched over to E6000, which worked great. I styled and set it with clear satin spray paint, as it's a more permanent solution than hairspray. Wear gloves and a respirator, kids.
I decided a small, simple base was in order to give it a polished look. Just some 1/2" wood painted black. It took some playing around to find the right way to deal with the scarf, which hangs in a low loop on the real figure.
And that's about it. This guy won't be staying with me, but he's off to a good home.