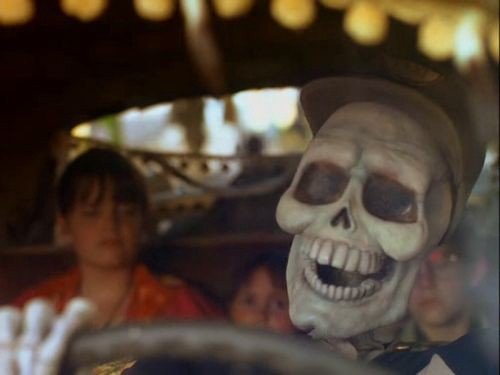
This is Benny, the taxi cab driver in Halloweentown. Can I make a replica of him for the show? Sure!
There were a few considerations in my approach. First, it needed to be sturdy enough to survive being touched by the masses. Second, it needed to be a fast process, as there was only about a month until the show, and I had plenty of other things to get done, too. Third, it couldn't be too expensive, as the budget was tight.
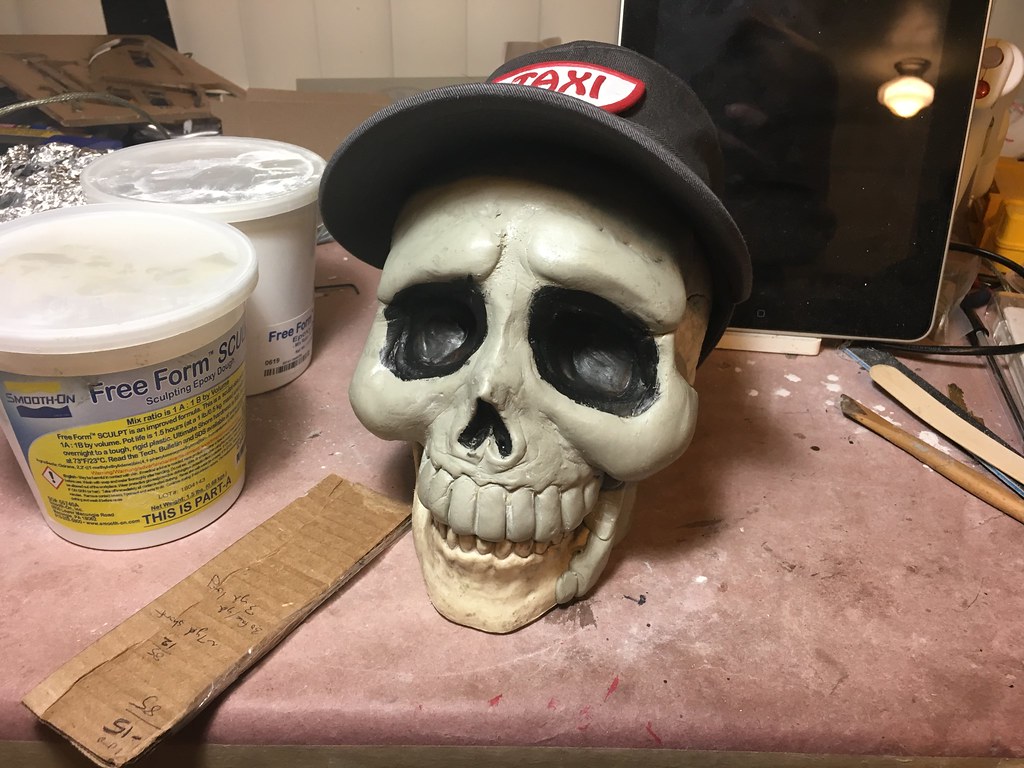
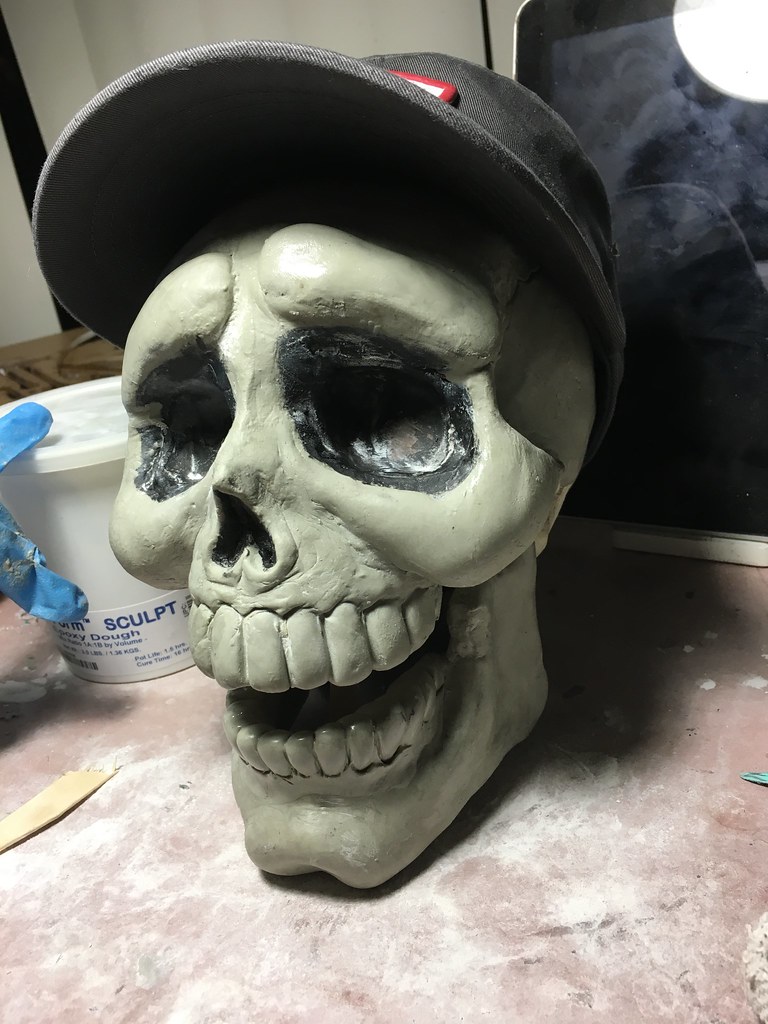
I figured I'd start with a plastic skeleton, mount it to a sturdy armature, dress it, and sculpt on top of the skull with epoxy clay to get the Benny likeness.
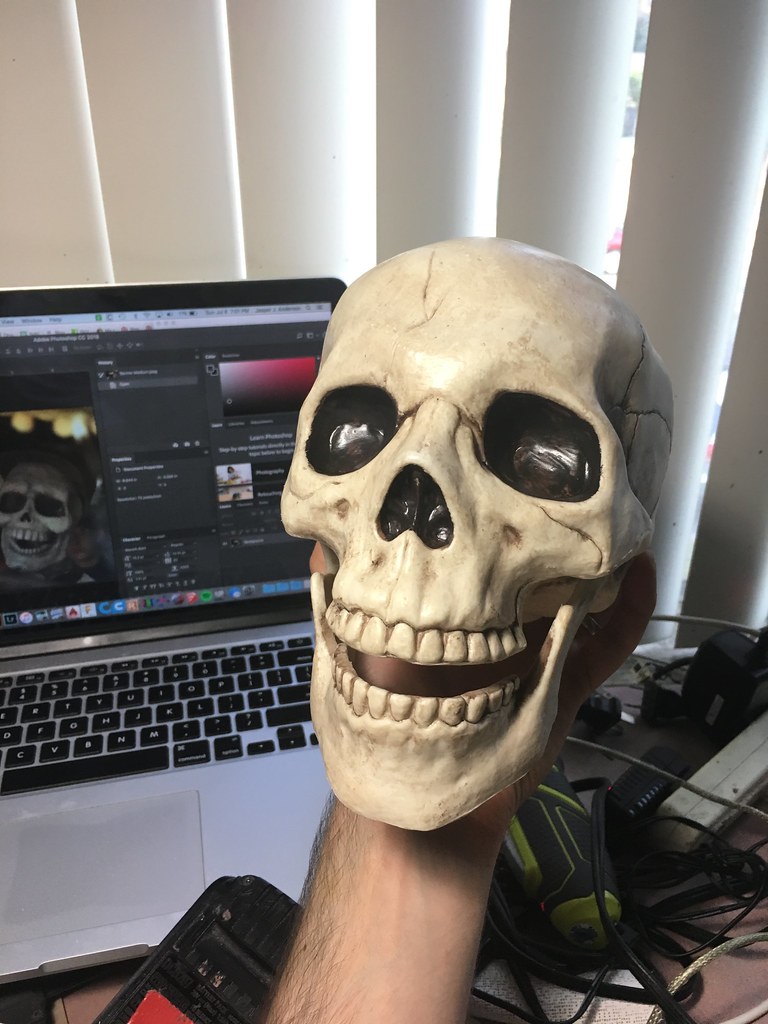
Thank goodness Amazon still has skeletons in the off season. The one I found had what I think of as the "Target" skull, as that's where I first saw this design show up a few years ago. It's probably the furthest off from what it needs to be of all the generic skulls out there, but we can fix that.
I've enjoyed using Aves Apoxie Sculpt in the past, but I wanted to try a new product, so I picked up some FreeForm Sculpt from the local Smooth On store. I didn't like it. While it's easier to mix, it doesn't hold its shape well while curing, so you end up spending a lot of time chasing drooping forms until it sets. I'll try Magic Sculpt next time, as I've heard good things from my friend at Hellizondo.
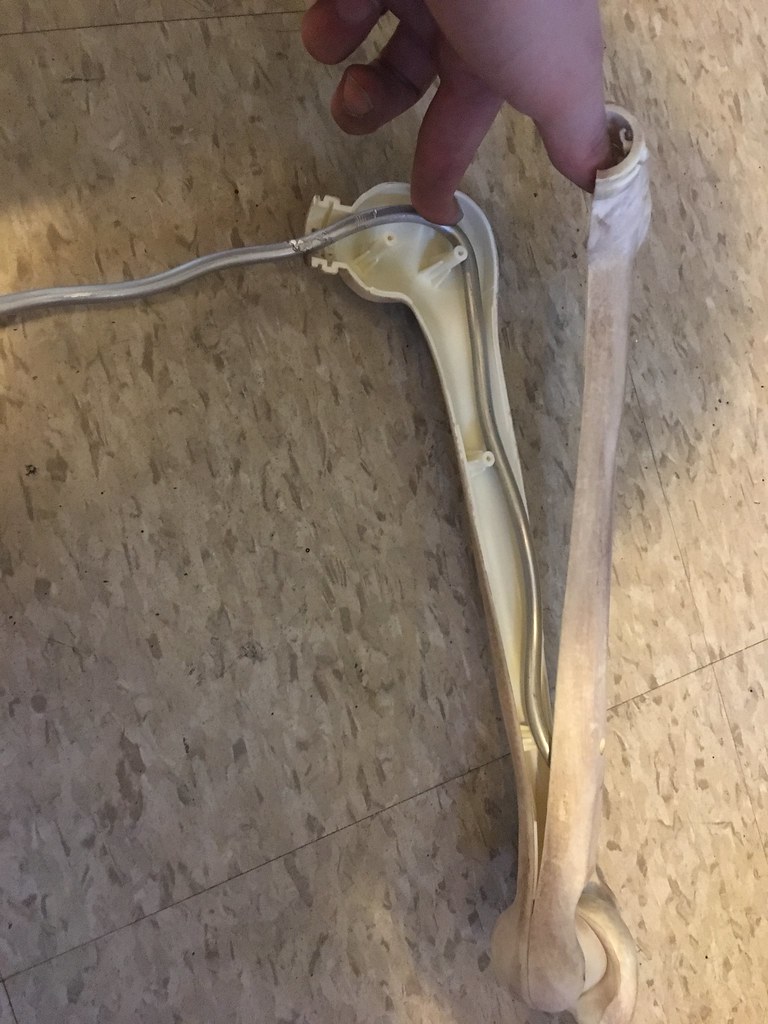
The head was painted with acrylics, sealed with my old standby, Polycrylic, and mounted to another piece of armature wire for free posing by pouring expanding foam inside the head to lock the wire in place, and epoxying the wire to the neck.
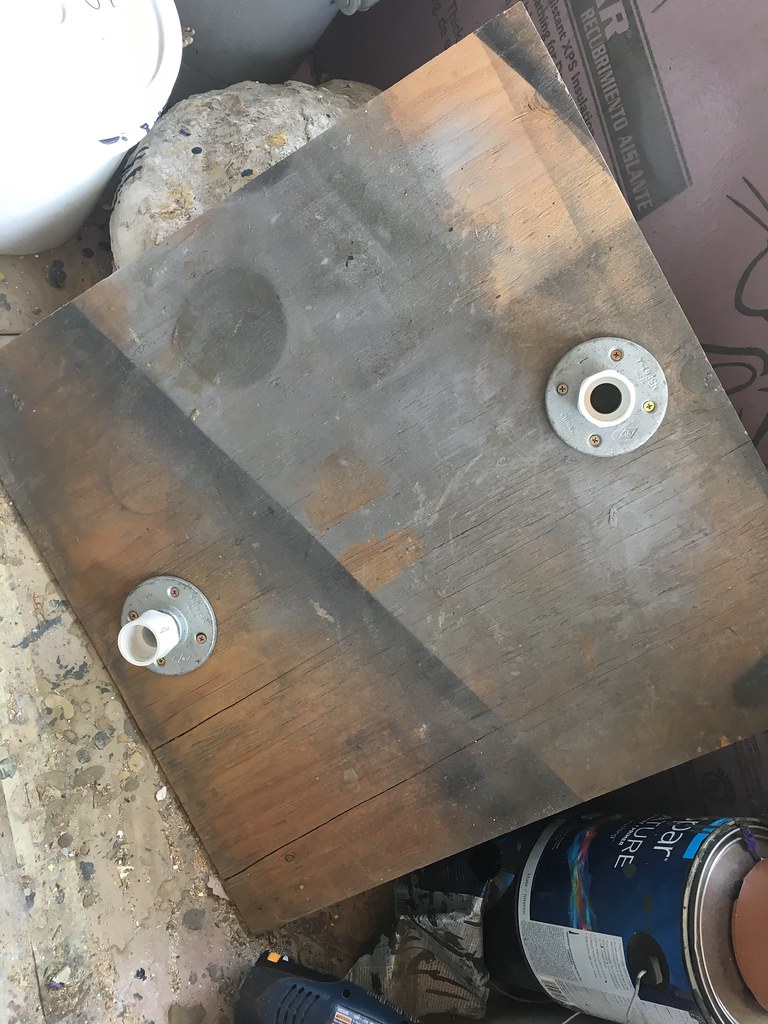
The skeleton was zip tied to 1" PVC that was mounted to a plywood base with flanges and fittings. The pipe supported the legs and spine up to the ribs.
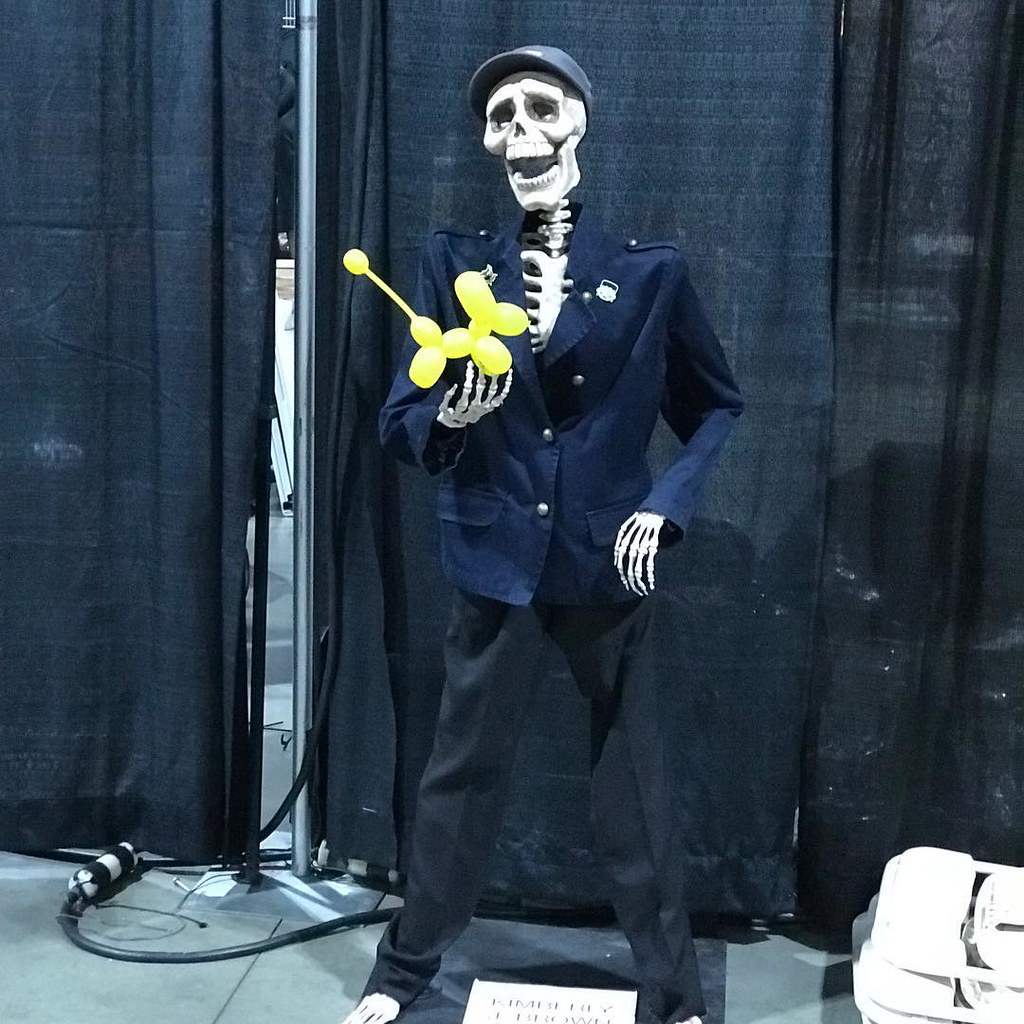
The costuming was all eBay finds. I knew the jacket and hat would be tricky to source locally. Both were sold as military inspired pieces. The navy blue jacket is a Liz Taylor-- go figure. I grabbed some of the skinniest 28" waist black pants I could find while I was in town, too. He still needs safety pins to hold them up.
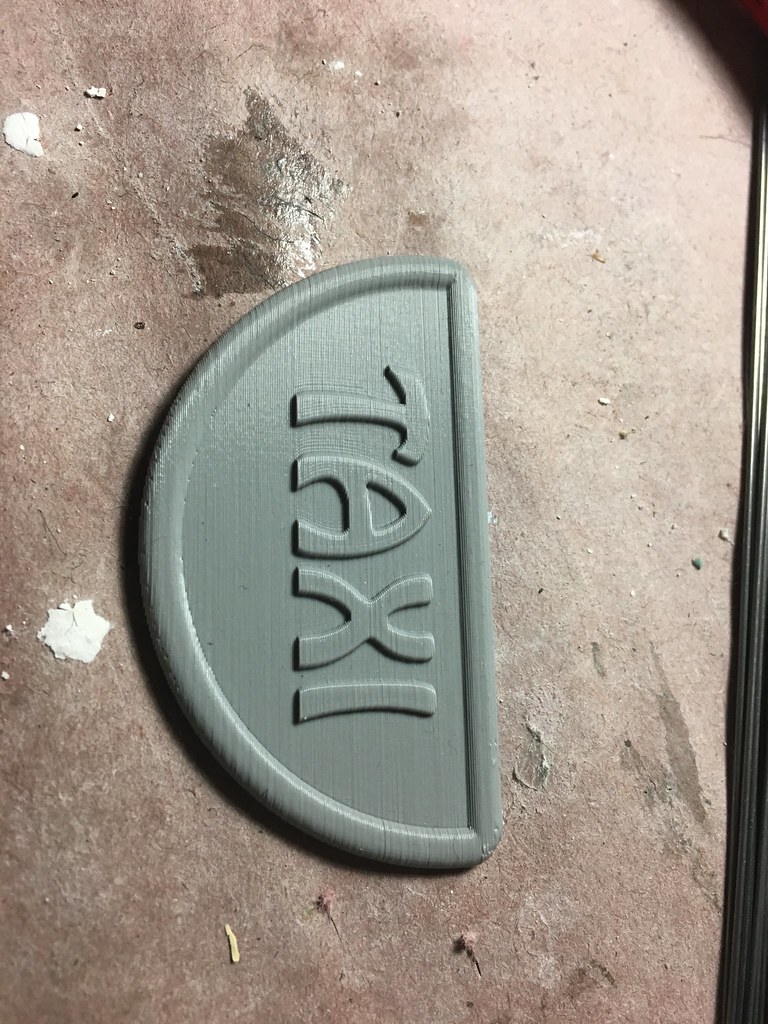
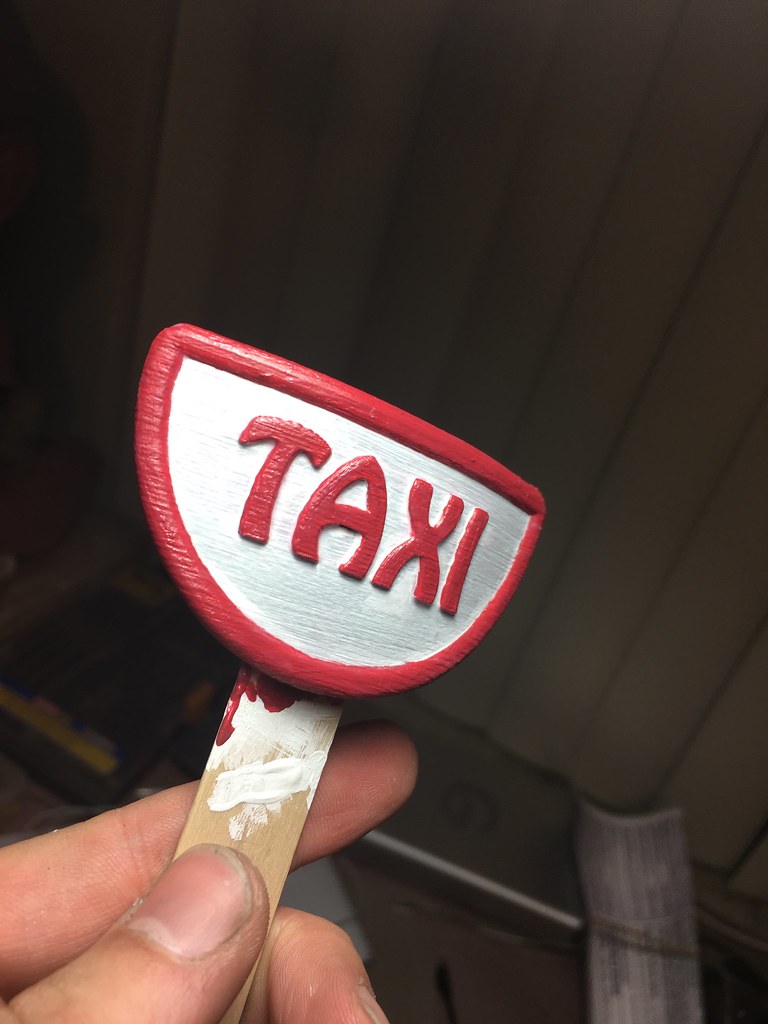
The final touch, which was actually the first thing I made, was a "TAXI" embroidered patch on the hat. Now that I have to explain my approach, I'm remembering that my sewing machine might have some embroidery settings, but it hadn't occurred to me at the time. What I did was to model it in 3D in Fusion360, then 3D print it, allowing the layer lines to stand in for threads.
I heat warped it to match the curve of the hat, then painted and sealed with acrylics.
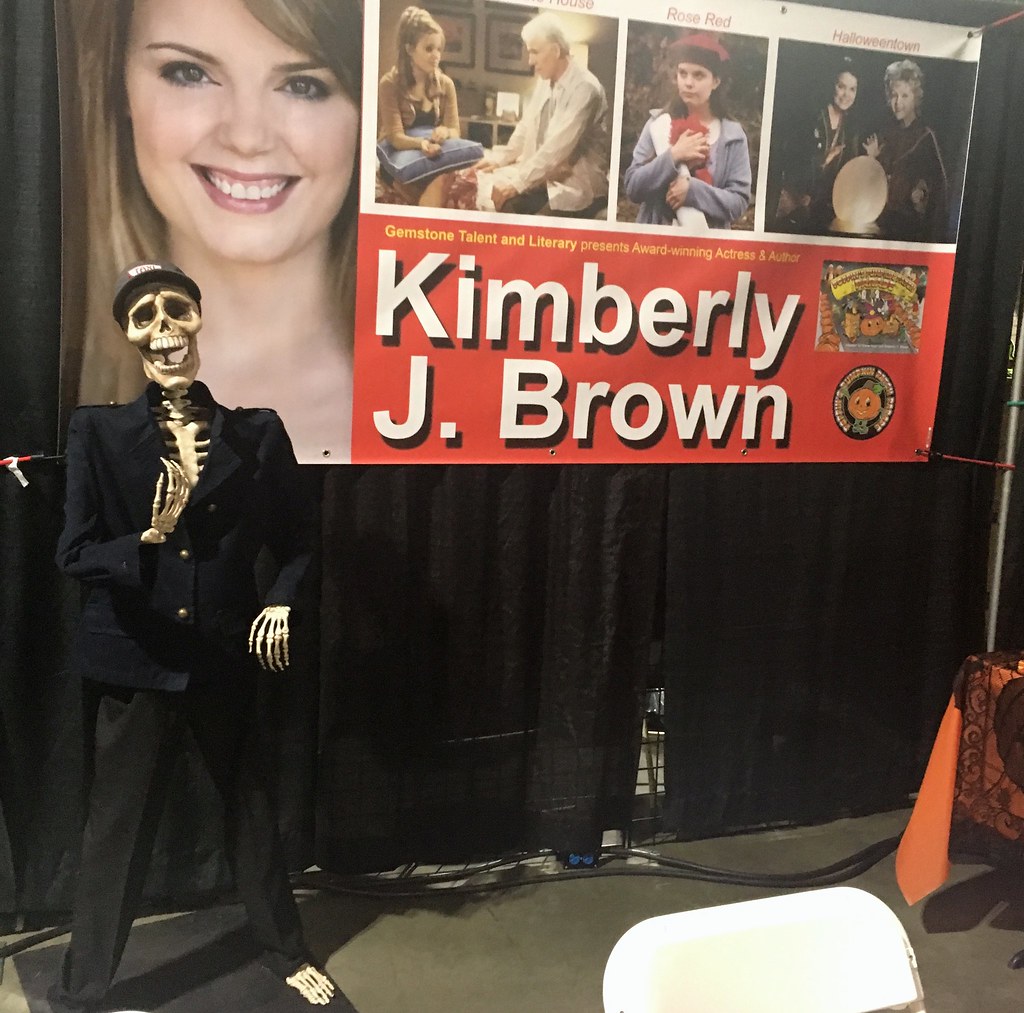
He spent the weekend posing for pictures with Kimberly J. Brown and fans, and tells me he had the time of his afterlife!
Buster Balloon even gave Benny a parting gift on Sunday night!
