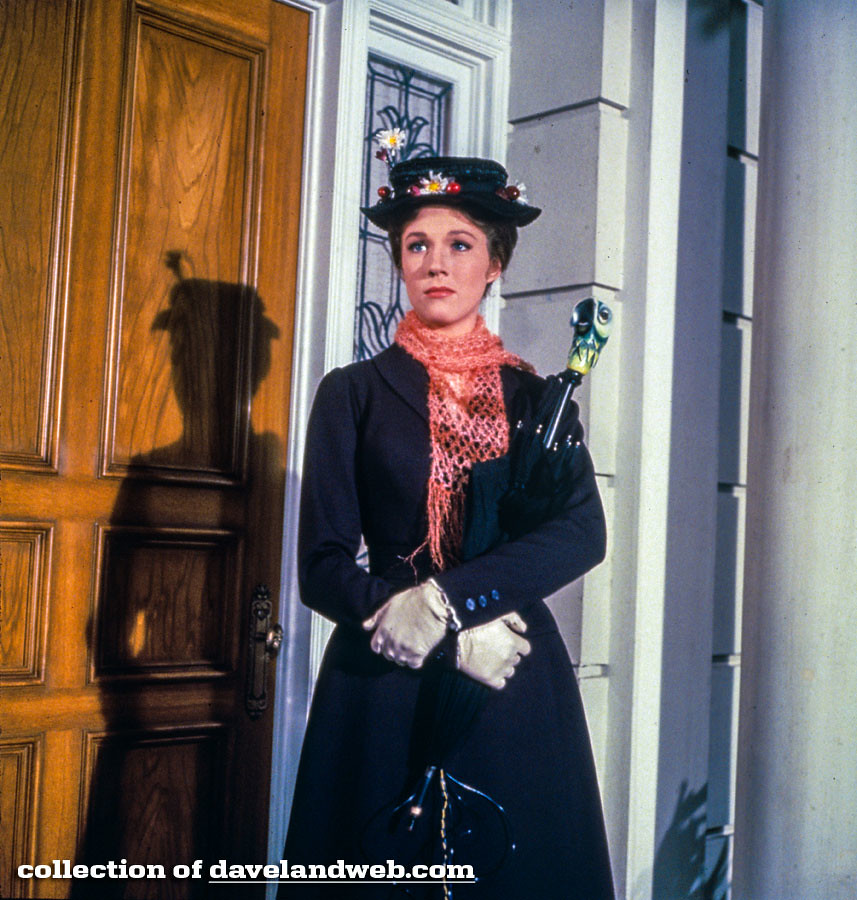
In my research, it became clear that there are several umbrellas used in the film. There’s certainly a talking one and a static one, but there are also variations in the pole, tassel, and paint job of the parrot. These are most of the major differences I caught:
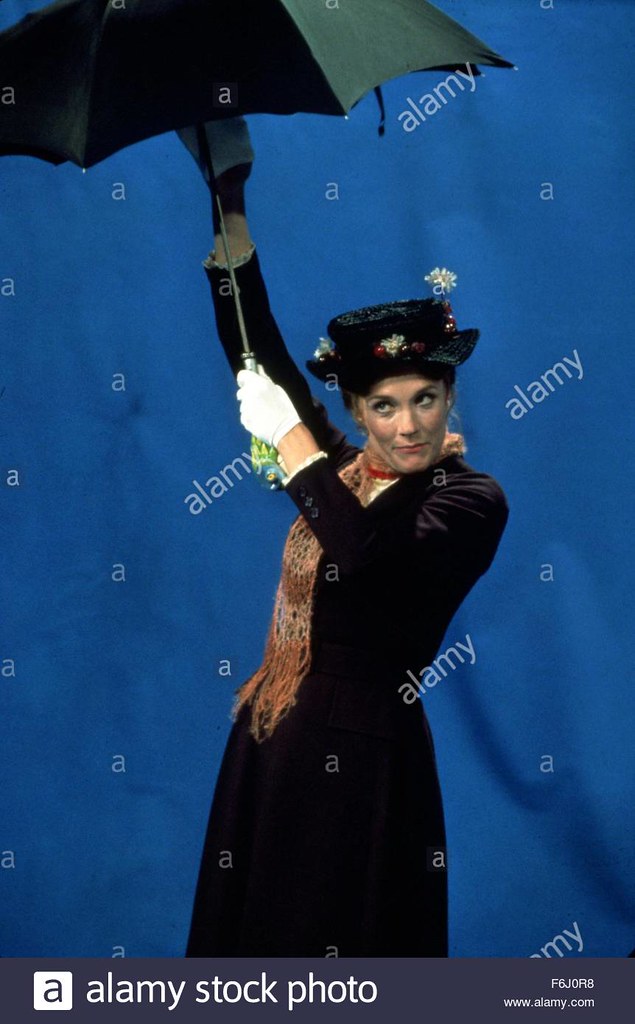
The standard hand prop
This darker paint job (see the white eye area is blue). I'm leaving this one as a maybe because it could just be one of the others repainted
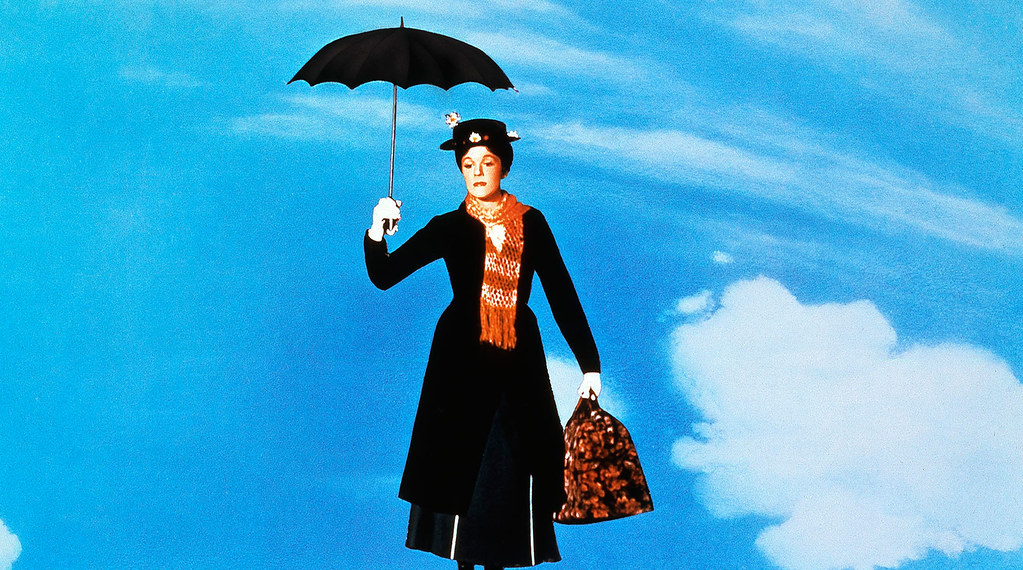
The wide shot flying umbrella (no graduation in the pipe, different/offset canopy
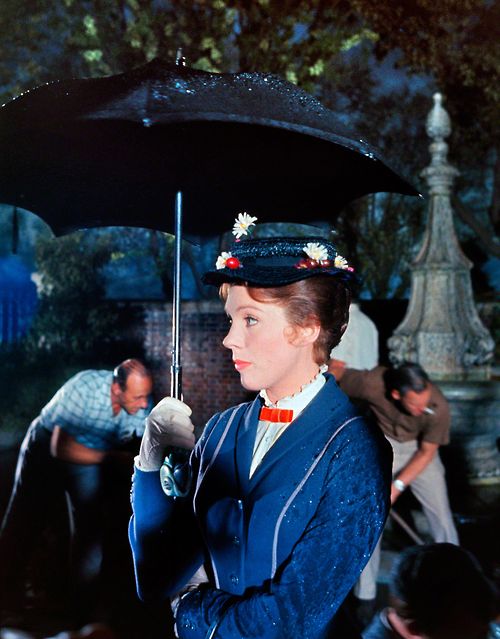
This one in the rain with a border around the canopy
And the puppet version (which you can se here full length with the cables out the bottom!)
I came across an expired auction for what claims to be one of the originals. I’m not so sure that it is. The paint looks unlike anything seen in the film (both in style and color), the eye is painted (rather than an inserted doll’s eye), and the treatment of the handle with wrapped cord doesn’t match anything on screen that I could find. But that’s not to say it isn’t an original that’s been restored, or at the very least a casting of the original bird. What it did give me was a scale to work off of.
Disney has offered three versions of the movie umbrella. Two of the released Disney versions are derived from the original mold, and there are better pictures of these than of the prop in the movie. And while it looks like some detail was softened in the manufacturing process, these still provide a nice blueprint for where things line up on the sculpture. A defunct company called Icons produced a replica of the prop, as well, and someone on the RPF who has this one was kind enough to send me some photos.
Now the other component is, of course, the umbrella itself. I spent some time searching the web for a simple black umbrella to use as a base. It turned out to be rather difficult to find manual open umbrellas of the right size. Eventually, Target came through with one that nearly fit the bill, except the tip is all wood instead of wood and metal. I cut off the hook at the handle, and that looked about the right length for the wider part of the pole.
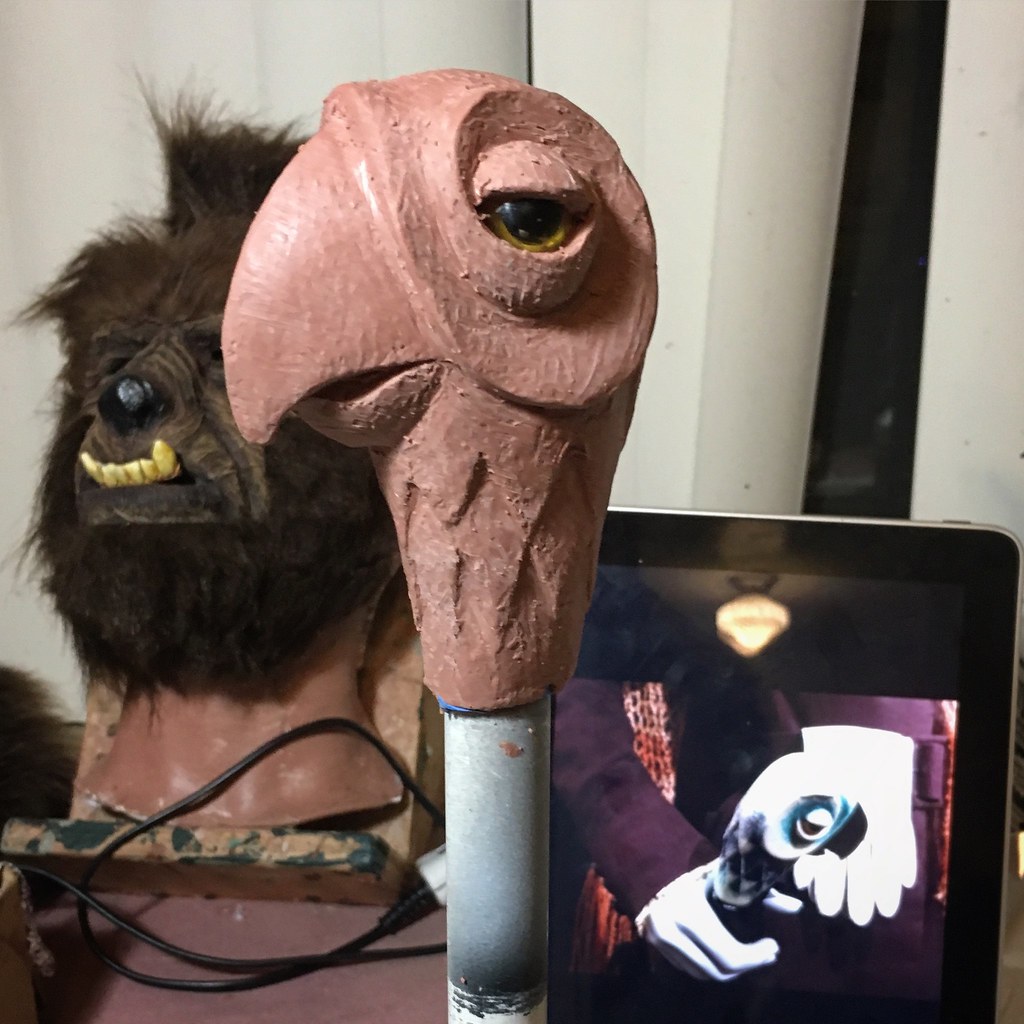
I started sculpting the bird over a pipe that’s close to the size of the handle, so I could slip it off and try it on the umbrella. This is a couple of short sessions in. I'll do a silicone mold of this and make the final piece in resin.
The next bit of problem solving is how to accommodate the eyes in the casting, and whether to make the lower beak separate for a possible animated version. I set the project aside for a little while to mull things over.
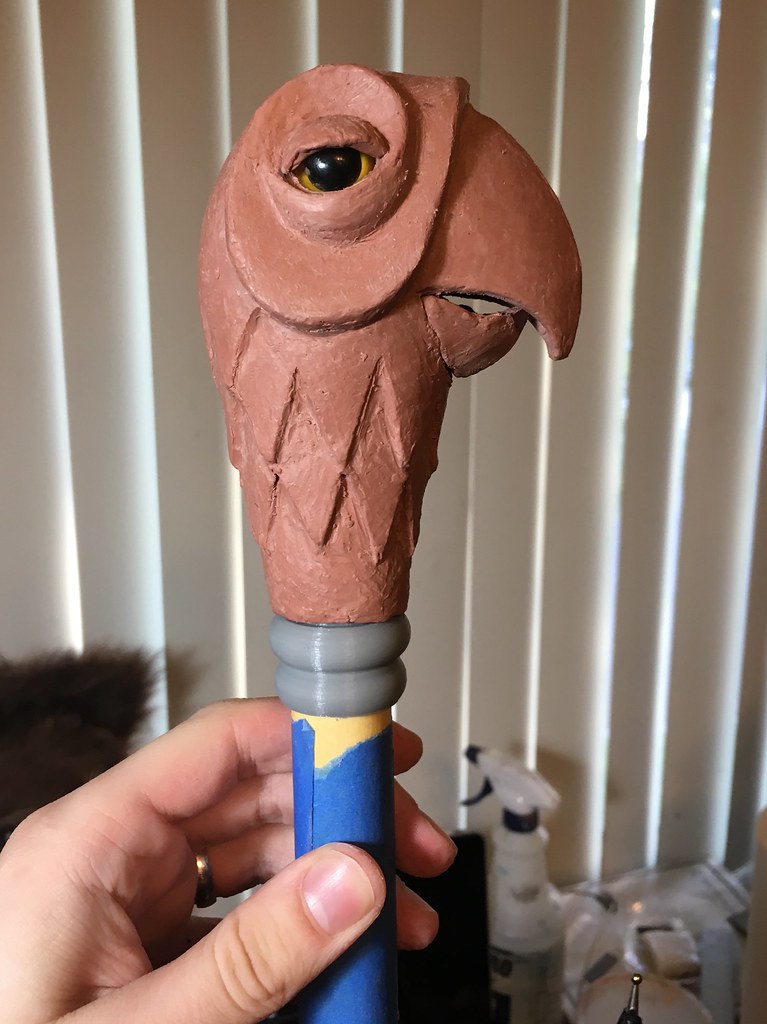
When I next picked it up, I was working out the detail below the bird with my 3D printer, since I don't have a lathe. It's trickier than I expected to get the right proportions here. This is the third attempt, and it seemed pretty good.
Progress!
After a few months abroad on a project I hope to be able to discuss sometime in the future, I finished up the sculpture the other day and threw it in some silicone!
The first cast came out pretty good. There were few problem areas I had to troubleshoot bubble-wise. The eyelids are molded separately so the eye can be inserted, then the lid glued on top.
I've got plans for a mechanical version that are starting to seem doable in my head, but it made sense to get it finished off as the static prop first so that
1) there's a starting point to work from for the animated version
2) I've got something complete to show for my time so far before embarking on that adventure.
I'll be able to cast up a hollow version to modify for movement down the road.
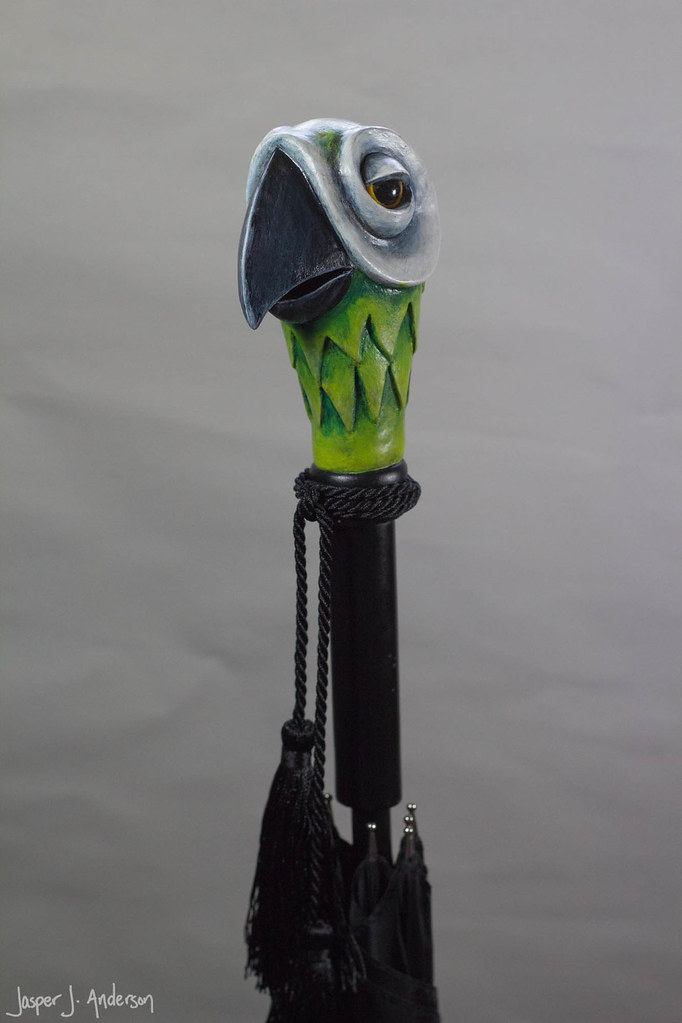
Because of the variations in paint on the real parrots, I had some decisions to make when it came to painting mine. I played around on the piece a bit, and ended up following the basic color scheme of the talking version, as it gets the best close ups in the film. I tried to approach it with a washy, watercolor-like thought process, as I thought that best matched the feel of the film's design principles, looking in particular at the matte paintings of a dreamy London cityscape, and the actual prop snowglobe. Not too clean and polished, but not overly heavy handed, either. A lovingly handmade piece.
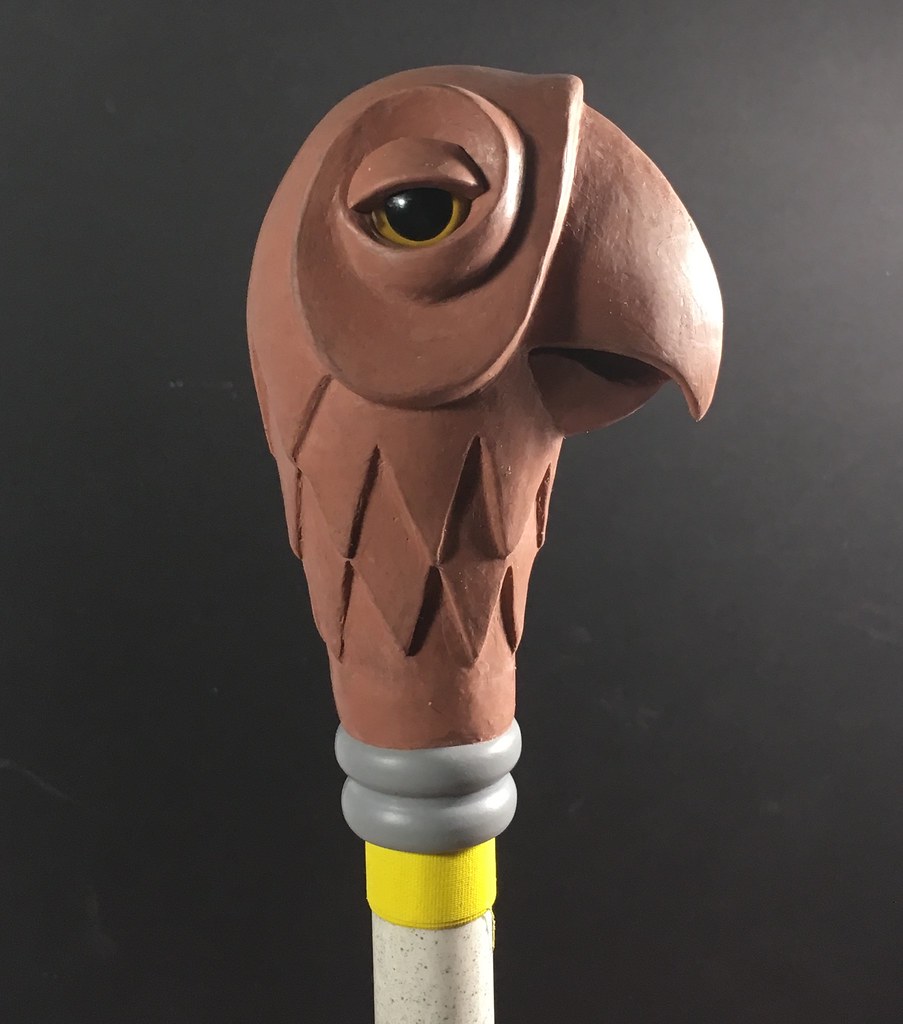
Here's where I ended up!
Here's where I ended up!
