A lot of pictures on this site were hosted on Photobucket before they disabled photo embedding. If you'd like to see pictures for a particular post, please let me know, and I'll prioritize getting those images fixed next!

Monday, September 21, 2015

No Disintegrations!

I promise this is the last Star Wars post for a long time.

Target had $30 Boba Fett helmets in the Halloween section that I heard on the Replica Prop Forum are actually pretty reasonably accurately sized and shaped, though sporting a kindergarten paint job.  Sounded like a fun challenge to me!

So I took this guy


...some model kit enamel paints, and a whole lot of patience, and got this:


Wow, that took a lot longer than expected. Gives me a lot of respect for the guys who do these so well on The Dented Helmet. I may still shorten the rangefinder stalk a bit (I think I overdid the extension slightly) and add a bit more general weathering and missed details, but it's been a fun project! I used mainly Model Master enamels, since I don't really have any experience with them. Tried to get the right colors off the shelf, but ended up having to mix most of them, and still didn't quite hit them on the nose. As a learning project, though, I feel it went pretty well. Who knows, I may repaint the whole thing one day, haha.

Mainly a topical paint job. I used a variety of templates from the folks at TDH as a guide for the first pass of color in each zone, and freehanded the subsequent layers, so nothing's truly exact. I stenciled the decals by transferring templates to blue tape with graphite paper, which turned out to be a really easy easy to get them done. I haven't decided how I want to tint the visor yet, so there's just a piece of fabric behind it for now.

The dent shape was corrected somewhat with Apoxie sculpt, and the rangefinder stalk extended with brass.  At some point, I'd like to fix the shape of the RF, too.

I'm not going into a lot of detail, because the painting process has been very well covered by many other folks.  But one novel idea I did have was the brass extension.  It's not a strictly accurate result, but certainly better and sturdier than the original, and a really quick fix.


I had some rectangular K+S brass tubing that the plastic stalk almost fit perfectly inside of, so I trimmed the plastic down, ground the it a little thinner, and wedged it into the brass. The part that attaches to the helmet needed to be filed slightly to fit the new stock. The to rangefinder piece needed a slightly bigger hole to accommodate the brass. Cut the brass to the right length, and it all fits back together. I thought I'd have to break out the epoxy, but everything is friction fit very nicely.

EDIT 9/22: Oh, here's another fun one.

This is how I did all the decals


I used graphite paper (Royal Langnickel brand - $6 on Amazon) to transfer the designs from TDH onto blue tape, cut them out with an xacto, applied to the helmet, and airbrushed. Once dry, I scratched them up with a dull blade to match the reference. I was really pleased with how easy it was like this.


Thursday, September 10, 2015

Wacky Zombie, Jr.

One night last week a did a little wacky zombie doodle before going to bed.


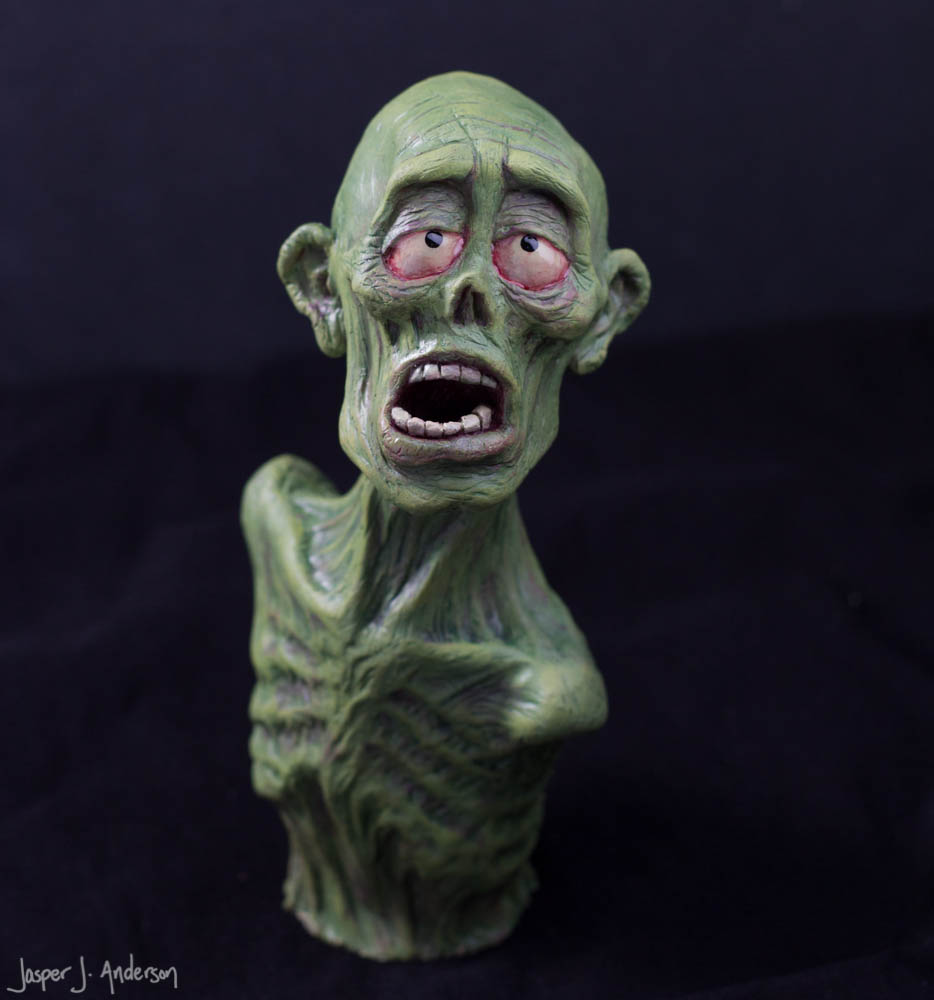
There was something about it that stuck with me, so the next evening I decided to have a go at sculpting him as a small maquette. I decided to use Super Sculpey because I had some, and most of my oil clay is tied up in my Vincent Price project. Plus, this way I'll get to have a hard copy to keep without molding it. Also, it's a medium I'm not used to, so I'll get a little extra education out of this.

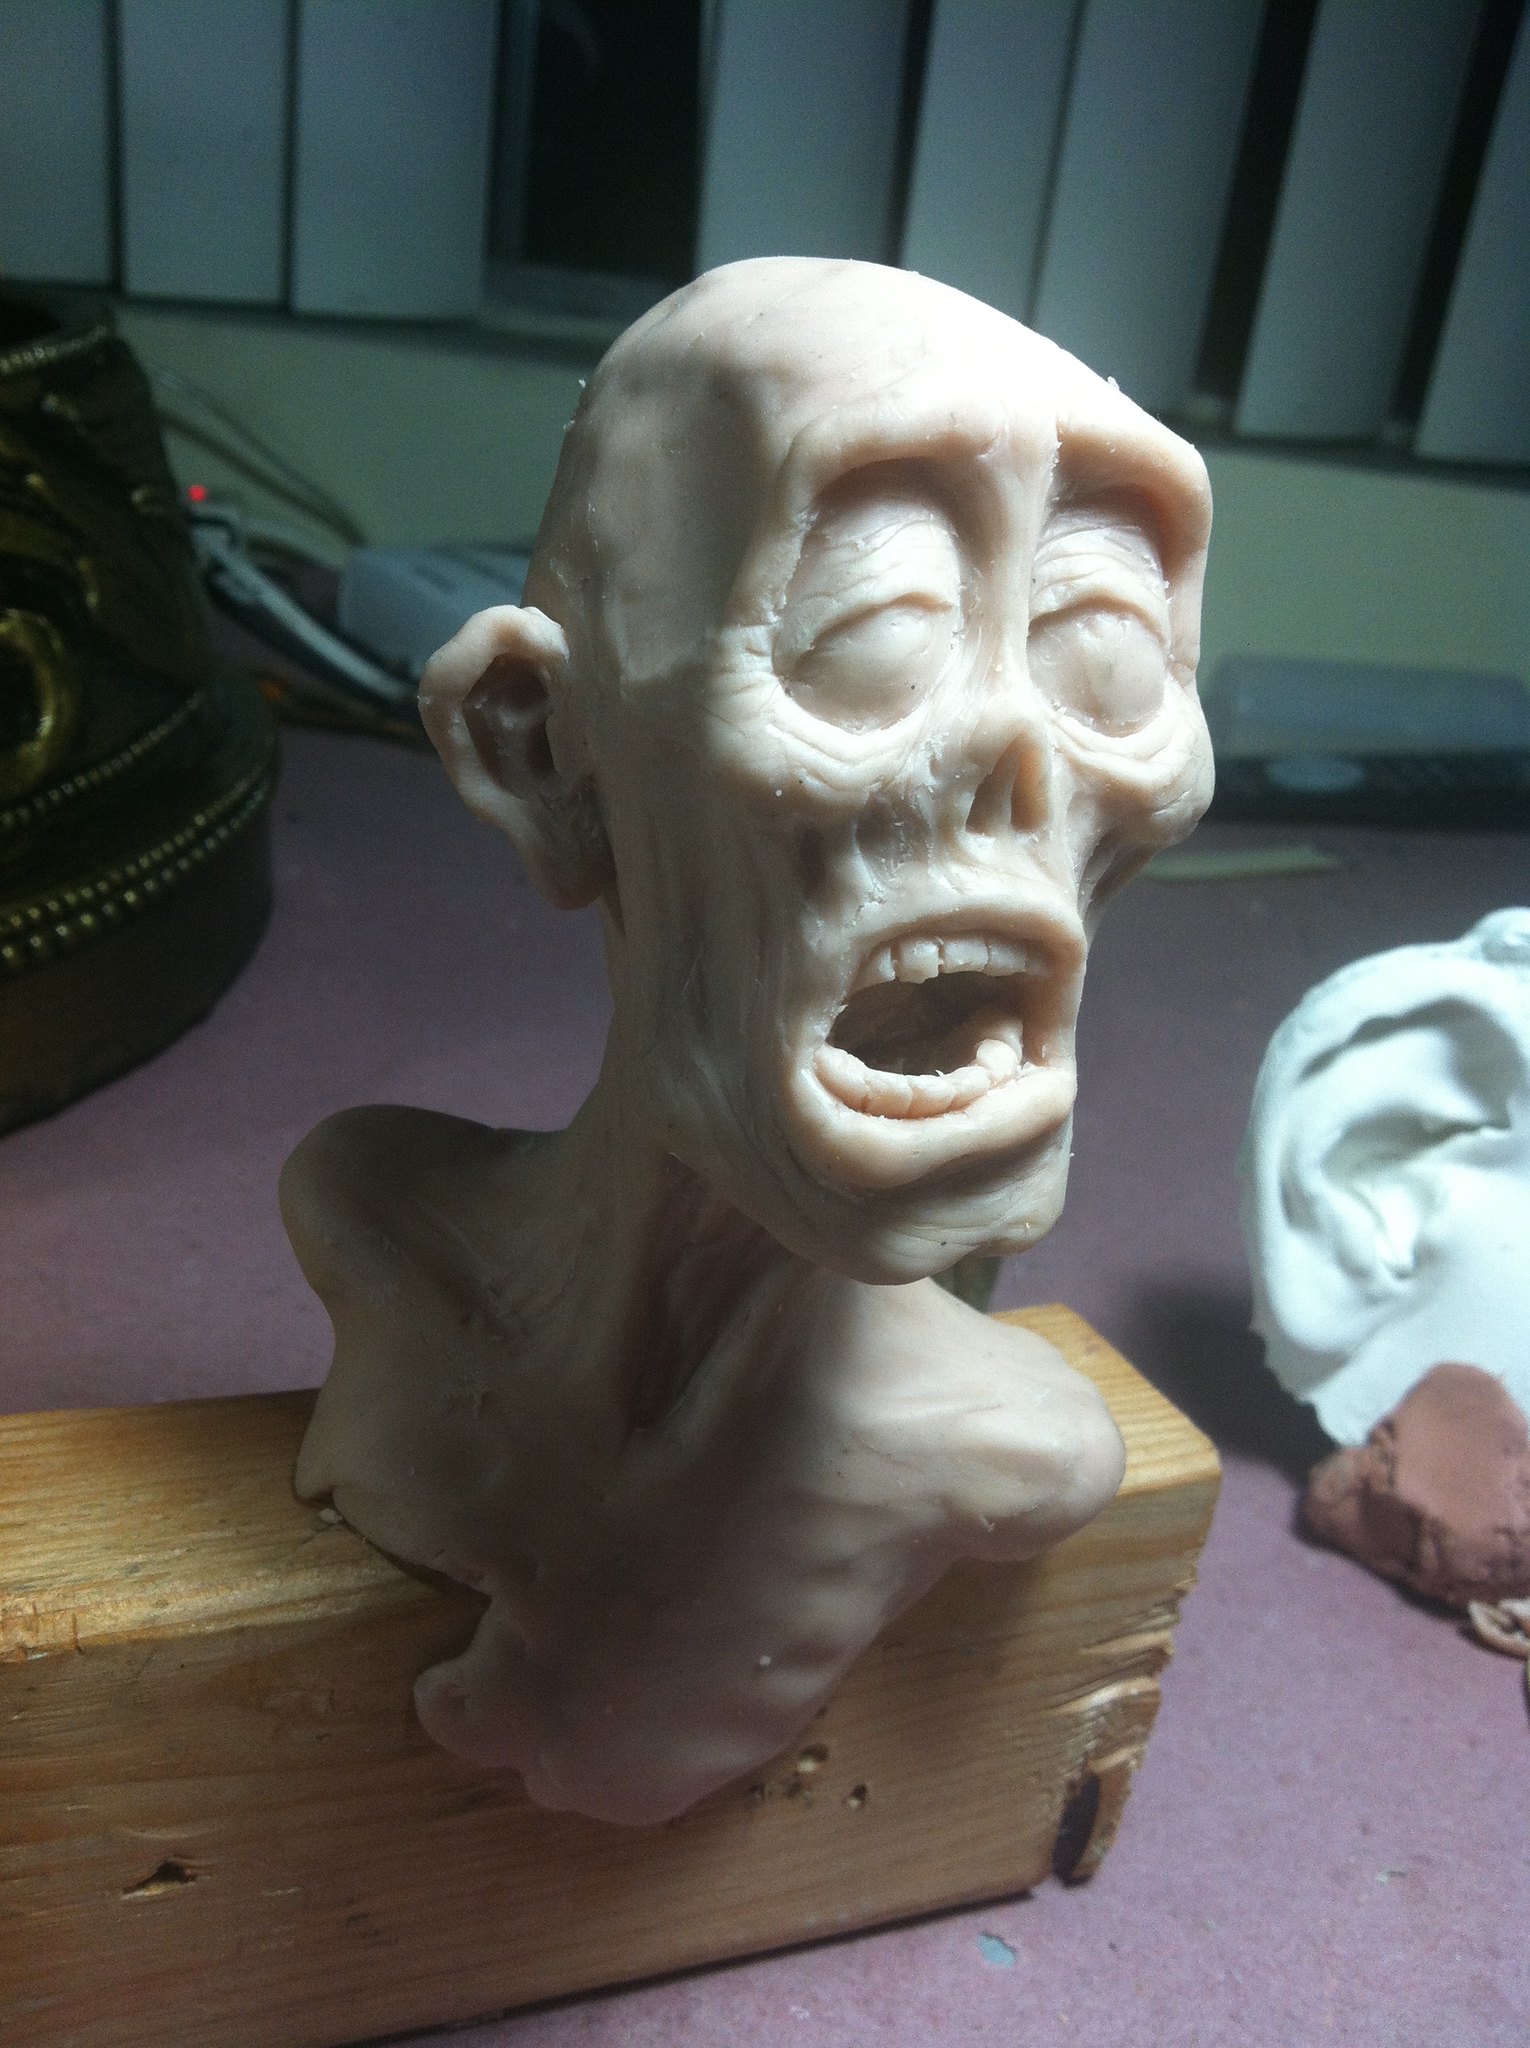
This is about two hours in. Didn't think to take a picture earlier because I didn't know if I was going to want to continue with the idea. I started with just the head and neck, propped it up on the block of wood to get a better look at it, squished a bit of clay on either side to help support it, and realized I could add some more interest by adding a bit of chest.

Next I put a little more detail work into the face

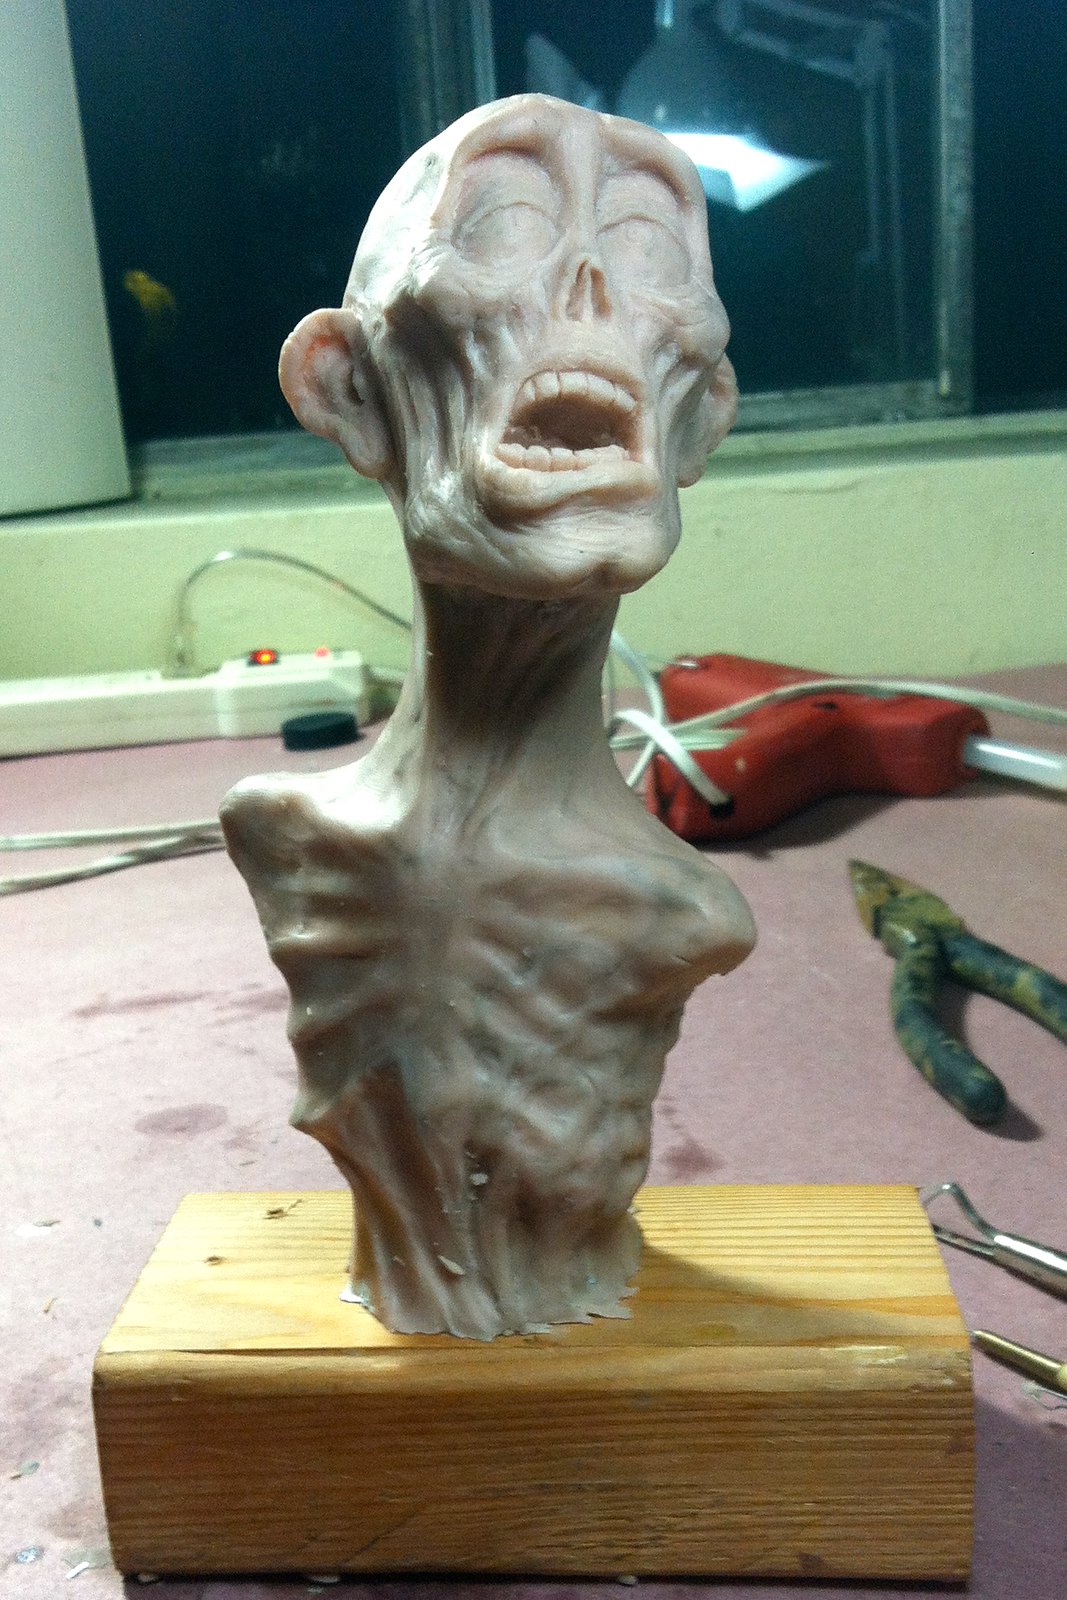
I realized I'd really need to rethink how it's on the base. So I built it up a little bit...

Oops! More than I meant to, though. Guess I've got more sculptural ground to cover than intended.
I thought about giving him arms at this point, but decided that opened the flood gates a little too much. Trying to keep this quick and fun.

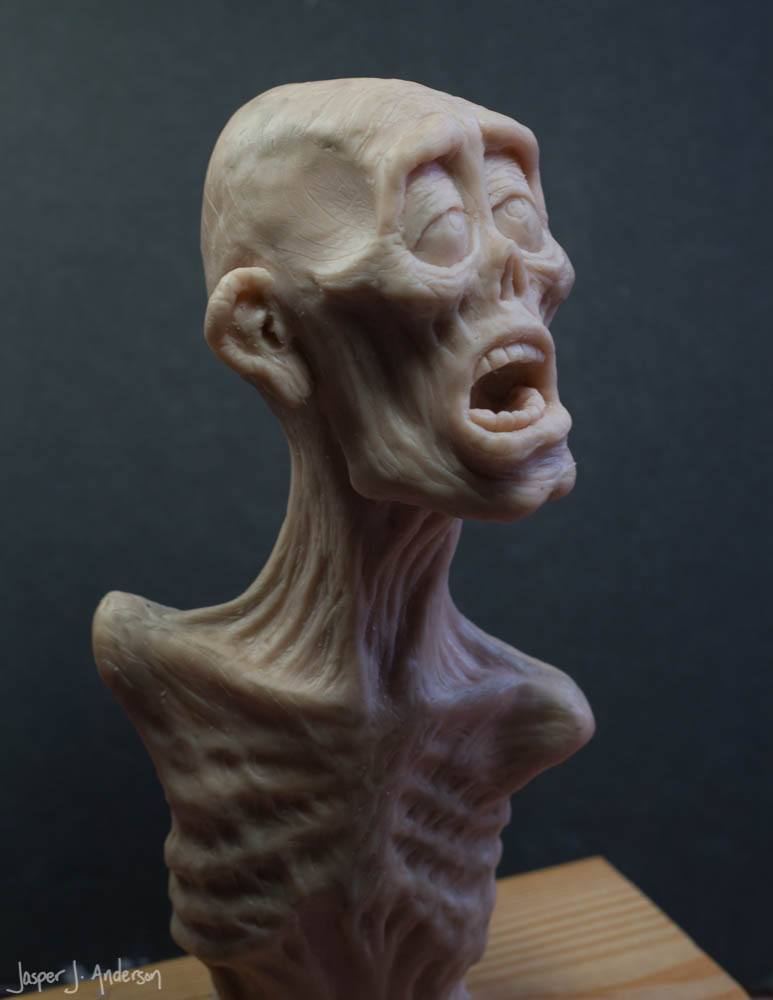
A couple of assorted thoughts: The inspiration for the ears are dried apricots. I really ended up favoring character over polish on this. I guess I was sort of testing the limits of how far I can push it into cartoon land. It's definitely not perfect, but it was satisfying to turn it around in a few evenings and call it done.


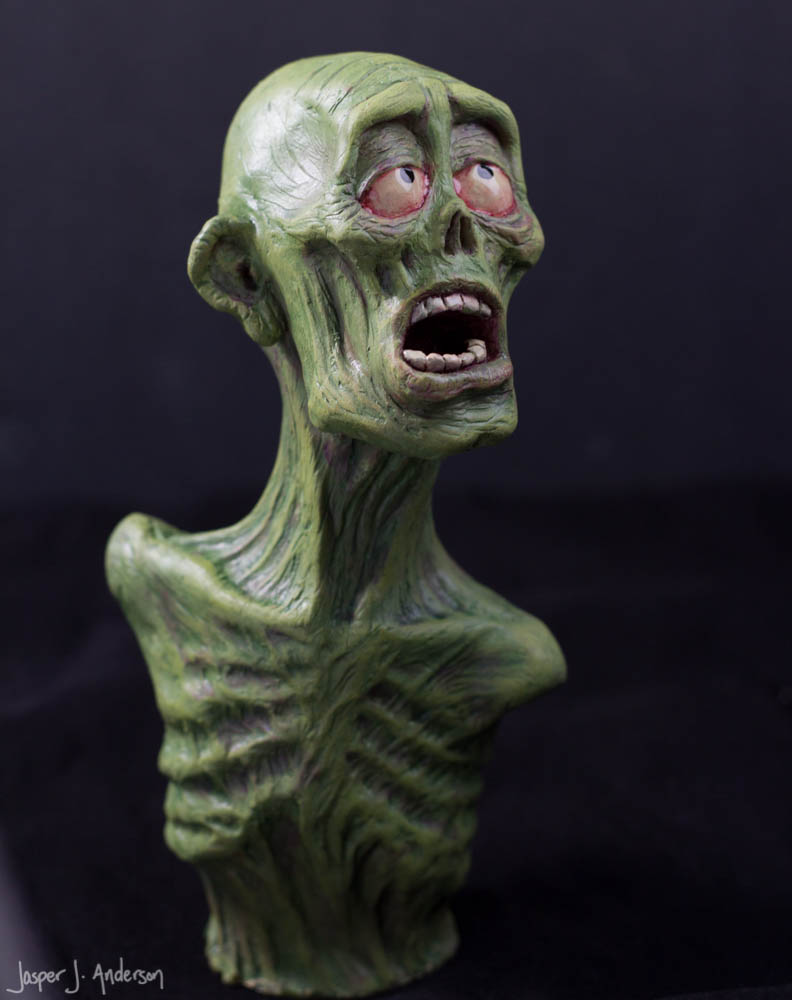
Then I baked him and painted him with cheapo acrylics and 5 minute epoxy over the eyes.


Wednesday, September 9, 2015

Speaking of Star Wars...

Did you know I once made a wooden lightsaber?

I had a neighbor who was (is) a very talented woodworker, and I talked him into helping me turn this Luke Skywalker lightsaber on his lathe out of pine!  Lots of sanding and bondo work.  I don't remember how we did the gear-shaped pommel, but I know it's all one piece.  It says 2010, but I think that's the year I finished painting it.  I believe it was started at least a couple years earlier.

Actually, it's not the only lightsaber I made.  I also made a stunt version of this one out of PVC, so I could film a lightsaber fight (maybe one day you'll get to see one of those, eh?).  And a bunch of others...

Tuesday, September 8, 2015

Going Somewhere, Solo?


This is now hanging over my workspace. Definitely the most trouble I've ever gone to for a Star Wars joke... If you've seen my little shop, you'd accept the apology.

Han Solo's blaster (3D printed parts over a hacked up airsoft) and the coin he tips the bartender, in a Cantina-themed frame.


It started as another late night doodle

I picked up a $7 airsoft gun off eBay that's an okay approximation of a real C96 Mauser (the gun the original prop was based around).  Though many of the details were different, and the body of the gun was wider than the real thing, the profile is actually pretty close to the right dimensions, so that's a big help.


There are a few people who have modeled and made available the additional parts of Han's blaster.  I picked and chose the pieces from different sets that I thought looked best and were easiest for my 3D printer to print.

I modified some, like this antenna piece, by swapping out the printed posts with brass rod.  The grill in the front had to be scaled to fit my wider gun.

And there were lots of areas on the airsoft gun that had to be modified, like this tube they added on top to house the spring.  Grind it off!

Hacking away, then bondo and sanding and primering.

I realized I could help the fit of the grill by reshaping the front a bit (in progress here).

This is Alclad chrome model paint on the muzzle.  Very shiny.

We're a little scarce on pictures of the rest of the process, but the frame was made with a scrap of MDF and 1x2s.  A bit of tinted plaster scraped over the back and some paint to weather.  The coin I made up the design for and 3D printed, as well.  I'm happy to fill in the blanks if anyone has questions about specific steps.


It's far from an accurate replica, especially considering Han shot Greedo with a completely different gun than the one he uses in the rest of the movie, but hey, it's for the laugh.  Chuckle.  Half smile.  I'll take what I can get.