
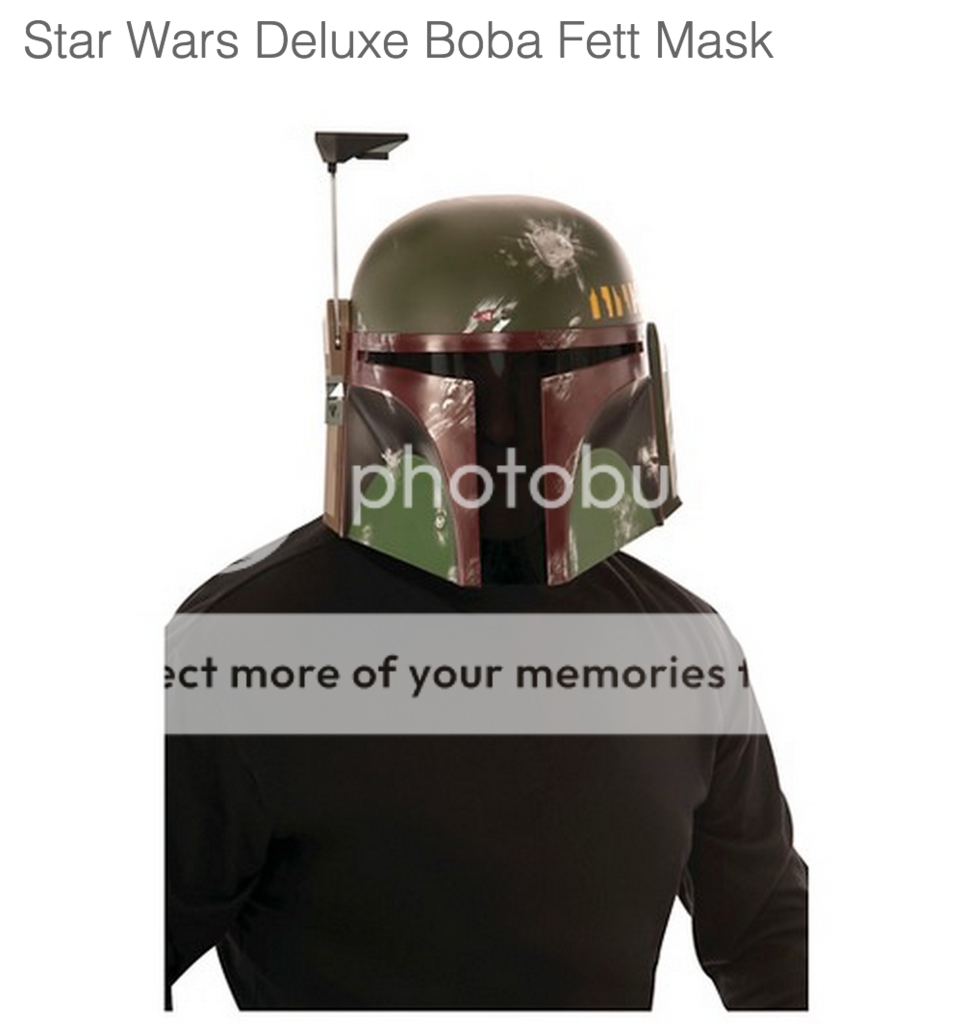
Target had $30 Boba Fett helmets in the Halloween section that I heard on the Replica Prop Forum are actually pretty reasonably accurately sized and shaped, though sporting a kindergarten paint job. Sounded like a fun challenge to me!
So I took this guy
...some model kit enamel paints, and a whole lot of patience, and got this:
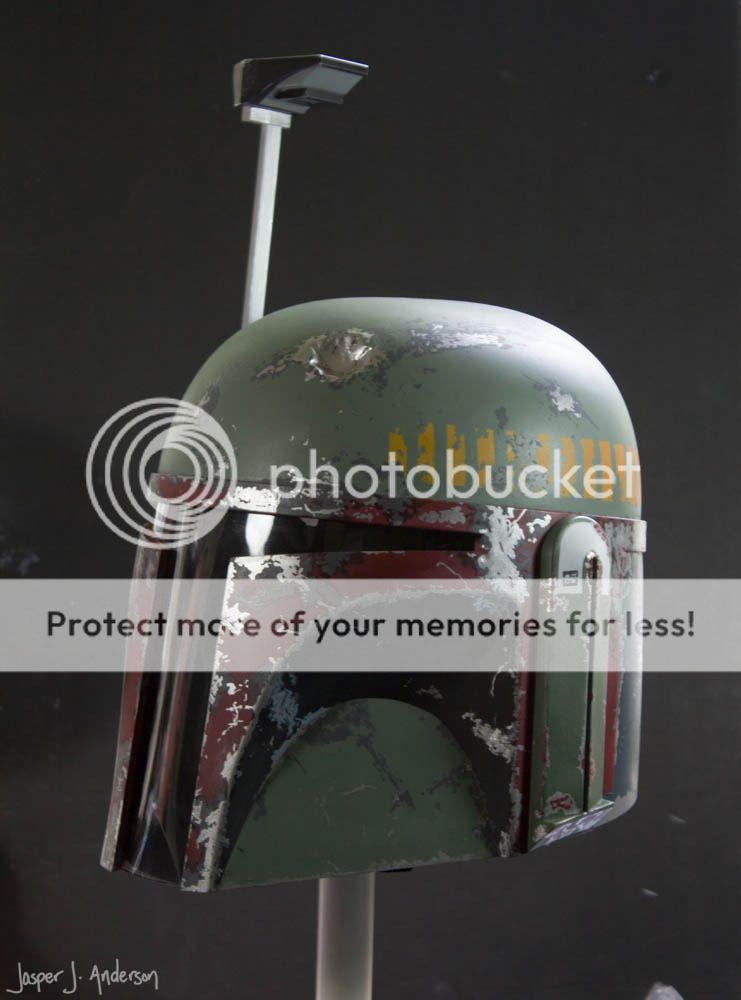
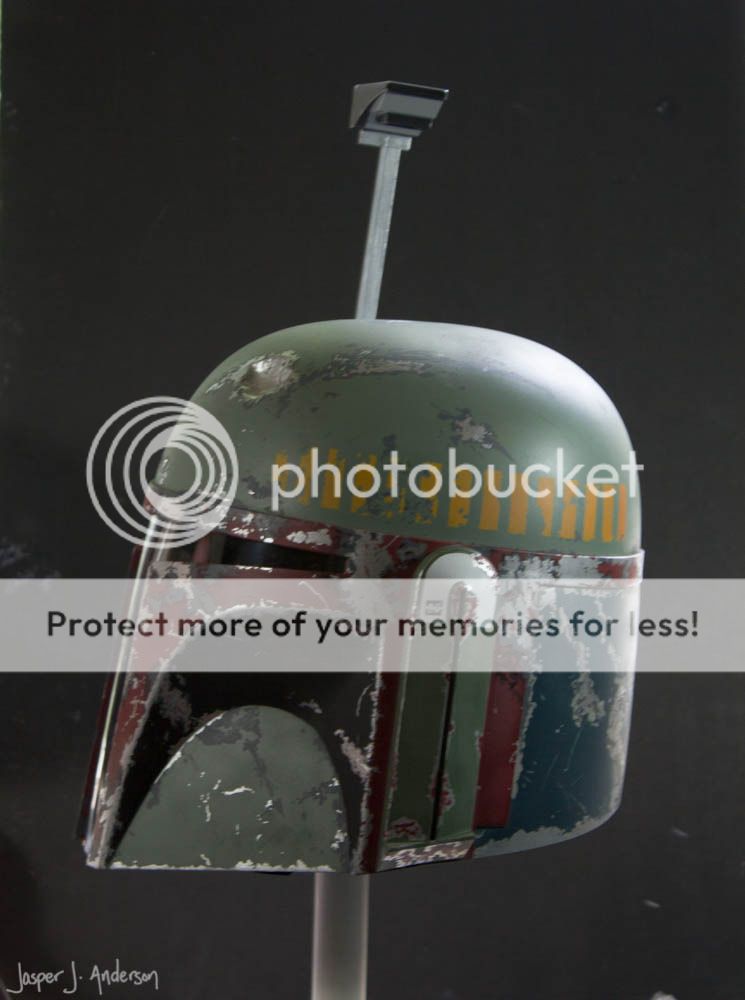


Mainly a topical paint job. I used a variety of templates from the folks at TDH as a guide for the first pass of color in each zone, and freehanded the subsequent layers, so nothing's truly exact. I stenciled the decals by transferring templates to blue tape with graphite paper, which turned out to be a really easy easy to get them done. I haven't decided how I want to tint the visor yet, so there's just a piece of fabric behind it for now.
The dent shape was corrected somewhat with Apoxie sculpt, and the rangefinder stalk extended with brass. At some point, I'd like to fix the shape of the RF, too.
I'm not going into a lot of detail, because the painting process has been very well covered by many other folks. But one novel idea I did have was the brass extension. It's not a strictly accurate result, but certainly better and sturdier than the original, and a really quick fix.
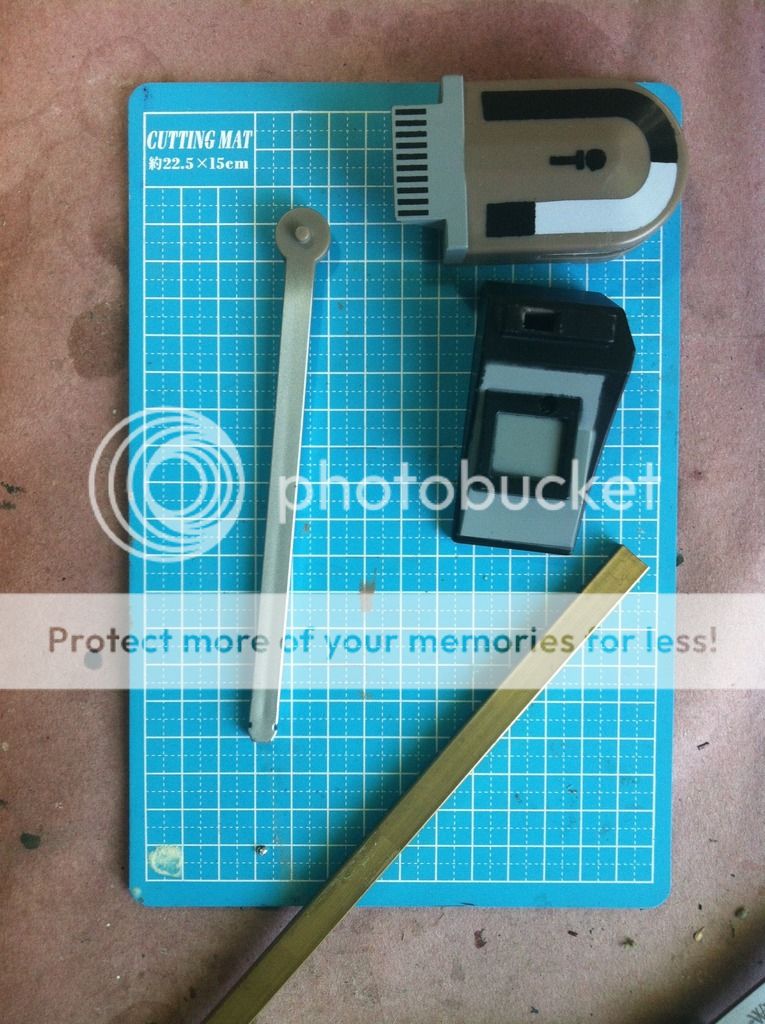

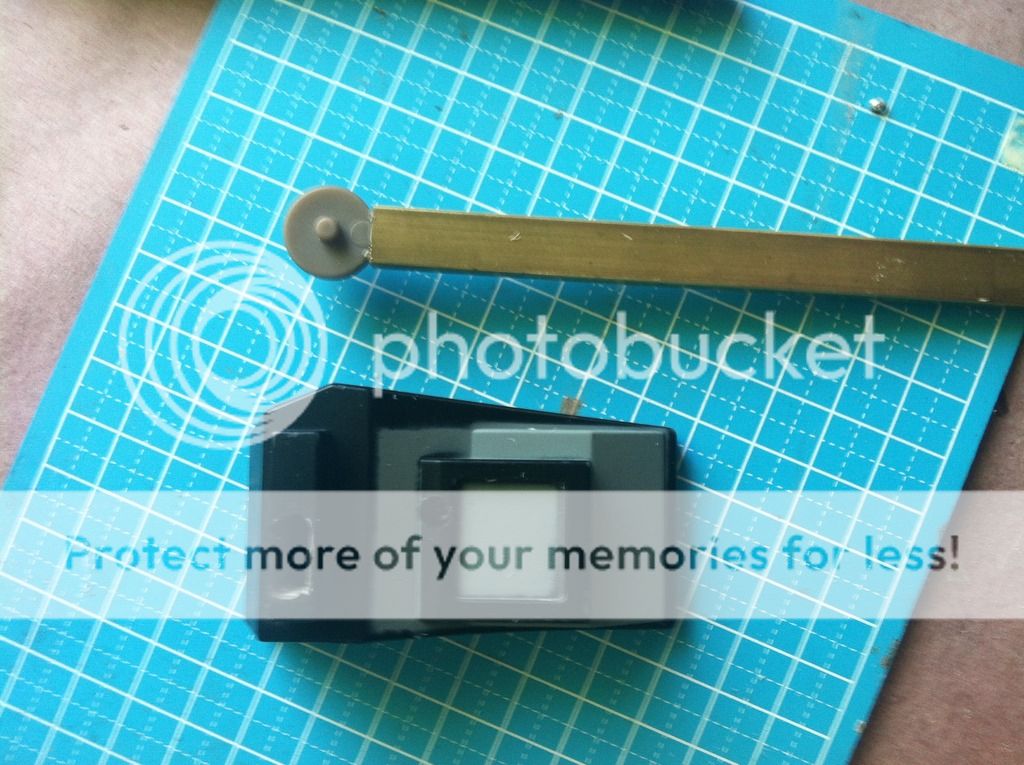

I had some rectangular K+S brass tubing that the plastic stalk almost fit perfectly inside of, so I trimmed the plastic down, ground the it a little thinner, and wedged it into the brass. The part that attaches to the helmet needed to be filed slightly to fit the new stock. The to rangefinder piece needed a slightly bigger hole to accommodate the brass. Cut the brass to the right length, and it all fits back together. I thought I'd have to break out the epoxy, but everything is friction fit very nicely.
EDIT 9/22: Oh, here's another fun one.
This is how I did all the decals


No comments:
Post a Comment